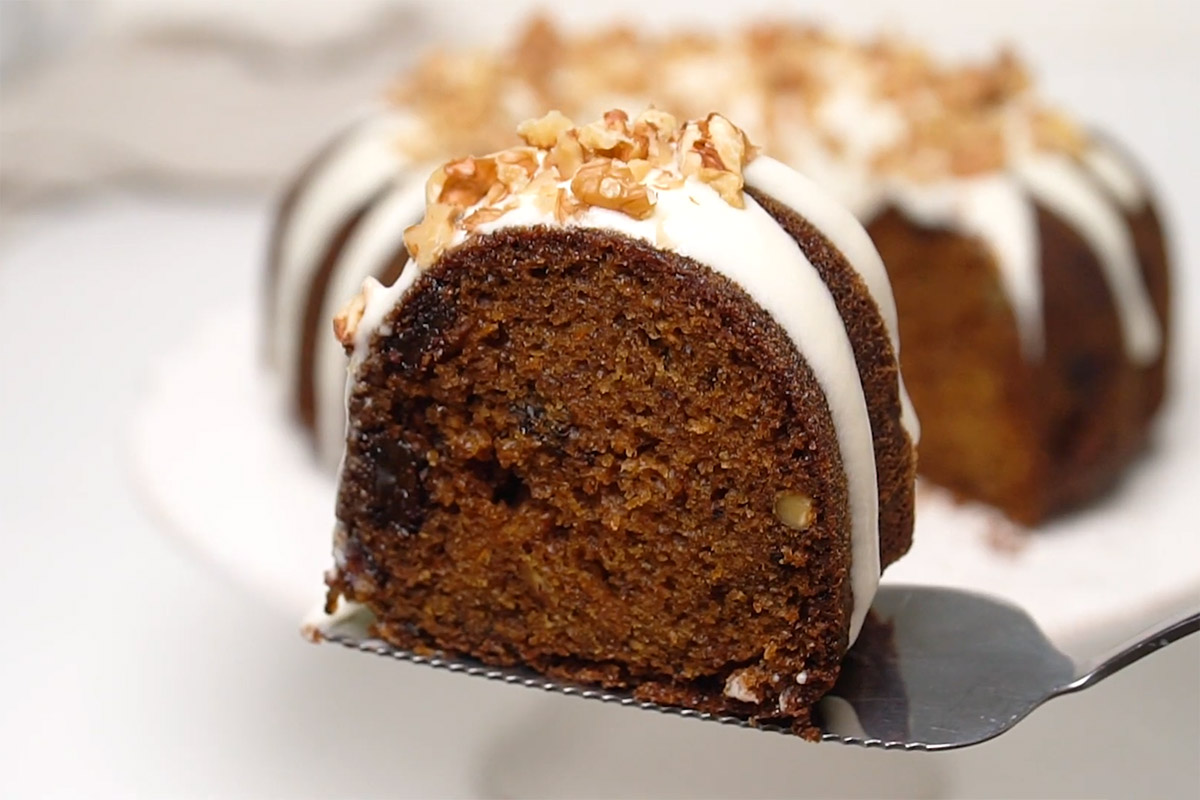
Isn’t it funny how the best ideas strike us? My family and I saw this snoozing volcano during our trip to Japan. I stood there imagining the lava flowing down, and suddenly, it hit me — what if that lava was liquid chocolate instead?
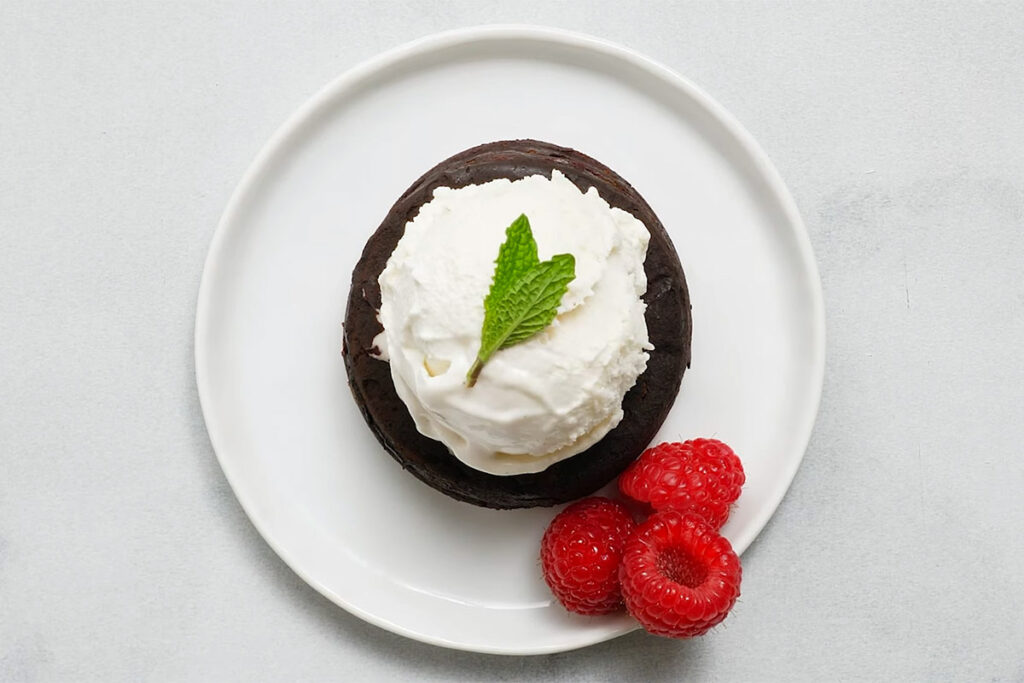
So when we got home, I just had to go into the kitchen instantly. And that’s how this lava chocolate cake came to be!
Why This Homemade Chocolate Lava Cake Has Us Obsessed
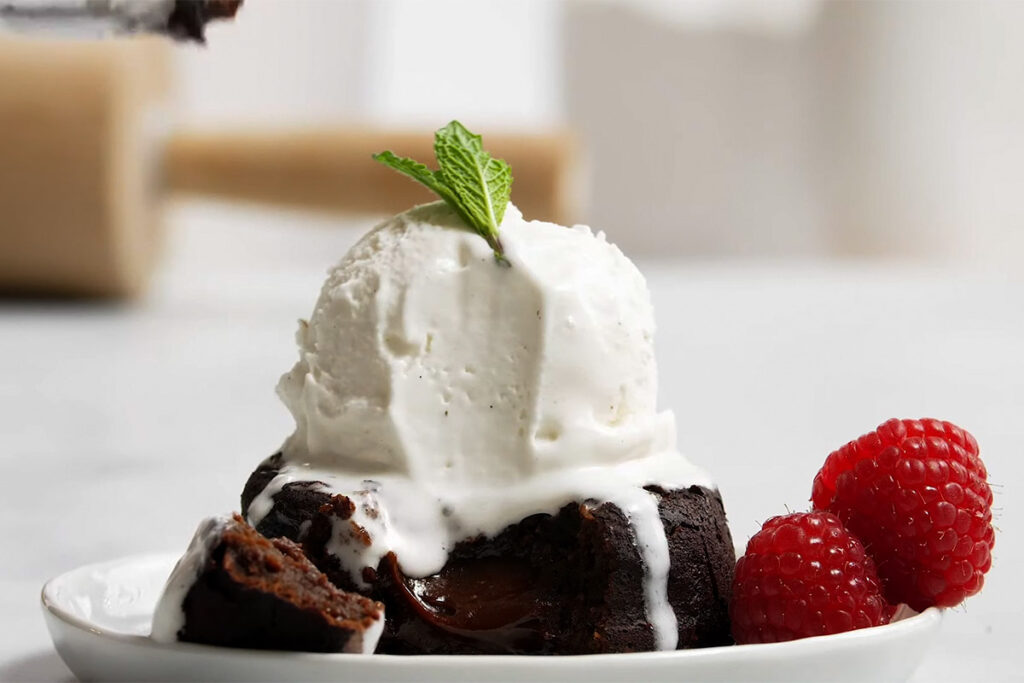
- Crack open the molten lava cake, and you will be drawn to its gooey, chocolatey center almost right away! Who doesn’t enjoy a grand reveal at the table?
- It’s a dream come true for every chocolate lover, thanks to the good-quality cocoa in the batter (and, of course, the melted chocolate center). Some folks even use ganache, a fancy mix of chocolate and cream, to take the gooey feel to the next level.
- The best part? You don’t need a pantry of pricey stuff to whip it up! Butter, sugar, eggs, flour, and chocolate flavors — that’s all you need. So, it’s a win for home bakers everywhere.
- Since the cake has such a rich taste, it pairs perfectly with lighter sides; picture it alongside a fruit salad, crème brûlée, or maybe even a cheese plate. And to drink? Try a glass of port or Madeira, or keep it classic with coffee or tea!
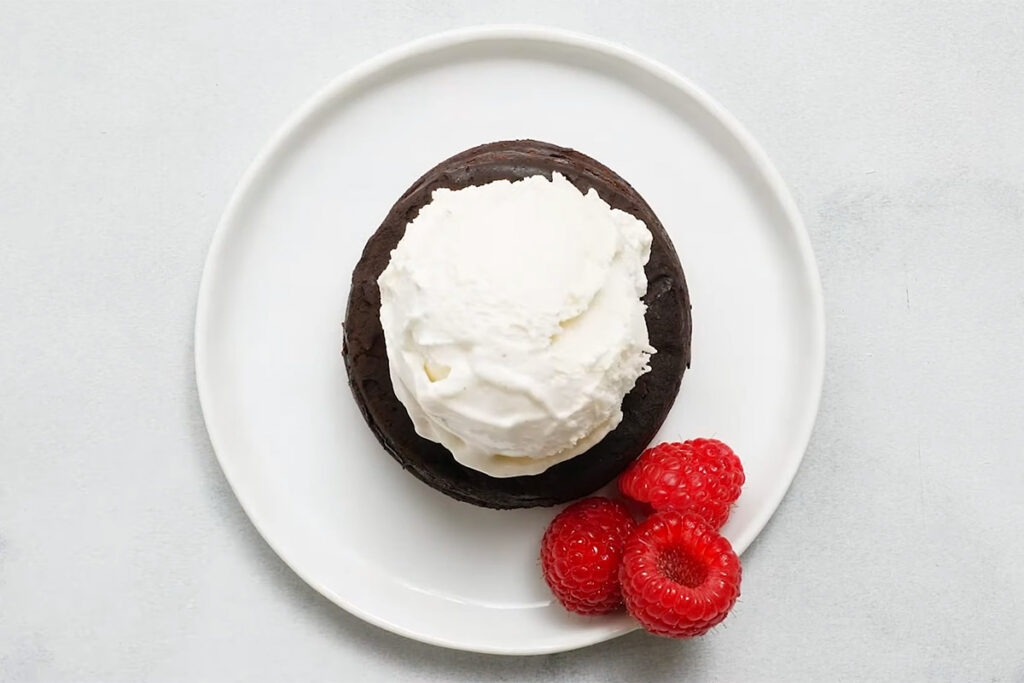
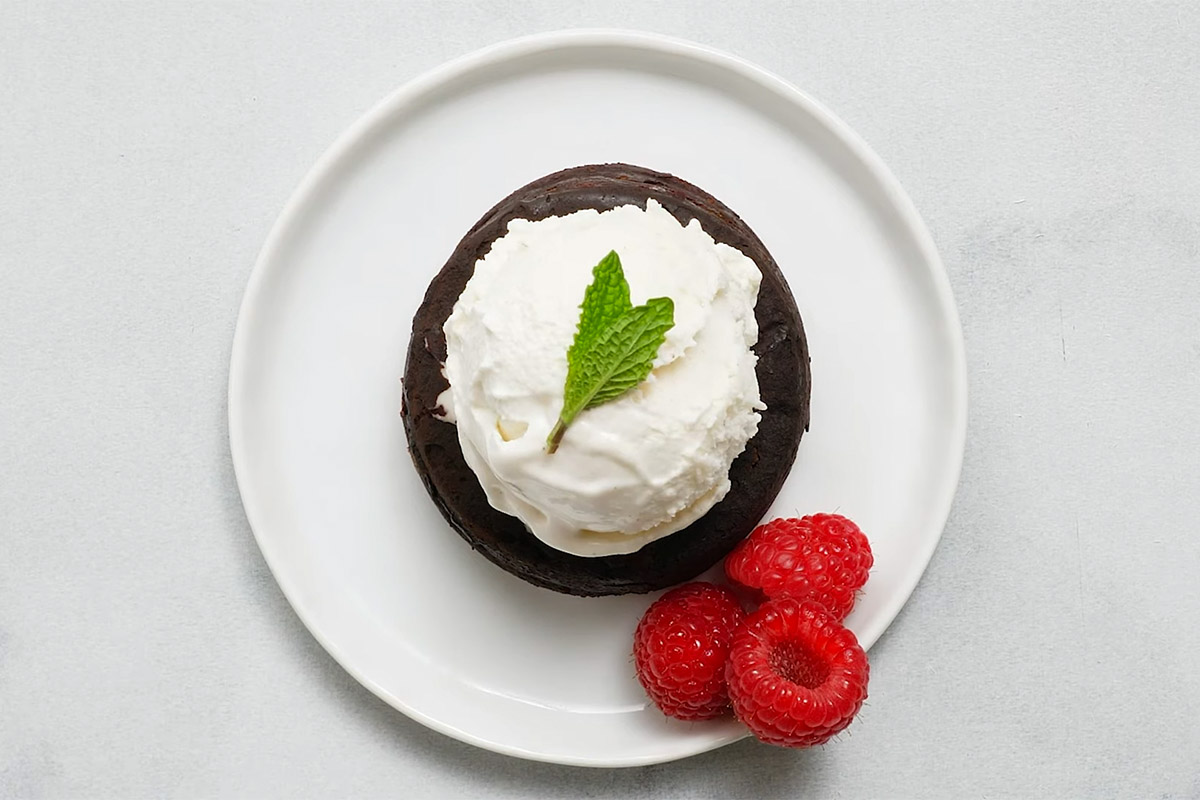
- But here’s where it gets fun: you can dress up your molten lava cake for any special occasion. I usually top it with a scoop of vanilla ice cream to create a creamy contrast to the warm chocolate. Or you can drizzle on caramel sauce or fruit coulis for extra zing. Your party, your choice!
6 Basic Steps To Make Chocolate Molten Lava Cake
Step 1.
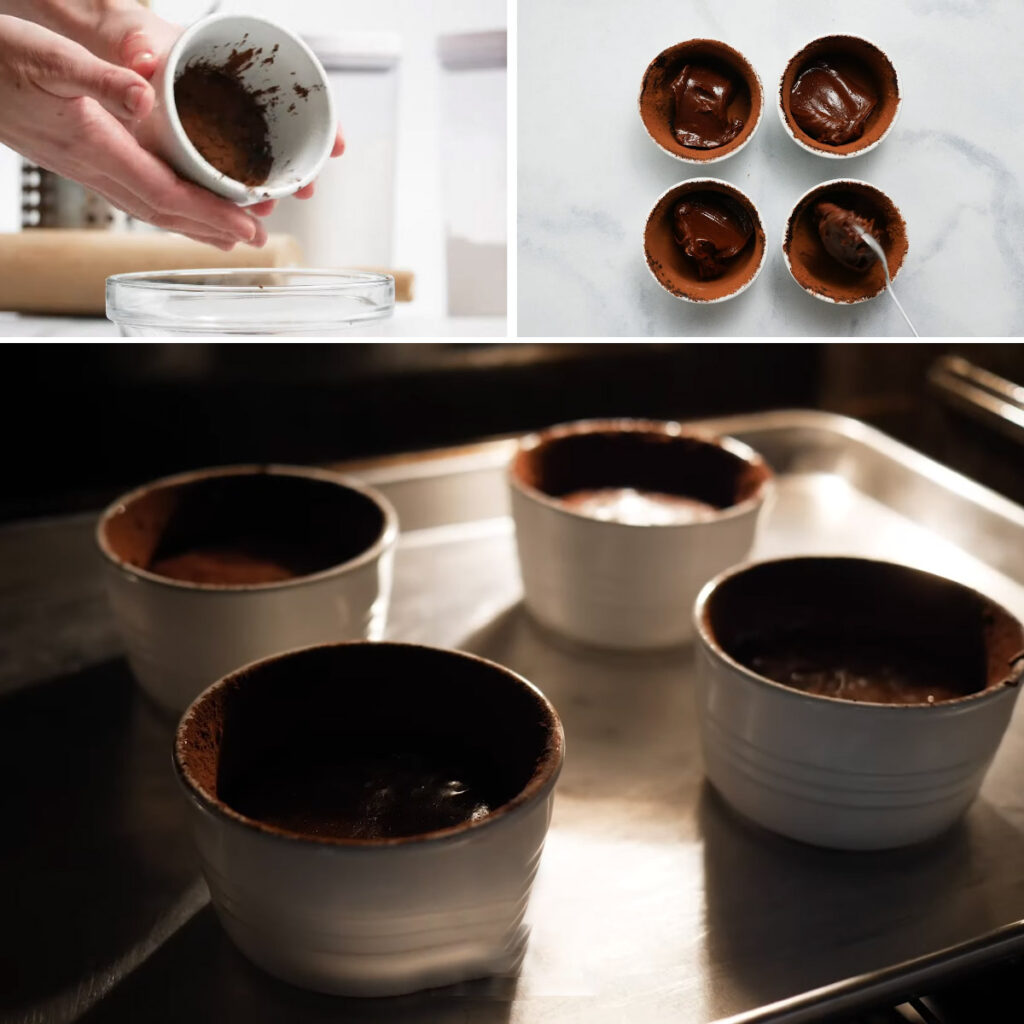
Give the ramekins a good spray with your nonstick cooking spray, then dust them with a few teaspoons of cocoa powder. This step is super important; your cakes will slide right out when you flip them onto a dish later!
Step 2.
Let your oven heat up to a toasty 425°F (218°C) before working on the chocolate!
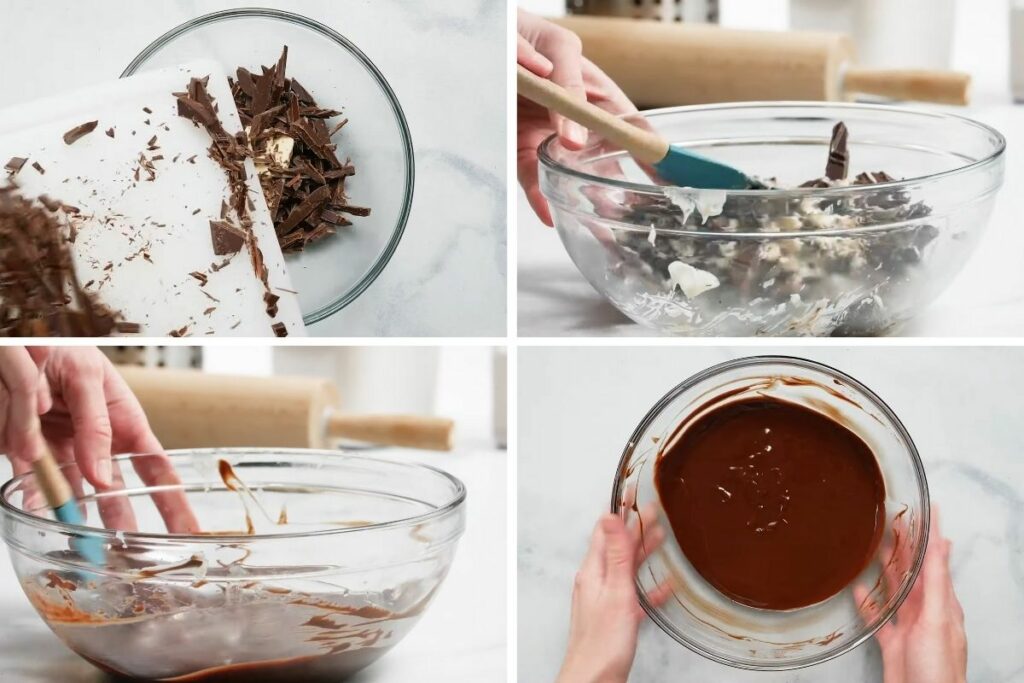
Now, grab the chocolate and give it a rough chop. Then, pop your butter into a microwave-safe bowl and pile on this chopped chocolate. Stick it in the microwave and zap it in 10-second bursts until it’s all melted and silky smooth. Set that goodness aside for now.
Step 3.
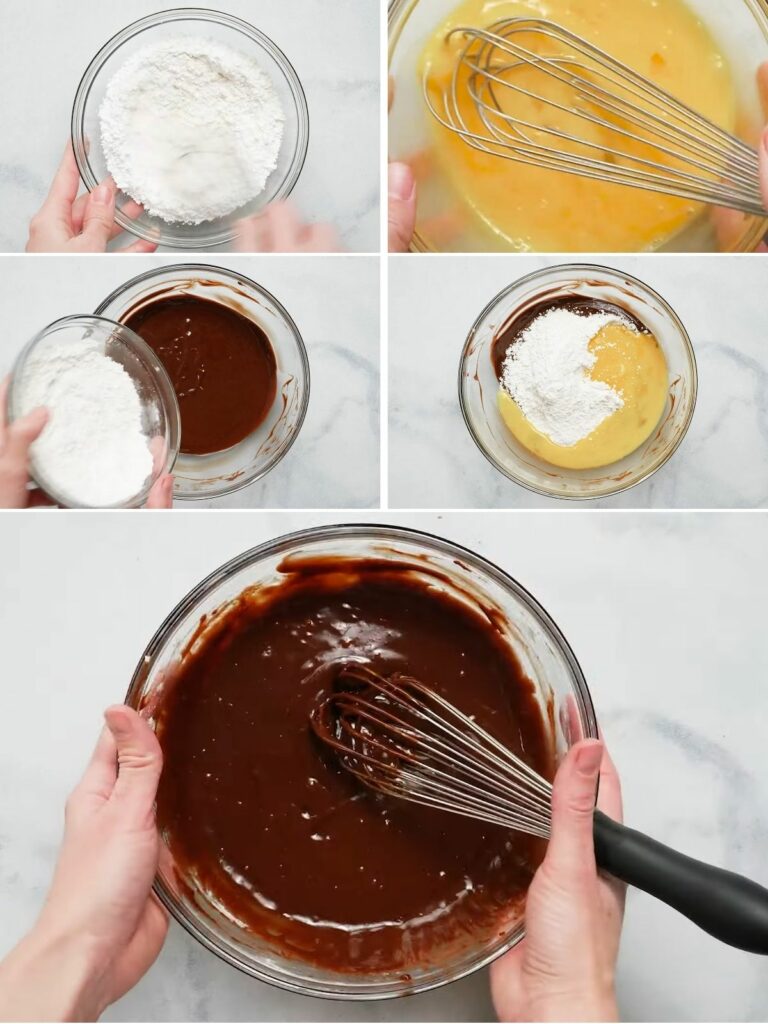
Move on to the dry ingredients: In a medium bowl, whisk confectioners’ sugar, flour, and a pinch of salt. Then, beat the eggs and yolks in another bowl until well combined.
Now, pour all those dry ingredients and egg mixture into the melted chocolate (from Step 2). Mix it all as gently as you can with a wooden spoon or silicone spatula until you’ve got a smooth, slightly thick chocolate cake batter. If you spot any lumps, give them a gentle whisking until they’re gone!
Step 4.
Now comes the fun part! Spoon the dreamy chocolate batter into each muffin cup or ramekin, then line these prepared ramekins on a baking sheet.
Bake them in the oven. It should take 15 minutes (if you use ramekins) or 12-13 minutes (for muffin pans). Look for the sides to firm up while the tops stay soft and gooey — that’s when you know they’re ready to serve!
Step 5.
Have your cakes baked to perfection? Great! Give them a minute to cool down. Then, grab an oven mitt (I mean, those ramekins will be hot as hell), carefully cover each cake with an upside-down plate, and flip them over. Your cakes should slide right out of the ramekins onto the plates!
If you went for the muffin pan instead, just use a small spoon to gently pry them out and place them upside down on the plates.

Step 6.
How can we forget the toppings? Get creative here with anything you have in mind. Serve them up right away while they’re still warm and gooey; trust me, you won’t want to wait a second longer to dig in!
Try my double chocolate chip muffins and triple chocolate cake recipe if your chocoholic heart still wants more.
Notes
1. If you have more time to prepare your ramekins before baking, go all out! Sticky ramekins used to be my worst nightmare, and trust me, you won’t want to see that for yourself.
Generously butter your ramekins, making sure to get up the sides and onto the bottom. Then, dust the ramekins with cocoa powder and a thin layer of flour. Together, they form an amazing nonstick layer that lets the cakes slide out like a champ! Tap out any excess powder before adding the batter.
2. It’s totally optional (and that’s why my recipe didn’t mention it), but you can always chill the batter for 30 minutes to an hour before baking!
I tried that a few times, and it makes an INSANE difference. The cold temperature helps firm the cake batter around the edges, yielding a stronger outer shell that holds the molten chocolate center strong while baking. The result? A much more dramatic lava flow when you crack into the cake!
3. I said earlier that you should serve the cake immediately after baking, and I meant every word. Why? The contrast between the warm, runny chocolate center and the soft, just-set cake is literally the best part of this recipe! The longer they sit, the cooler the center gets, and they will lose all the flowing lava magic.
So don’t just laugh off my advice. Only whip up this cake when you’re having guests over, or know FOR SURE you will dig in right away!
FAQs
Can I Reheat Leftover Lava Cakes?
Yes, although the texture and lava effect will be gone. Simply reheat them gently in the microwave for a few seconds until the center warms up!
What Kind Of Chocolate Should I Use For This Chocolate Lava Cake Recipe?
Anything, really. Semisweet, dark, or even bittersweet chocolate all work well! My only enemy is chocolate chips since their stabilizers sometimes ruin the cake’s consistency.
And that’s it. Enjoy your decadent dessert, you guys!
Chocolate Molten Lava Cake
Ingredients
Main Ingredients
- 6 ounces semisweet chocolate
- ½ cup or 8 tbsp unsalted butter
- ¼ cup spooned and leveled all-purpose flour
- ½ cup confectioners’ sugar
- ⅛ tsp salt
- 2 eggs + 2 egg yolks
Topping (Optional)
- 6 scoops ice cream
- ½ cup of berries
- 1 ½ tsp chocolate syrup
Instructions
- Spray the ramekin dishes with your nonstick cooking spray, then dust them with 2-3 teaspoons of cocoa powder.
- Preheat your oven to 425°F (218°C)
- Give the chocolate a rough chop. Pop your butter into a microwave-safe bowl and pile on this chopped chocolate. Stick it in the microwave and zap it in 10-second bursts until silky smooth. Set that aside for now.
- Whisk confectioners’ sugar, flour, and a pinch of salt in a small bowl. Then, beat the eggs and yolks in another bowl until well combined.
- Now, pour all those dry ingredients and egg mixture into the melted chocolate (from Step 3).
- Mix it all as gently as you can with a wooden spoon or rubber spatula until you’ve got a smooth, slightly thick batter. If you spot any lumps, slowly whisk them until they’re gone.
- Spoon this batter into each muffin tin or ramekin, then line the ramekins on a baking sheet.
- Bake them in the preheated oven (15 minutes for ramekins or 12-13 minutes for muffin pans). They’re ready to serve when the sides firm up while the tops stay soft and gooey.
- Let them cool for a minute. Then, grab an oven mitt, carefully cover each cake with an upside-down plate, and flip them over. Your baked lava cakes should slide right out of the ramekins onto the plates.
- Get creative with your favorite topping. Serve immediately while these rich cakes are still warm and gooey.
Notes
- If you can, spend more time prepping your ramekins. Generously butter them and dust them with cocoa powder and flour to ensure the cakes slide out easily after baking.
- It’s optional, but chilling the batter for 30 minutes to an hour before baking can help solidify the cake batter around the molten center and create a dramatic lava effect.
- Molten chocolate cakes are best served immediately after baking. The lava won’t flow well if you let these chocolate desserts sit too long.
