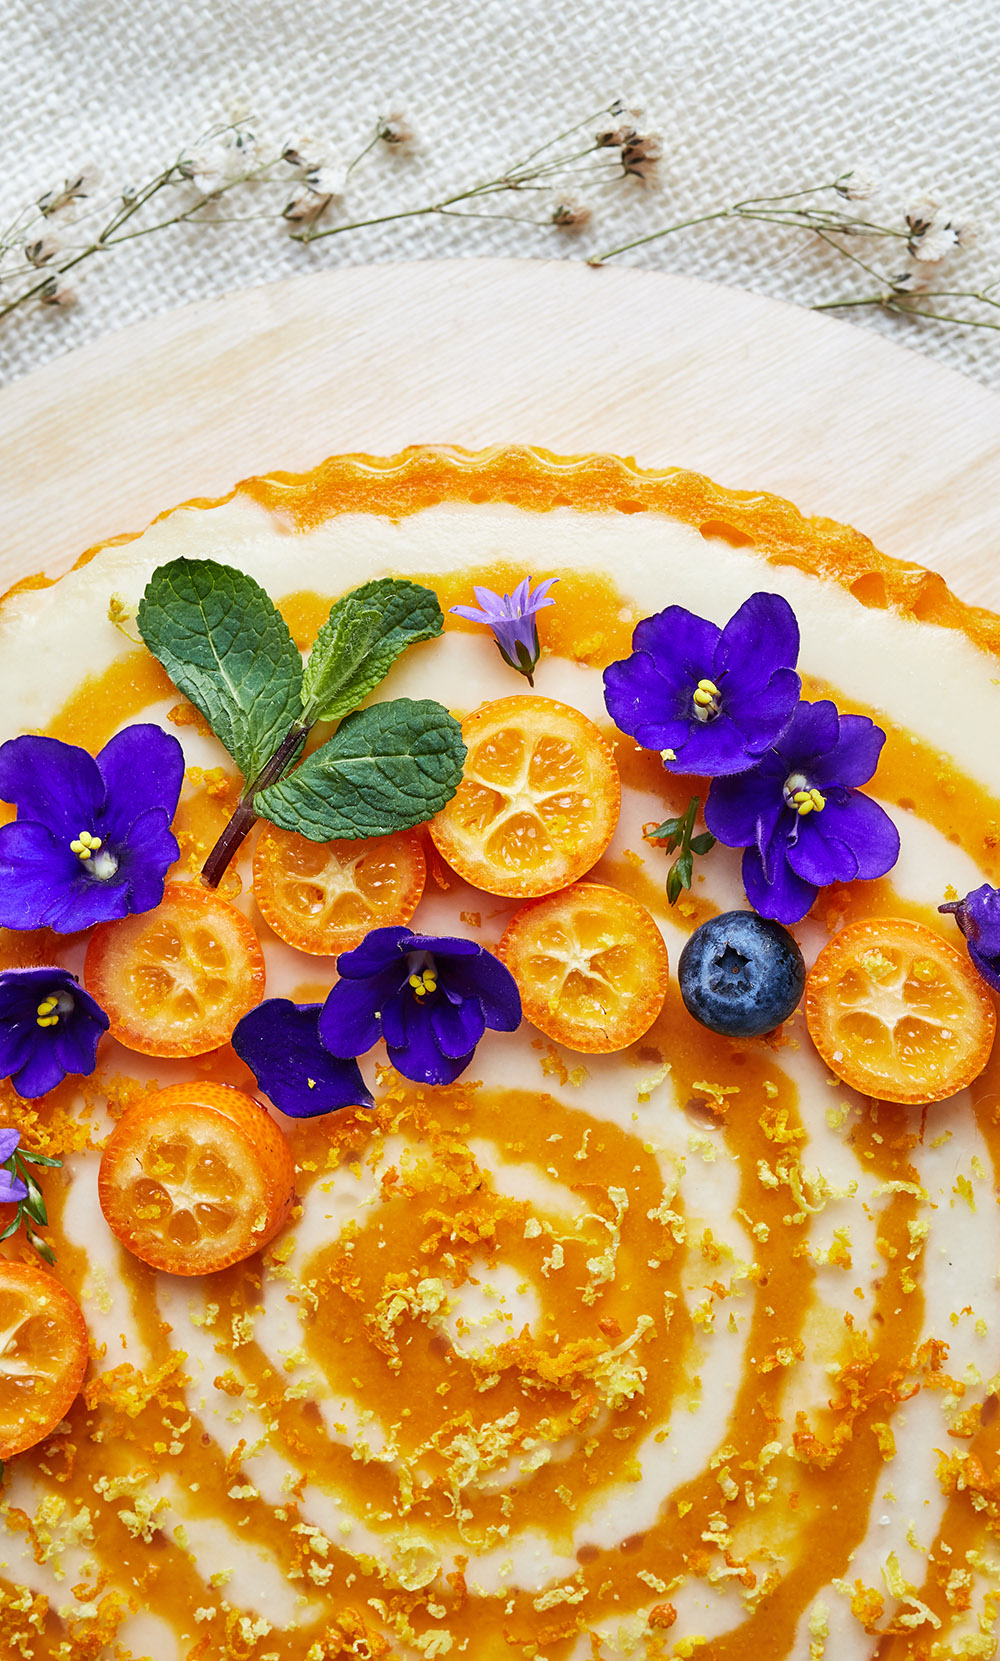
Cakes are seriously one of life’s greatest joys – and let’s be real, they’re meant for sharing, not solo missions! I mean, who doesn’t love slicing them up and serving a piece of happiness to friends and family?
Slicing square or rectangular cakes is undoubtedly a piece of cake (literally). But things get a bit trickier when you’ve got a circular cake on the table. How do you make sure everyone gets a fair slice without any wonky portion?
I remember scratching my head over this cake-cutting puzzle for ages. But hey, good news: I’ve finally cracked the code! Keep scrolling to learn all the tricks I’ve got up my sleeve.
How to Cut Round Cakes: The Best Ways
We have 3 different ways to slice a round cake! You can score your cute cake for 10 triangle slices, cut it into quarters for square pieces, or opt for a mixed alternative with an outer ring for wedges and an inner circle for squares.
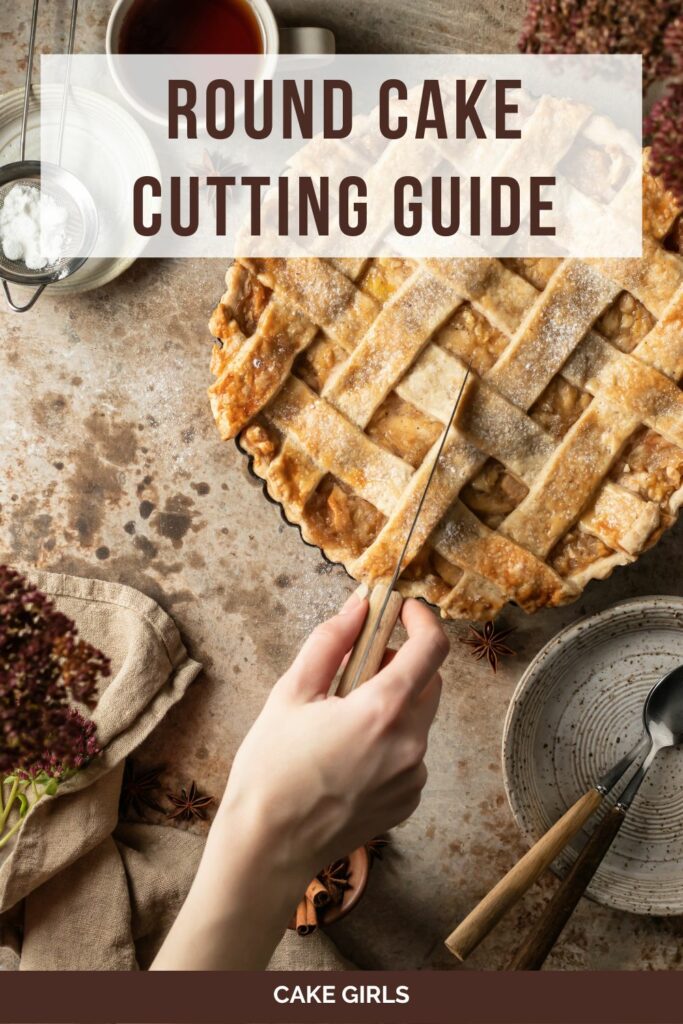
Method 1. Slicing Into Even Triangles
Step 1.
Get a big knife that can cover the entire cake diameter (or the closest you can find, at least). And I’m serious here because if the knife is not long enough, you’ll have to slide it across the top to create a full line in the cake’s frosting!
Step 2.
Time to prep your knife! Dip it into warm water from a tall glass and let it soak. When you’re set to slice, take that knife out to wipe it dry, and you’re good to go.
Step 3.
Next, use the knife to make a scoring line across the cake’s middle. Hold it over the cake with both of your hands, then gently make a line without cutting through the cake.
Step 4.
Make another line at a 70° angle from the first line, creating a 1/3 piece of half the cake!
Step 5.
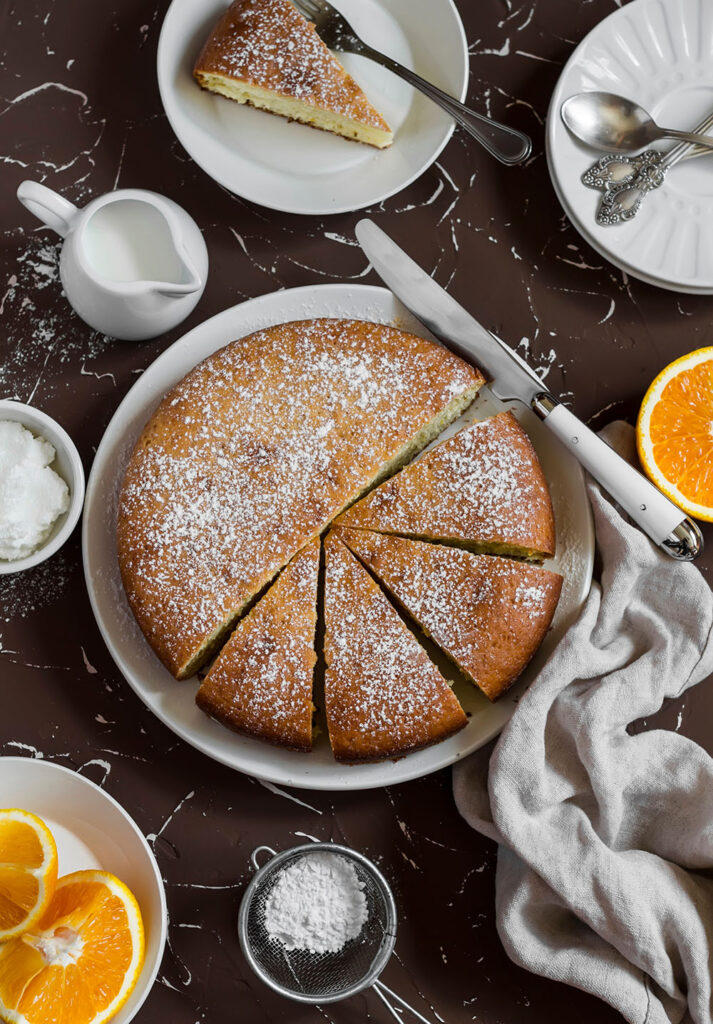
Score a third line across the small triangle to divide it exactly in half. This will give you 4 pieces of cake. And the 2 teeniest pieces? Yep, they set the size for all the other slices in the end!
Step 6.
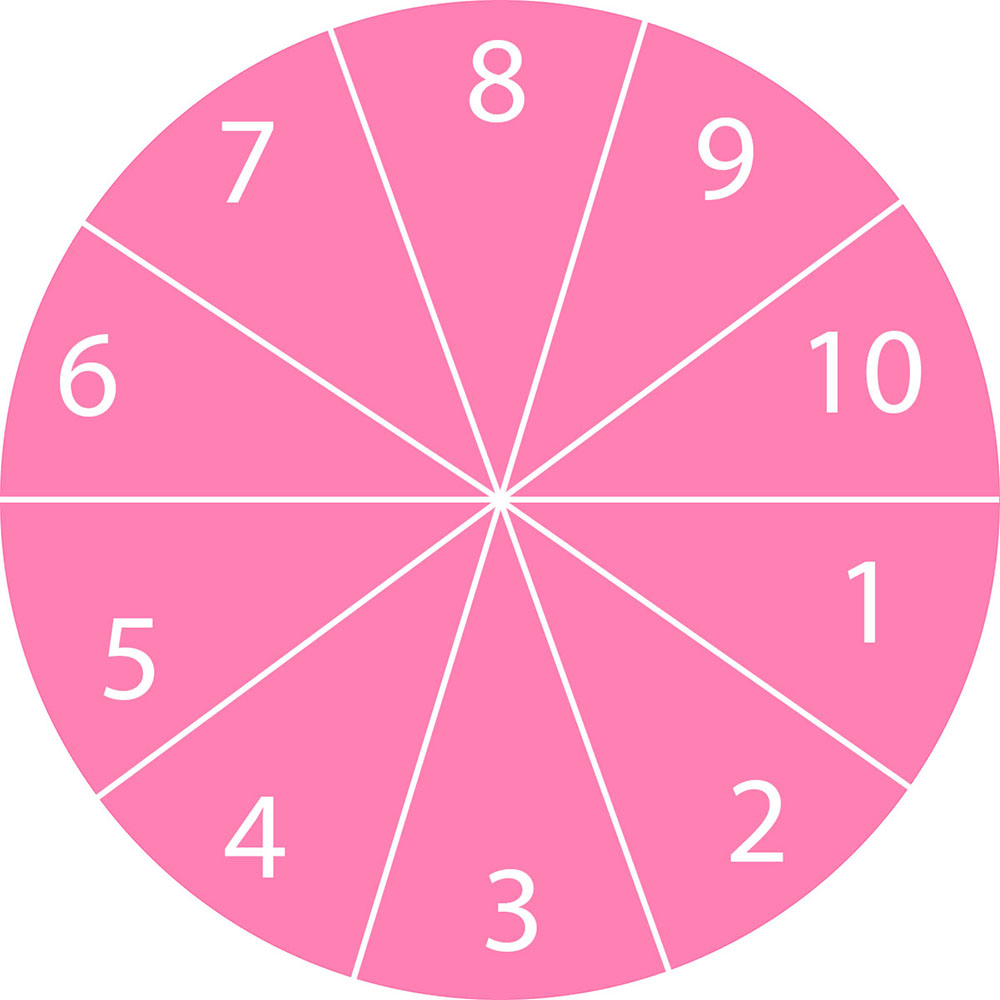
Next, score two more lines to split the large triangle into 3 equal sections, which get you 10 equal-sized pieces in total.
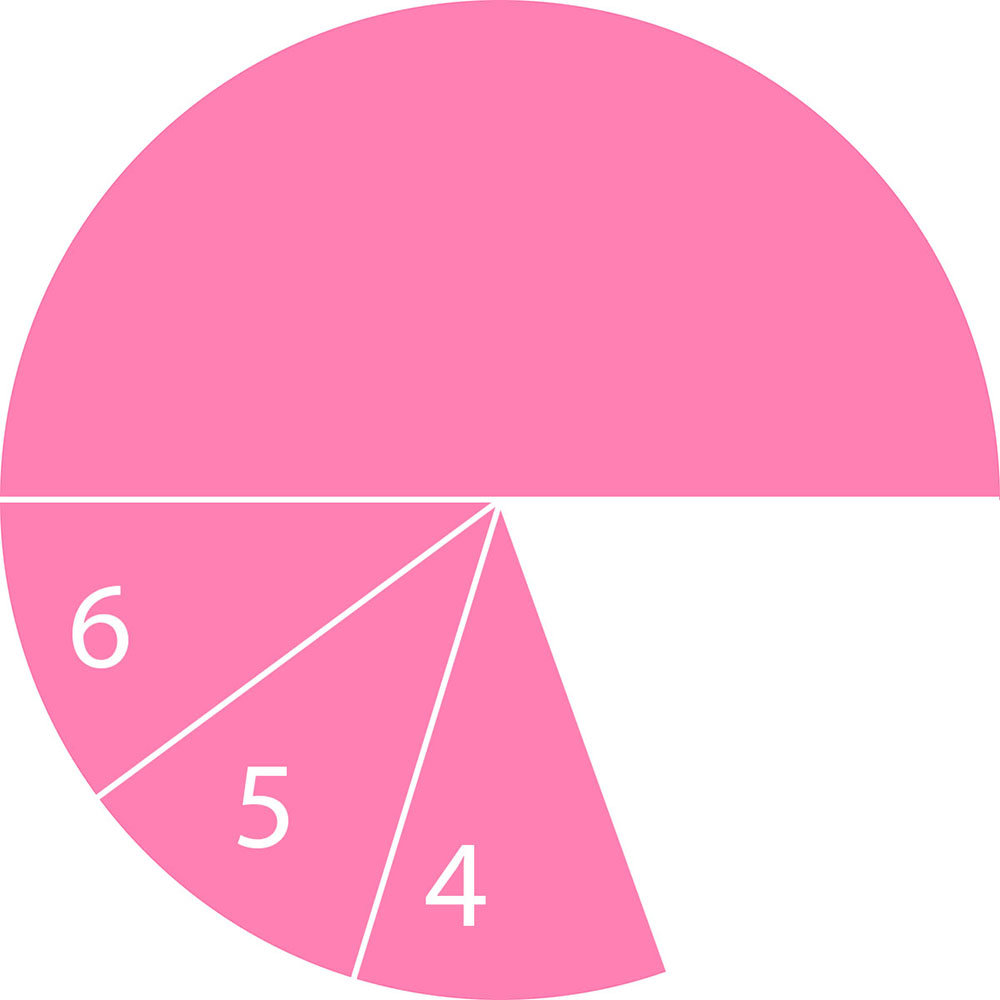
Step 7.
Extend the four half-lines across your cake to finish marking the 10 pieces evenly. Cut along each scoreline, and you finally get those 10 creamy, perfect slices!
Remember to dip the serrated knife in hot water to wipe it after each cut, then cut from the center and pull your knife slowly out from the bottom.
Note: I usually use my offset spatula to lift each slice. But you can wait until the whole cake is evenly cut before handing out those delicious pieces to your loved ones.
Method 2. Slicing into Small Squares
Step 1.
First things first, plop your beautiful cake onto the cutting board. Now, picture a cross right in the middle of it!
Cut straight down through the center to split it vertically. Give it a 90-degree turn and chop horizontally to get four equal quarters.
Step 2.
Now, lay one of those quarters flat on the board. Chop it in half vertically and horizontally – and bam! Four smaller squares are ready to go. Keep doing this with the rest of the cake quarters until they’re all squared up.
Step 3.
Want even smaller squares? Go diagonal with each square section. But hey, be gentle with that knife, or you might squish that delicious cake! Oh, and remember to wipe your knife clean between cuts for that picture-perfect finish.
Method 3. Outer and Inner Sections
Step 1.
Alright, your cake’s now sitting on the cutting board. Imagine a smaller circle right in the center, around 2-3 inches in diameter. Take a toothpick or a knife to lightly mark the edge of this inner circle!
Step 2.
Grab your knife and position it right outside that marked circle. Slowly and steadily, slice around the cake’s edge to create a clear outer ring. Set that outer ring aside for now.
Step 3.
Time to focus on that remaining inner circle! Lay it flat on the board. Chop it in half vertically and then horizontally—voilà! You’ve got four beautiful, smaller square pieces.
Step 4.
Back to the outer ring! Remember that part you set aside earlier?
Now cut it into equal-sized wedges, just like you’d slice a pie. How many wedges you end up with will totally depend on the cake size and your own preferences!
Imagine this 9-inch round cake. I could go for 10 even wedges by slicing a 5-inch outer ring or opt for 6 wedges with a 3-inch outer ring. See? It’s all about options; you can totally decide how many wedges work best for you!
And there you have it – clean slices of cake prepped and ready to delight!
A Small Tip To Cut Your Cake Layers Without Crumbling
Remember to grab a thin-bladed knife. Too thick won’t vibe well with that moist cake! Also, do not just press it straight down; you should gently move the knife back and forth when slicing.
Your party cake will thank you, trust me. It’ll cut like a dream, no more crumbling in sight!
Conclusion
Cutting a round cake just right might need a bit of practice, but no biggie! My guides are super easy to follow and cover almost everything, so I believe y’all cake lovers out there will eventually nail it.
If you still need more cake tips, just write to me; I’m always here to lend you a hand.