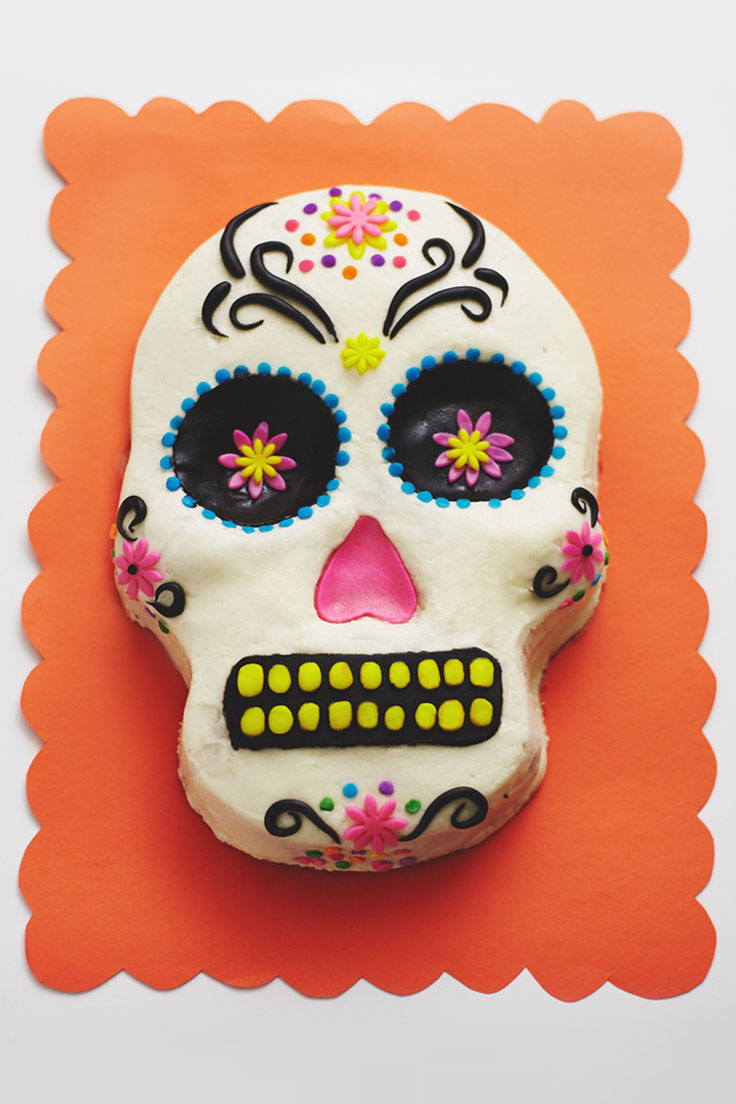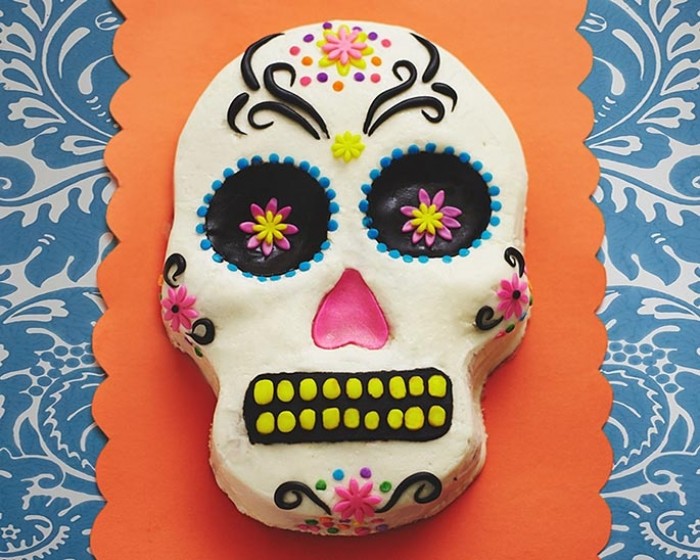
This Day of the Dead Skull Cake is very easy to make and will be the hit of your Dia de los Muertos Party. An inexpensive pan does most of the work and once covered in icing, it becomes a blank canvas for your creative touches. We used punched out fondant flowers and confetti sprinkles to get the folk art look of a Mexican sugar skull, but feel free to use your own inspiration to create a unique cake skull that will get the fiesta started.
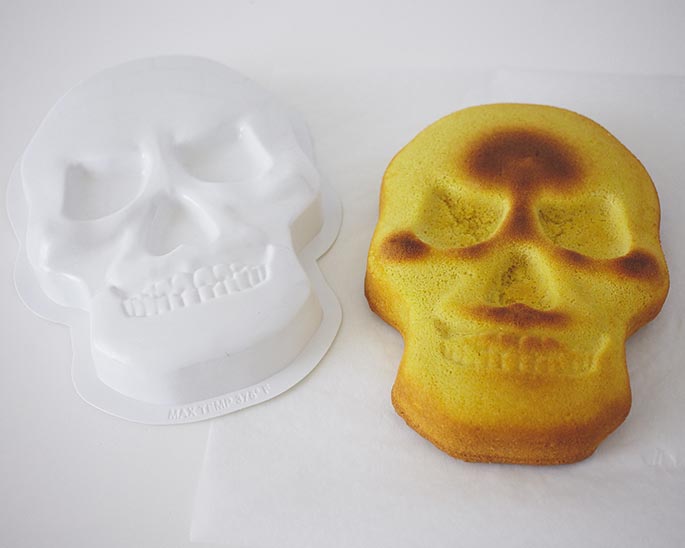
Our easy to use skull pan requires one box of cake mix or you can whip up a batch of Vanilla Cake Recipe or Classic Chocolate Cake if you’re feeling ambitious. However, you should make sure to make homemade buttercream for this project because the canned stuff just won’t do. Brenda’s Bakery Buttercream is the way to go to get a smooth finish using the “paper towel” technique we’ve used in this tutorial.
Instruction
Generously coat the inside of the skull pan with cooking spray and bake the cake according to the directions. Once the cake is flipped out and cool, wrap the cake in plastic wrap and place in the fridge for a few hours. This will make the cake much easier to ice with buttercream. You can make your buttercream while the cake chills!
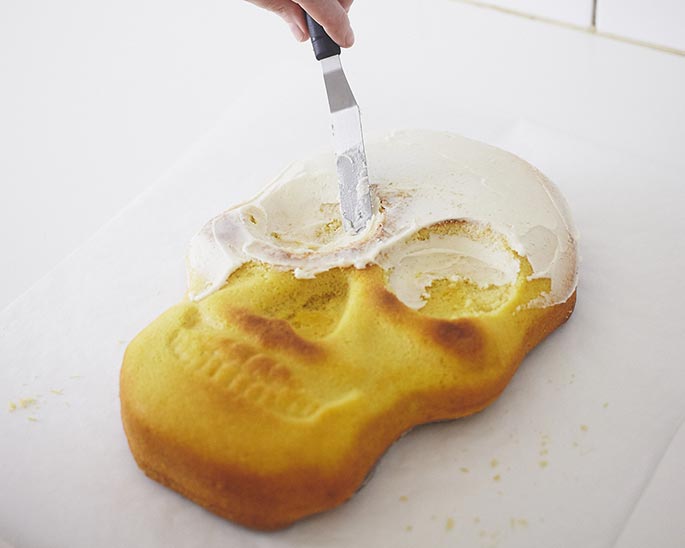
Use a 2 3/4″ cookie cutter or glass, and line it up with the bottom of the existing eye socket. Make an indentation with it so that you know where to carve out the eyes. Carving the eyes out into larger sockets will make the cake look much more like a Mexican sugar skull! If you don’t have a cutter or the right size glass, you can just cut the eyes out freehand.
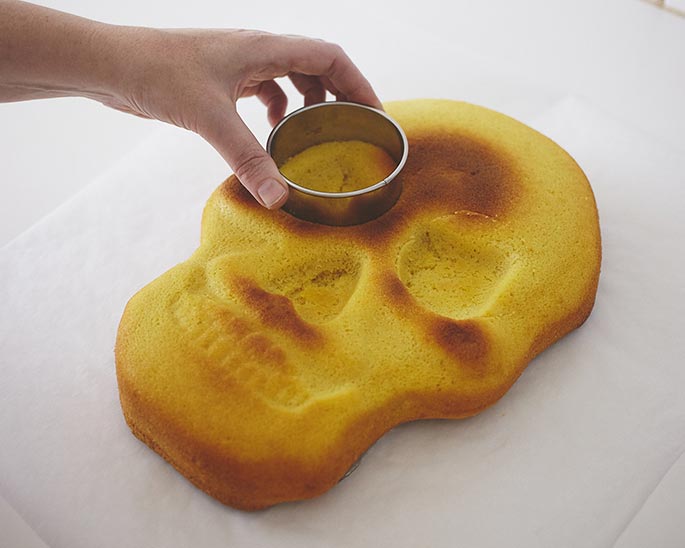
Use a butterknife to carve the rest of the eye socket out. Don’t go deeper than the existing socket, just widen the eye socket into a circle shape.

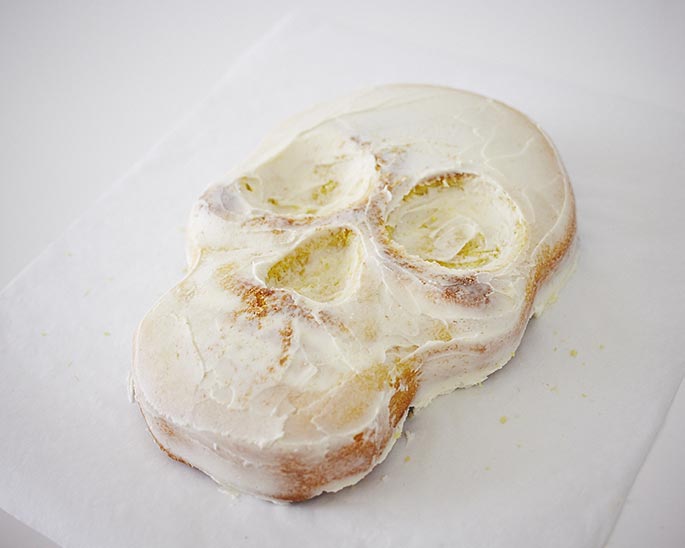
Next, you can crumb coat your cake by smearing it in a very thin layer of icing. This will help seal in the crumbs and get your cake ready for the icing layer. You should be able to see the cake underneath through this layer of icing, so don’t leave any excess blobs of icing. When you’re finished, place your cake in the fridge so that this layer gets firm, 1/2 hour or so.
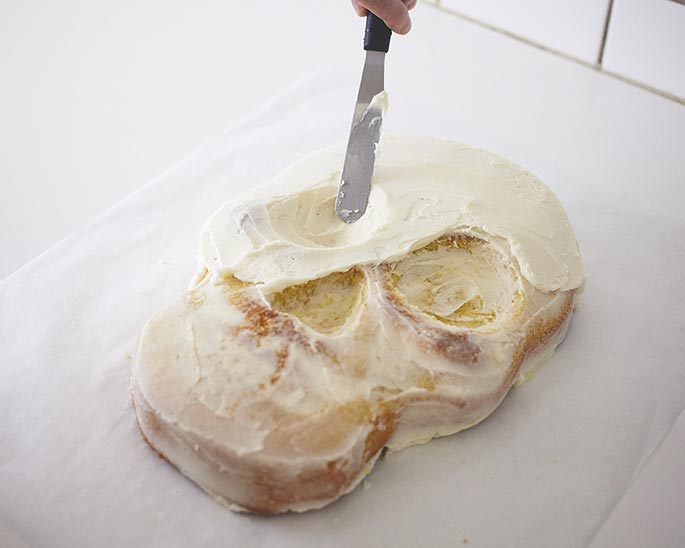
Next, use a spatula to coat the cake in a normal layer of buttercream, making sure to preserve the shape of the cake. Add a little more icing to the cheekbones if you want to create a more defined skull look.
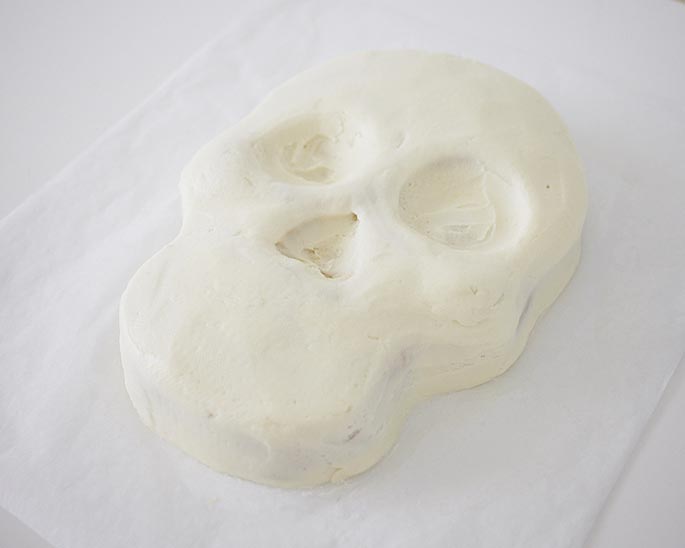
Once your layer is finished, it should look like this. Don’t fret. The next step will help smooth and flatten the icing so there will not be lots of spatula swipe marks. Place the cake in the fridge until very firm, about an hour.
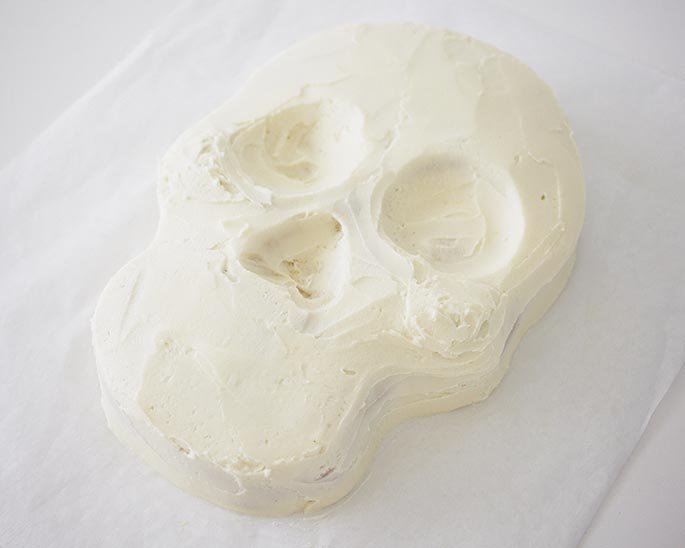
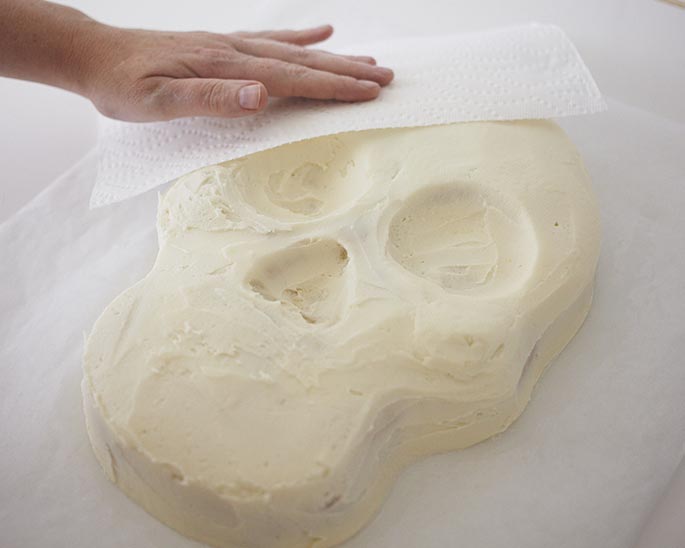
Remove the cake from the fridge. Lay a paper towel on top of the icing, keep it in place and use your fingers to gently rub back and forth to smooth the icing. Do this on the entire cake in sections until you’ve smoothed out all the swipe marks. Don’t worry about the eye cavities or nose, those will get covered with some pieces of fondant.
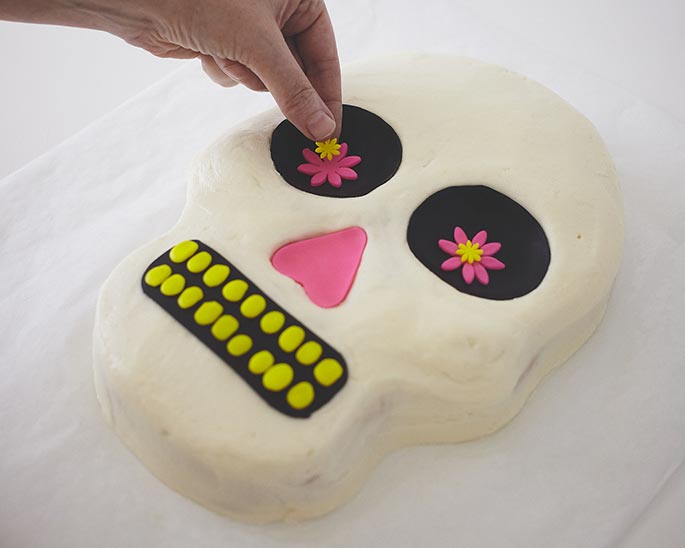
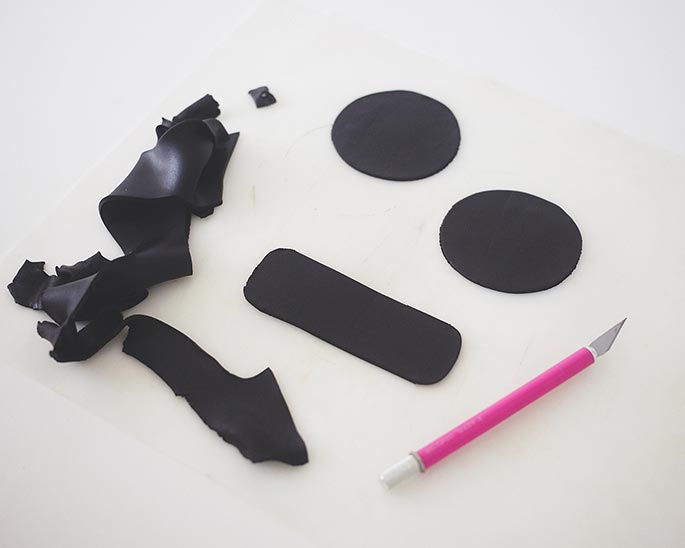
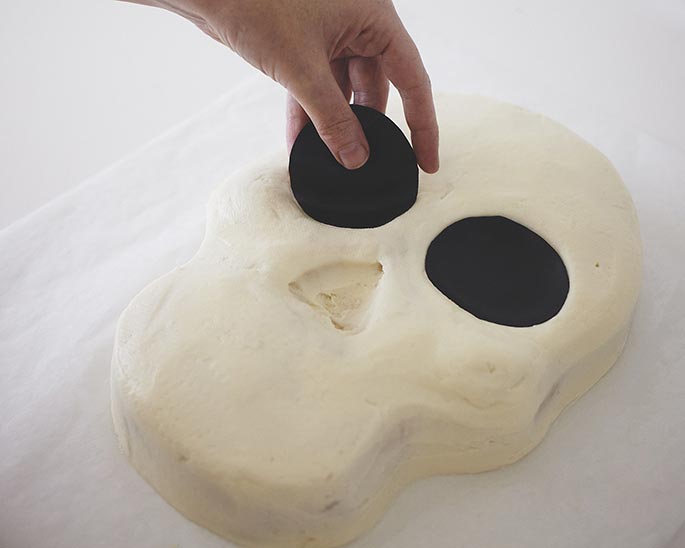
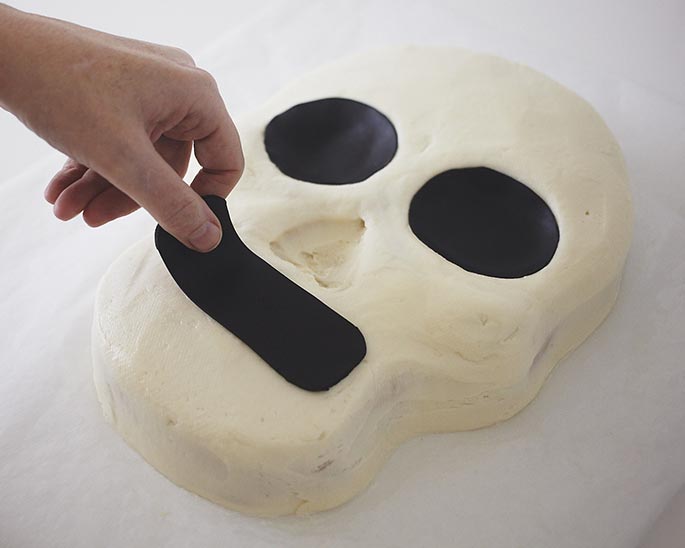
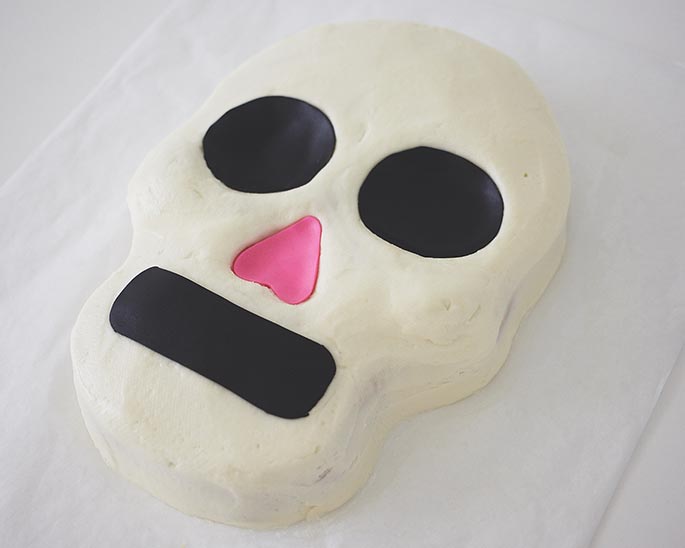
Roll out a small portion of black fondant thinly. Use a craft knife to cut out two circles the same size as your eyes and a mouth that’s shaped like a rectangle. Our mouth measured about 4″ x 2″. Place the pieces on the cake to create the eyes and mouth.
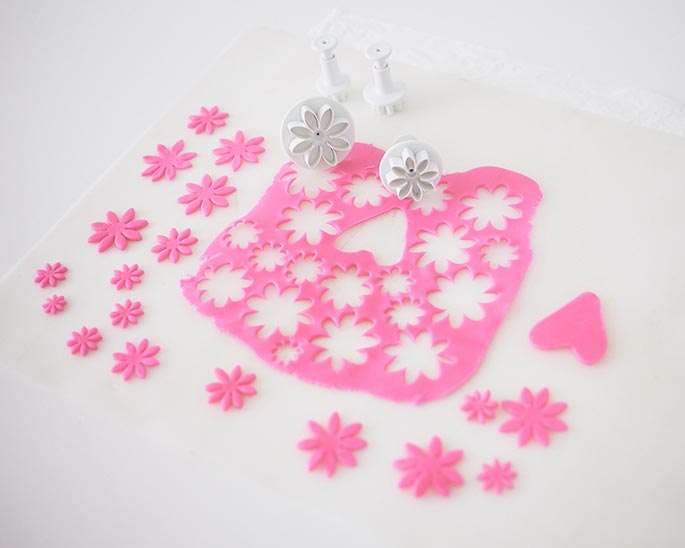
Then roll out some hot pink fondant. Cut an upside down heart shape for the nose and use the rest of the fondant to cut out various size daisies for the decor. Place the nose on the cake.
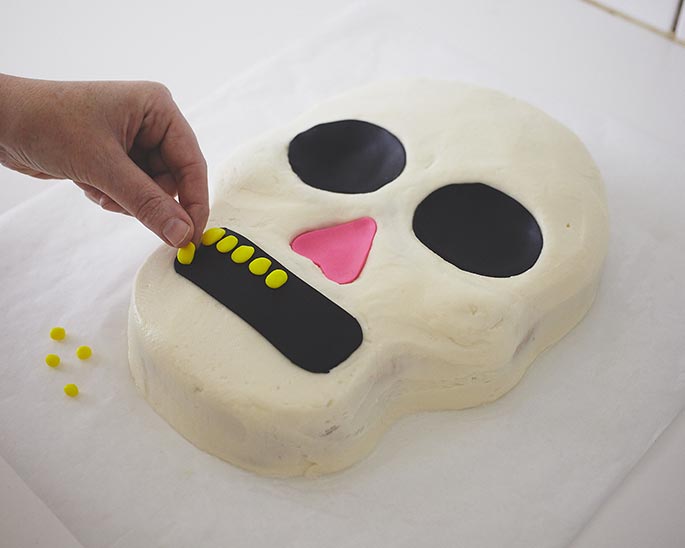
Create teeth by rolling little tiny balls of yellow fondant and then flattening them with your fingers to get an oblong tooth shape. These do not have to be perfect, or all the exact same size, in fact it will look more like a “folk art” style cake if they don’t match perfectly.
Moisten the back of each tooth with a dab of water before adding them to the mouth.
When the teeth are done, roll out some additional yellow fondant and punch out some yellow daisies in various sizes so that you have a variety to work with.
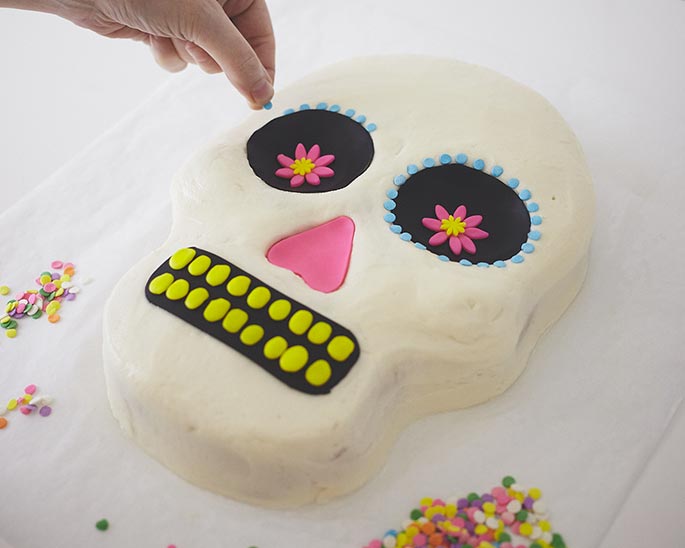
Now the fun part starts. Use a combination of daisies, confetti sprinkles and some fondant to finish the cake and give it your own touch. We used daisies in the eyes, cheeks, forehead and chin. We added blue confetti sprinkles around the eyes and then added them in various colors on the chin and forehead. We then rolled little black ropes of fondant that we coiled and added in a few places to give the skull some dramatic whimsy.