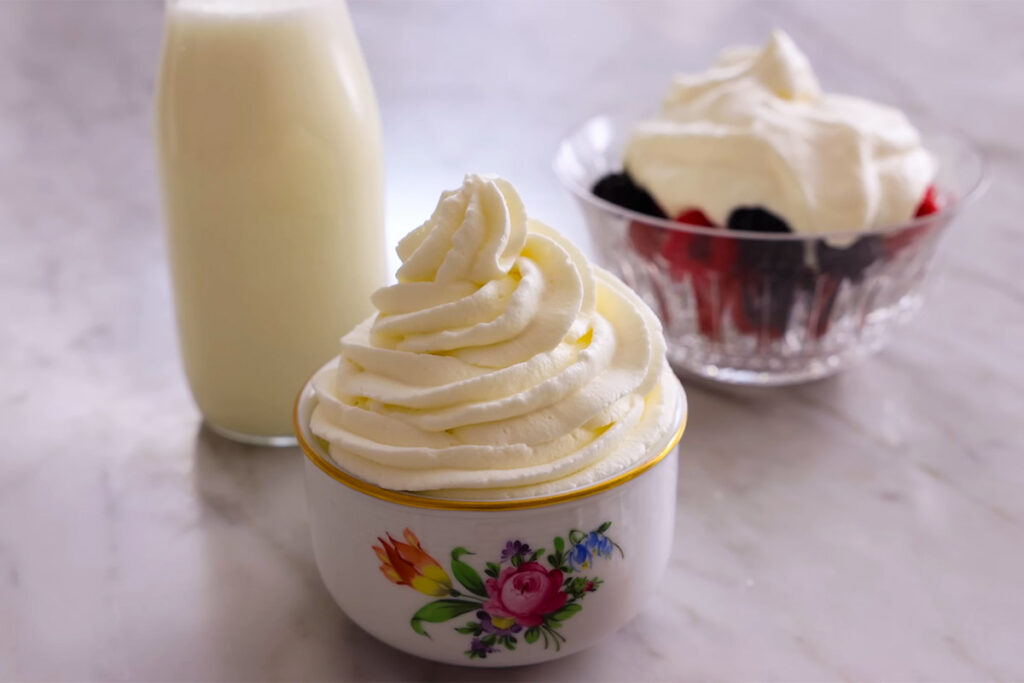
Let’s say you’ve got a delightful cake, pie, or cupcake sitting on the counter, waiting for an extra touch.

What’s the secret tip that can jazz up those desserts, especially if you’re new to the topping game? Whipped cream, my friend! Trust me, I’ve tried to pair whipped cream with every flavor under the sun, from banana cake to zucchini bread, and it’s always a match made in heaven.
Why Whipped Cream Is The Best For Us
- Its fluffy texture is like a breath of fresh air when paired with denser desserts, like carrot cake loaf, coffee cake, you name it. Plus, the sweetness is just right (not too much, not too little), thanks to the natural sugar in the cream. And how can anyone skip the high butterfat content in heavy cream? A one-way ticket to creamy town, let me tell you!
- Whipped cream is the bridge between different flavors. It cuts through the rich pops of the chocolate cake and dials down the fruity tartness like a pro! Every taste bud gets its fair share of enjoyment without feeling overwhelmed.
- And guess what? Whipped cream isn’t just for desserts. Feel free to add it to your morning coffee, toss it into a fruit salad, or, heck, even plop it on your breakfast cereal. This guy can do it all!
4 Basic Steps To Make Homemade Whipped Cream
What You Will Need For This Recipe
These are our baking buddies:
- Heavy whipping cream or cold heavy cream (duh)
- An electric mixer (both stand and handheld mixers sound fine to me)
- Mixing bowl
- Granulated or powdered sugar (for sweetening)
- Pure vanilla extract (you can go for store-bought stuff or make one yourself)
Instructions
Step 1.
Let’s make the perfect whipped cream together!
First things first, grab some heavy cream. Remember that the colder, the better – it makes whipping a breeze and gives you that light, fluffy texture we all love. Room temperature won’t do!
Also, here’s a pro tip: I sometimes chill the whisk attachment and mixing bowl in the fridge for 30 minutes (or 15 in the freezer). It’ll speed things up.
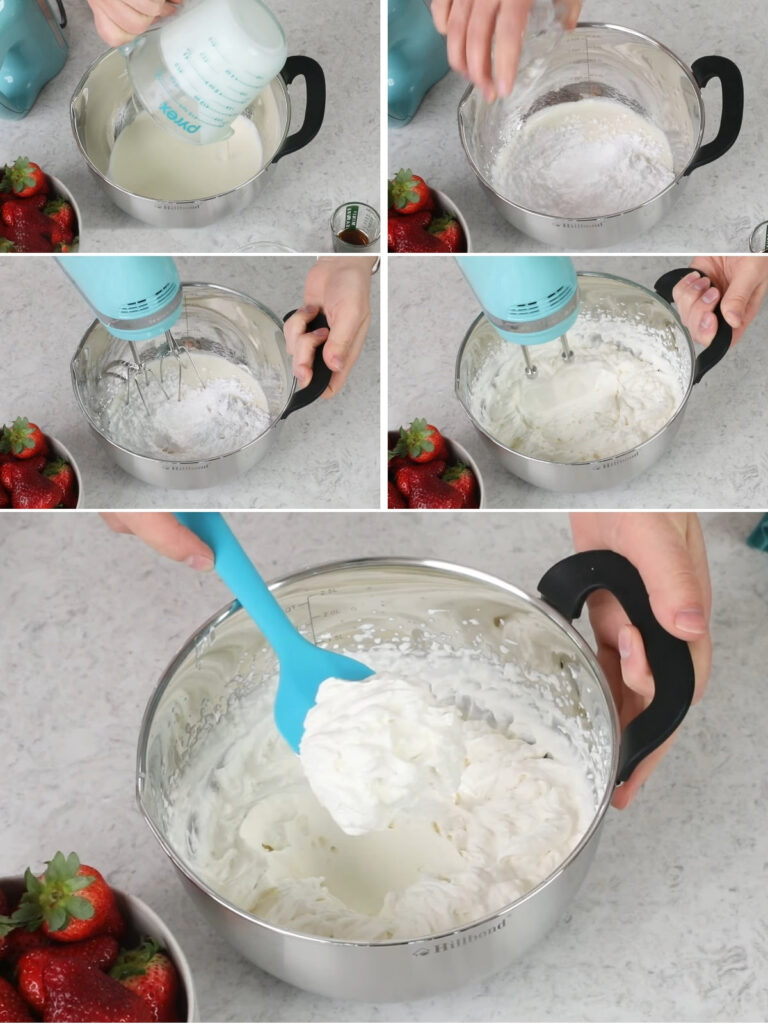
Step 2.
Now, onto the whipping part. Medium-high speed is your sweet spot (not too fast or slow, you know?) High speed can overwhip in a flash, while low speed might leave you with under-whipped cream.
So stick to medium-high and let it work on your ingredients – sugar, heavy cream, and vanilla extract.
Step 3.
Don’t take your eyes off the mixer! Whipping cream only takes a few minutes, and trust me, it’s a fine line between soft peaks and over-mixed disaster.
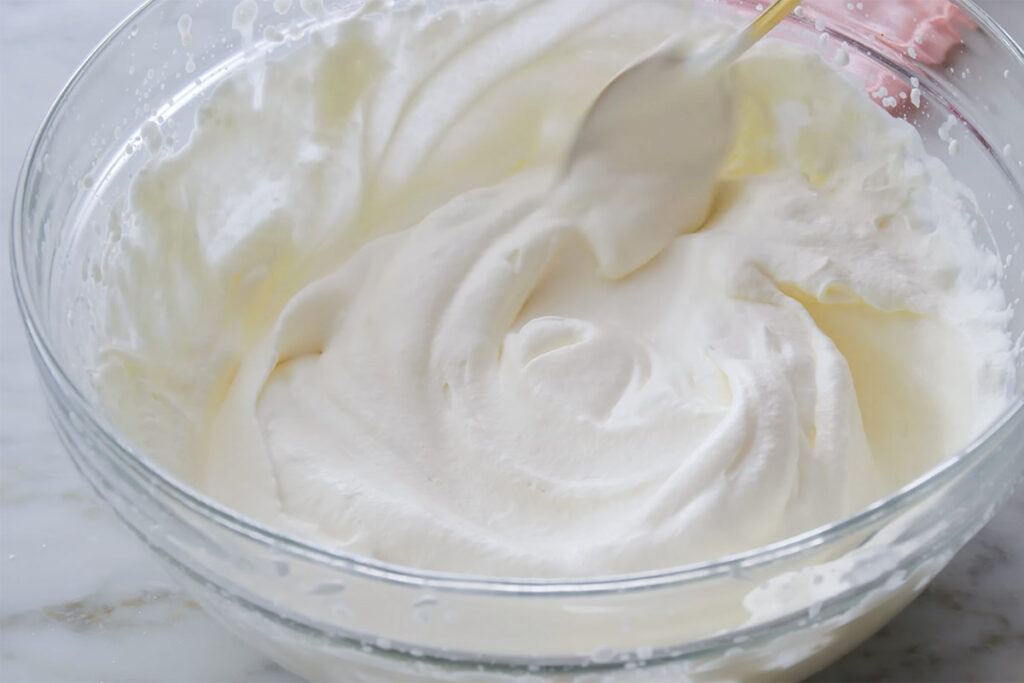
You’ll know it’s ready when it looks smooth and billowy. And look for those medium peaks! Once you lift the whisk or beaters out of the bowl, you’d want a semi-solid peak that holds its shape but still has a little droop to it. Too runny or too stiff is out of the question; it must be something in between.
Feel free to stop your mixer and double-check the texture consistency while you’re at it. It’s better to be safe than sorry.
Step 4.
Continue with the rest of your baking recipe, then dig in and enjoy!
Notes
1. I said earlier that you can use either powdered or granulated sugar for whipped cream. But seriously, which one is better?
From my experience, powdered sugar is WAY more convenient; it dissolves much easier than granulated sugar since the granules have already been finely ground. I never have to worry about any gritty texture in my whipped cream!
If you still want to use granulated sugar (unsurprising; it’s cheaper and easier to buy), make sure to beat the cold cream longer so all the sugar crystals can dissolve.
2. Many of you want to add honey and maple syrup for extra sweetness. But I have some not-so-great news: their liquid nature might thin out the whipped cream slightly. If you still swear by them, use them sparingly or make up for it by reducing the cream!
Similarly, alcohol (like liqueur) adds flavor but might prevent our sweet cream from properly whipping if used too much, so be careful.
3. Vanilla extract is a classic for whipped cream for a reason; it dances so well with so many dessert flavors without trying to overpower them. Still, it’s not like I asked you to stick with vanilla forever; there are TONS of other options on the table!
- Almond extract adds a nutty sweetness that pairs nicely with chocolate or fruit desserts.
- Spices (cinnamon or nutmeg) can create a warm and cozy taste, perfect for autumn parties.
- A small amount of instant coffee can bring out a subtle coffee flavor in your chocolate or mocha desserts.
No matter which flavoring option you choose, remember to start with a teeny-tiny amount and add more (if you want) after each taste test. There’s no reason to rush yourself and risk ruining the whole thing.
4. Whipped cream loses its volume over time as the air bubbles escape. But don’t freak out — I already figured out the solution. Stabilizer to the rescue!
That’s right: a little unflavored gelatin or cream of tartar can help strengthen the structure of the whipped cream and let it hold its shape for much longer than expected. Just whisk them in with the cream before whipping.
5. As the air bubbles will break down over time and make the cream lose its volume (as I just said), I often enjoy the whipped cream as fresh as possible. But what if you don’t want to dig in right away? Luckily, storing leftovers is still an option.
When placed in an airtight container, homemade whipped cream can last 5 to 7 days in the fridge. Sure, the texture might become slightly softer after day 6, but you can still use it in dishes where a looser consistency isn’t much of an issue. Milkshakes or parfaits, for example!
6. Can we whip it up without a mixer?
Totally! It DOES take more effort, but it is still very much doable. You only need to make sure everything is very cold, including the cream, bowl, and whisk. The cold temperatures will help the cream whip up faster and with more volume.
Whisk strongly with both hands and be patient. It will take 6-7 minutes of whisking to reach semi-stiff peaks!
FAQs
My Whipped Cream Won’t Stiffen Up! What’s Wrong?
The most common culprit is temperature. As I already said, make sure your cream, bowl, and whisk are all very cold.
Overbeating is also a likely reason. Once the semi-stiff peaks form, stop mixing immediately. Continuing to beat only breaks down the fat and creates a curdled texture!
Can I Use Milk Instead Of Cream To Make Whipped Cream?
???? Absolutely not, that’s insane! Whipping cream has at least 30% fat content to create a fluffy texture – something lower-fat milk can never achieve.And that’s how to make whipping cream from whipping cream. Good luck!
Homemade Whipped Cream
Ingredients
- 1 cup heavy cream or heavy whipping cream, cold
- 2 tbsp sugar (powdered or granulated)
- ½ tbsp pure vanilla extract
Instructions
- Grab some heavy cream. Remember that the colder, the better. To speed things up, you can chill the whisk attachment and mixing bowl in the fridge for 30 minutes (or 15 in the freezer).
- Whip all the ingredients (heavy cream, vanilla extract, sugar) at medium-high speed (1-2 minutes).
- Don’t take your eyes off the mixer; feel free to stop it and double-check the texture halfway through. The whipped cream is only ready when:
- It looks smooth and billowy.
- You can spot medium peaks (which hold their shape but still have a little sag to them)
- Continue with the rest of the baking recipe. Enjoy your favorite desserts!
Notes
- Powdered sugar is the most common sweetener for whipped cream because it does not leave unwanted grit. You can also use granulated sugar, but it might take longer to dissolve.
- For flavored whipped cream, use a small amount of honey, maple syrup, or liqueur. Don’t go overboard, though.
- Vanilla extract is a classic, but you can explore other flavors. A little almond extract, cocoa powder, spices like cinnamon or nutmeg, or even a splash of instant coffee can add interesting layers.
- If you plan to let your whipped cream sit for a while before serving, add a stabilizer to help it hold its shape longer. A small amount of unflavored gelatin or cream of tartar can be whisked in before whipping the cream.
- Homemade whipped cream is best enjoyed fresh, but leftovers can be stored in an airtight container in the refrigerator for up to 7 days. The texture may become slightly softer, but it can still be used for parfaits or milkshakes.
- While a mixer is quicker and easier, you can also make whipped cream with a whisk by hand. Use a chilled whisk and bowl, and ensure the cream is very cold.