
Have you ever tried those sweet, bite-sized cake pops? They’re like mini cake balls on adorable lollipop sticks (so it’s named), and boy, are they a hit! My bakery’s buzzing with folks swooning over those cuties lately.
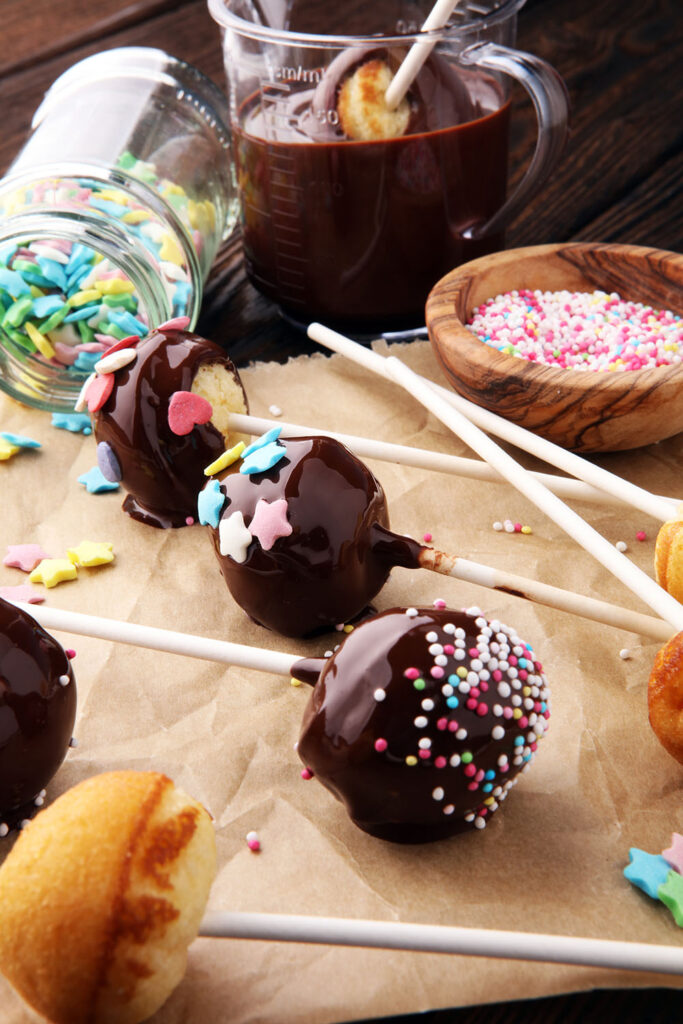
Storing these darlings is admittedly not a walk in the park, but no worries; I’ve uncovered a treasure trove of secrets in the past few years to keep my cake pops tasting fabulous! Keep scrolling for some insider tips from my own baking adventures.
How Long Do Cake Pops Last?
Keep them in a cool and dry place on your counter, and they’ll stay yummy for about a week. Throwing them in the fridge can extend their lifespan to 2 weeks or 1 month. Oh, and when chilling in the freezer, they can sit around for a whopping 3 months!
Dipped or plain, cake pops pretty much hang in there for about the same time. Still, thanks to the cool protective coating that’s got their backs, dipped cake pops are more of the endurance champs at room temperature. Homemade dipped ones stay fresh for 3-4 days, while store-bought versions are marathoners that can last a sweet 1-2 weeks.
Top 3 Methods To Store Cake Pops
You’ve got excellent options here: stick the cakes in the fridge, let them chill in the freezer, or just leave them out in the open at room temperature. It’s all about what works best for you!
Method 1. At Room Temperature
Step 1.
Let’s start by giving those cute cake pops a comfy nest.
You know when you’ve prepped these sweet delights for a party, but it’s not time to showcase them yet? Grab some containers or stands and wrap them up with wax paper or plastic wrap – it’s like tucking them in for a cozy nap until the party starts. Oh, and do not forget to bring them back home after the bash!
Step 2.
Now, get ready for some personal cake pop fashion. Ever thought of dressing them up like a star?
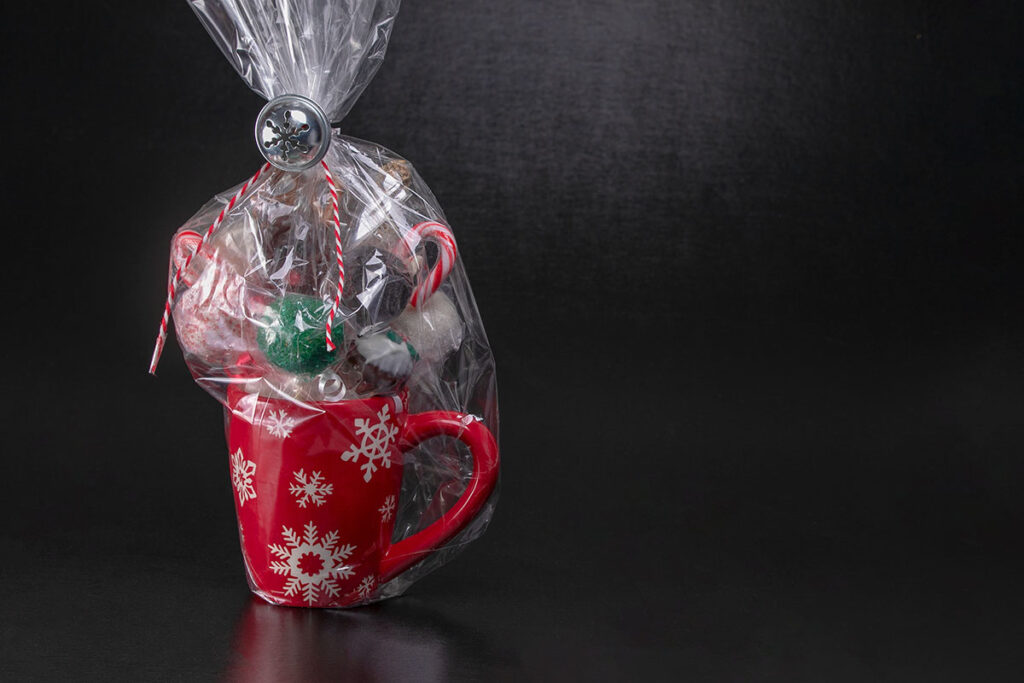
Get your hands on small-sized treat bags. Pop each cake into its bag head first, then seal it with a twist tie or ribbon around the stick, leaving some room between the cake and the tie. Truly a red-carpet moment!
This tip not only protects all your cakey treats but also makes them super easy to move around at parties. Perfect for weddings or any bash where everyone gets their own treat!
Step 3.
Cake pops are all about a chill vibe – cool, dry places are their jam. So, find a nice, quiet spot away from glaring sunlight or direct light sources. A spot on a table or pantry shelf far off reach should work great!
And let me remind you: the dipped ones are all set to dazzle for a week or even more at room temperature, ready to sweeten up your days or impress your guests anytime!
Method 2. In The Fridge

Step 1.
Grab a decent-sized Tupperware container and line it up with your paper towels like making a cozy bed for these cake pops. A little absorbent action from the towels helps keep the pops in top form while they chill in the fridge.
Step 2.
Now, let’s get those cake pops comfy inside your container. Lay them flat, side by side, facing the same way (think of it like they’re lining up for a photo shoot, with 0.32 cm or ⅛ inch in between!)
Do so gently so that your cake pops do not squish against each other here. Oh, but if they’re already wrapped up individually, just pop them in the container as they are.
Step 3.
Layer two: pop a second row of cake pops, facing the opposite direction on top of the first. It’s like a little cake pop dance, left, then right! Stacking them this way allows you to fit more of these sweet guys in the container.
Step 4.
Tuck them in! Cover your cake pops with another towel blanket. This final layer isn’t just for looks; it’s like a superhero cape that shields them and soaks up any extra moisture.
Step 5.
Time to give these pops a cool hangout. Stick your container in the fridge on a high shelf where it’s dry and steady. No wet spots allowed – cake pops aren’t fans of excess moisture.
Now, your cake pops should keep their cool and fresh look in the fridge for about 2 weeks or more.
Step 6.
Take them off the fridge to warm up on a dish at room temperature when it’s finally showtime. 30 minutes usually does the trick for me, but if they’re still too chilly, I would just let them lounge there for another half-hour. When their outer coatings reach room temperature, I know they are ready to be gobbled down!
Method 3. In The Freezer

Step 1.
Grab some wax paper and tear off pieces that are roughly 2 inches by 4 inches; you’ll want enough to cover each cake pop entirely and still leave a bit extra for the stick! I usually rip a bunch at once, but you can do it one by one – whichever floats your boat.
Step 2.
Wrap your cake pops gently with the wax paper.
How to do so? Lay the cake in the middle of the paper, cover the rest with it using your hands, then grip the paper where the stick meets the cake and twist that part around. This trick keeps them from getting too soggy.
Step 3.
Want an extra protection layer? Let’s get some bubble wrap and a big plastic bag ready! Cut the bubble wrap to fit the bag, lay it flat inside, and smooth out any wrinkles (this part isn’t really necessary, but it keeps your delicious cake balls from getting all banged up).
Step 4.
Fill your plastic bag with one single layer of the wrapped cake balls; pop them in so they all face the same way without snugging against each other! But sometimes, a little touch between them is alright.
Step 5.
Time for layer two! Put more cake pops in the opposite direction of the first layer, then fill in the tight spaces left from the first layer. This way, you’ll fit more cake pops in the bag without squishing them.
Step 6.
Once the bag is fully loaded, place another layer of bubble wrap at the top so your homemade cakes can stay cozy in the freezer. Now, seal the bag shut.
Step 7.
Toss those bags into the freezer so your cakes can stay good for about 3 months there. Remember to make sure they’re lying flat and don’t get squashed!
And you should find a spot where they won’t be piled on, either; I usually stick them on a bottom shelf or in a corner where they’re out of the way. If the freezer’s already jam-packed, shuffle small items around to make some room for your cakes.
Step 8.
Before munch time, take the bag out and leave it alone at room temp for at least an hour (though you can give them one or two extra hours if your cakes still feel hard). And here me out: unless you want them to get too moist inside, don’t open them until they’re completely thawed!
How About Storing The Center Only?
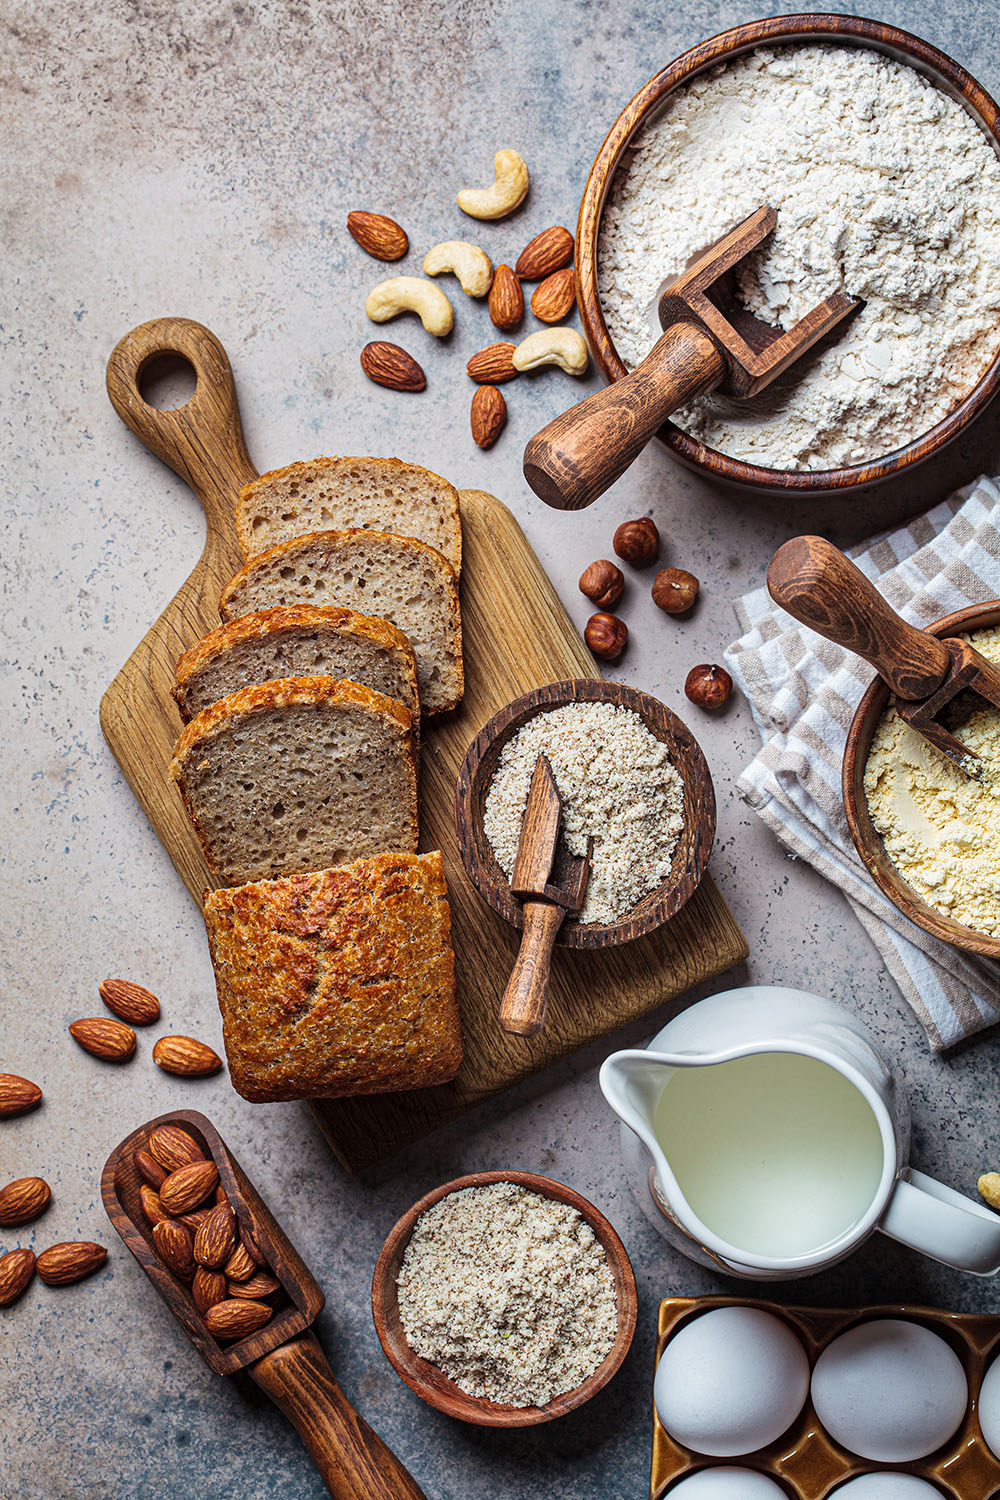
Once you’ve whipped up the cake pop centers using a mix of buttercream and baked cake (or baked them in a pan), what should you do next? Easy-peasy; stash them away for later!
Pop those pre-made shapes into your airtight seal, then toss them in the refrigerator for a week. When you’re finally ready to enjoy those cake pops, grab them from the container, mount them in their lollipop sticks, and dip the whole thing in melted chocolate!
But heads-up: if you store those cake pop centers in the freezer instead, plan ahead and give them a day in the fridge to thaw before the big dip-a-thon. That way, all cake balls can keep their shape nicely, and the warm chocolate will harden up quickly on your cool pop.
Trust me, I’m very serious here. If y’all ignore my advice and dip those frozen pops immediately, moisture might sneak into the chocolate coating and form ugly cracks once the centers expand!
Extra Tips to Keep Color Bleeding Away
We all hate it when those beautiful colors start mixing and running together. Everything looks so seriously messy! But I’ve got some tips to save the day:
- Before stashing your cake pops away, make sure they’re totally dry and their decorative frostings/candy coatings have settled completely. No more color messes while they’re chilling out!
- If you like storing a bunch of cake pops together, mark my words: never let their different colors mix up. Stick a small piece of wax paper or parchment between them – kinda like a friendly barrier!
- And what if you’re using individual bags for each cake pop? Then the colors must be bone dry before you bag them up, or there might be some horrible color swapping!
- When it comes to bags or containers for cold storage, don’t go too tight! Too much pressure might make the colors smudge or even bleed. Instead, give your crispy cake pops some space to breathe so they can keep their awesome looks and delicious taste intact.
Why Are Your Cake Pops Leaking and Cracking?
Those pesky cracking cake pops can be a real pain, I know. But trust me, a few simple tricks can solve the mystery easily! Here’s the lowdown on why it happens and what I often do to solve it:
Temperature Troubles
Cracking is inevitable when your cake ball and the coating have a big temperature difference. Say, the cake ball’s too cold and the coating’s too hot; your cake will contract when those two chill together, and bam – the coating breaks! It’s just like a vicious temperature tug-of-war.
Fix: Place both your coatings and cake balls to room temperature before dipping, and let the balls warm up a bit if they still feel too chilly after a while. And from what I know, most candy packages also have pretty clear care instructions, so follow them closely to control your coating temperature!
Moisture Mishaps
Did you invite way too much moisture into the cake? That means the cake will be too moist, not crumbly enough, or there’s too much syrup or liquid in the mix. Worse, using super soft or oily frosting also adds to the leaky situation.
Fix: Bake your cake until it’s dry enough to crumble easily. And you should stick to cake recipes meant specifically for cake pops only; they’re usually less moist! Sometimes, I even skip certain liquids in the cake mix (although they are some very convenient options, I admit) to go for stiffer frostings with less fat.
Dipping Drama
Messing up the dipping part is the last thing we want; both over-dipping or multiple dips set you up for a super thick coating asking to be cracked! And if you don’t tap off that extra coating immediately, don’t whine to me later when those nasty leaks and drips finally knock at your doors.
Fix: Dip your cake pops just once, quickly and completely, for a nice and thin coat, then tap off any extra coating against the bowl’s side to avoid drips. Tools like dipping forks can help you handle them very gently while keeping cracks at bay.
Why Are There Bubbles On The Cake Pops?
Time to reflect now: did you fail to mix the cake batter all through? No wonder the air bubbles trapped inside finally rise and create all those unwanted pockets. Leftover baking soda or powder reacting in the batter is sometimes another annoying culprit!
So, how do we fix this?
While baking, remember to give your ingredients a good whirl with a hand mixer or vigorous whisk, making sure everything’s nicely combined. Do the same with your baking soda and powder, and keep going until they are completely dissolved and mixed in!
Still want to go the extra mile? Consider sifting your dry ingredients for a smoother blend.
Conclusion
Cake pops can stick around for a good while, anywhere from a week to a whopping three months! It all comes down to where and how you stack them.
I’ve gathered three of the most common storage solutions based on my own cake pop experiences. But if none of them seems to do the trick for your frozen cakes, no sweat! Just drop me a line so we can work it out together.
Happy baking!
Very helpful advice
Thank you