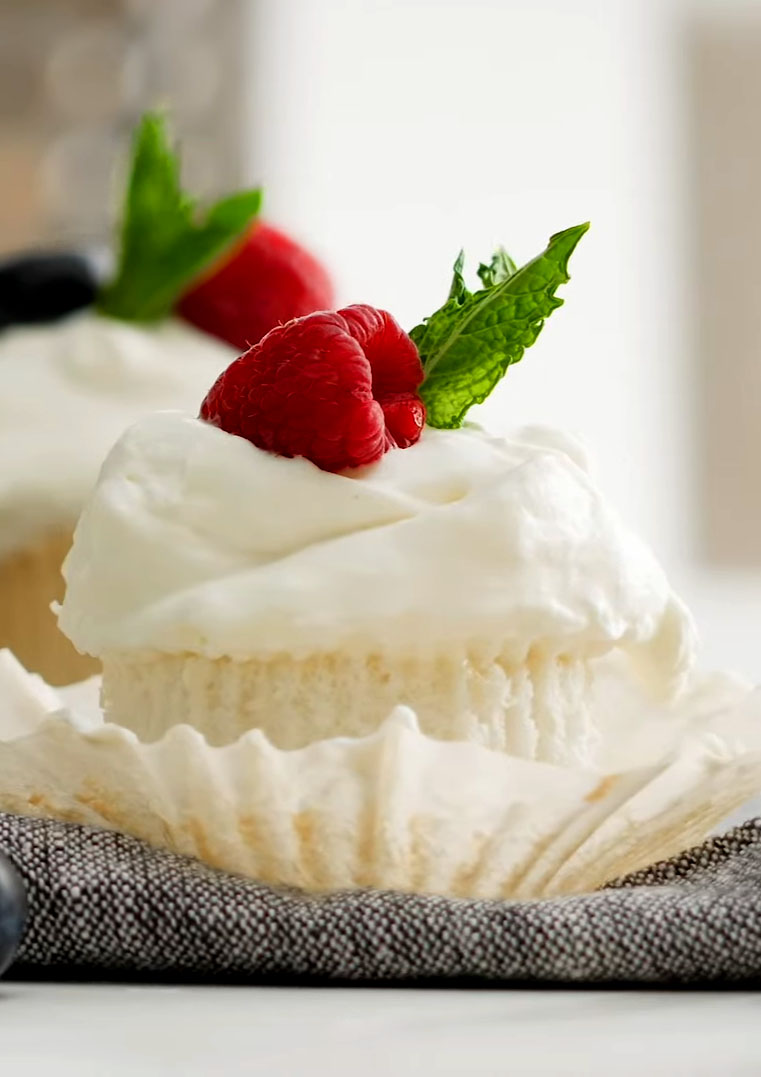
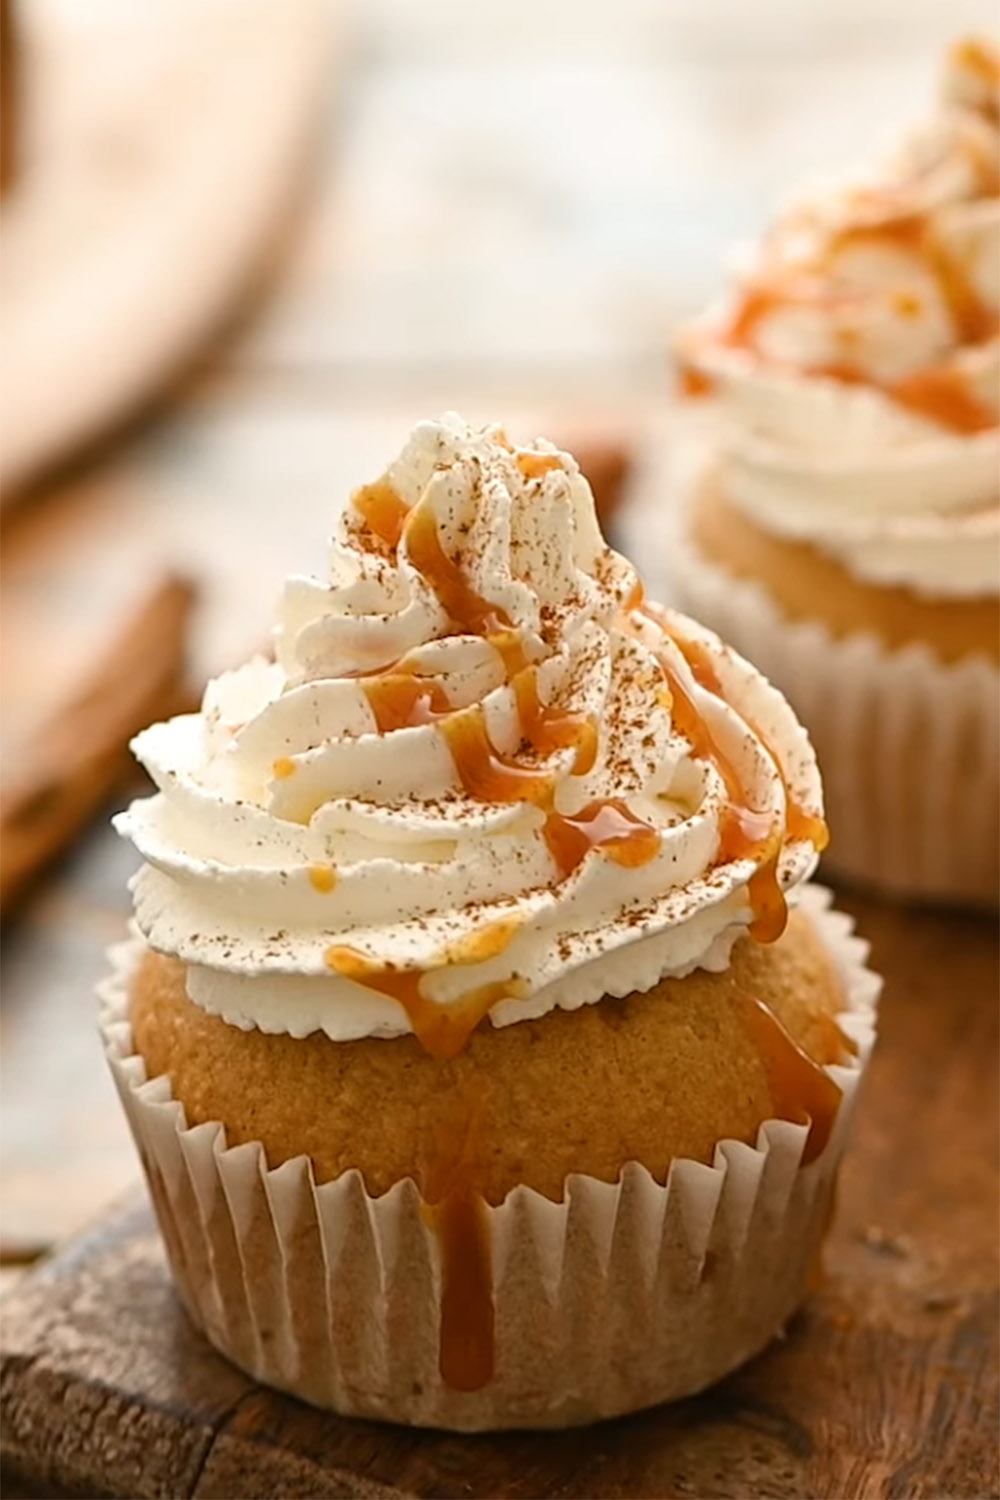
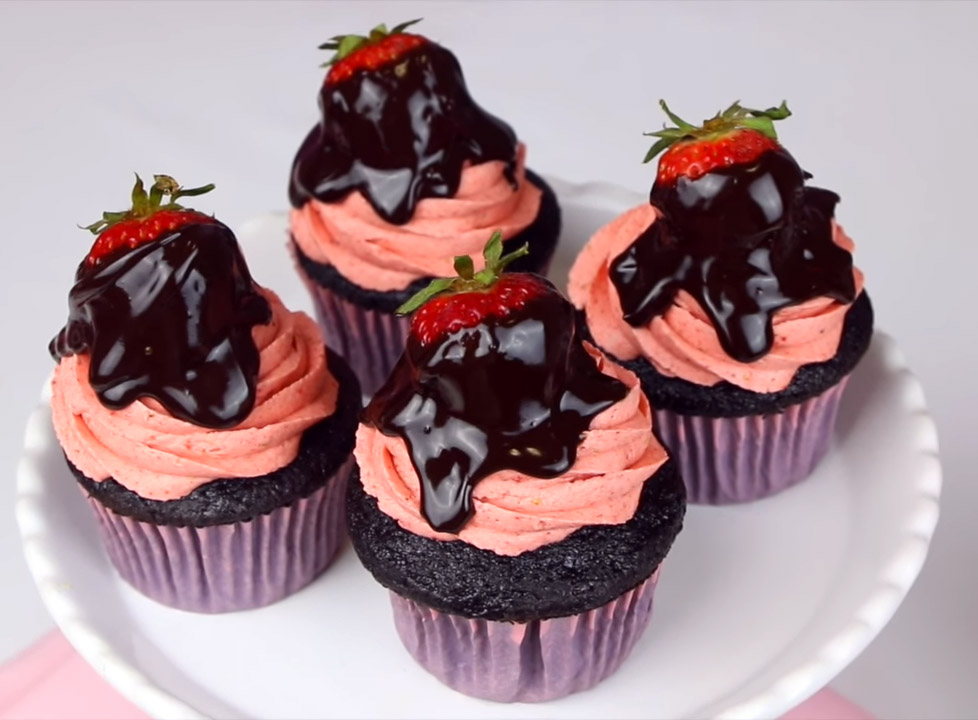
With a Boston cream cupcake, we’ve got a vanilla/yellow treat loaded with creamy custard and topped off with a smooth, glossy chocolate ganache, just like the big pie!
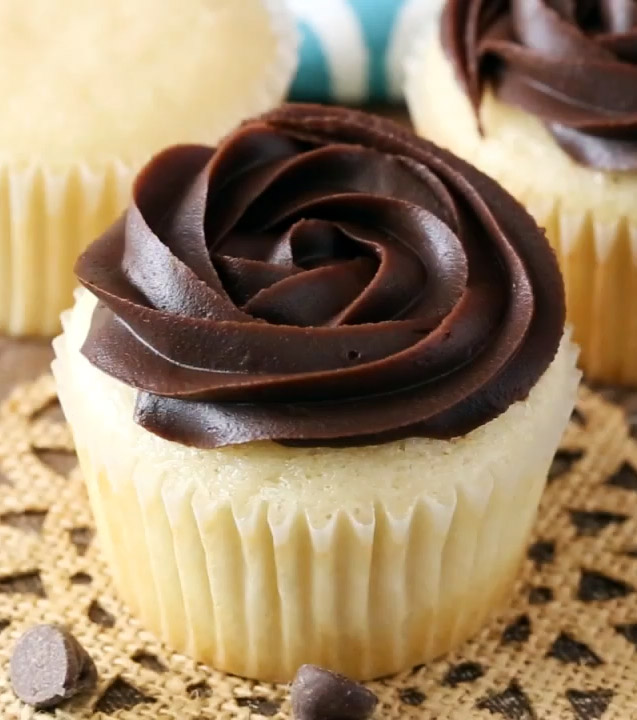
My kiddos have always been crazy about Boston pies, but their little tummies cannot handle the whole thing. That’s why I thought, well, why not make them in cupcake forms? Less fuss, less stress for the whole fam!
Why This Boston Cream Cake Cupcake Recipe Stole Our Heart
- These guys are fluffy, vanilla clouds with a texture almost like a sweet sugar cookie. Right at their hearts is a cream pastry filling, topped off by luscious chocolate ganache to create this wonderful contrast between flavors and mouthfeel.
- Sure, ganache is the classic frosting move, but don’t be shy about mixing things up! You can swap it out for vanilla or cream cheese frosting – or go wild with a caramel drizzle for a whole new flavor adventure.
- And here’s a tip: throw some fresh or frozen berries, chopped fruit, or fruity sauces into the mix. Trust me; it will be an instant refresh button for your taste buds!
- They’ve got that festive vibe perfect for birthdays, holidays, or any special occasion that deserves a sweet celebration. Even better: pair them with coffee, tea, or even a glass of dessert wine, and their sweetness will step up to a whole new level. Cheers to the rich flavors that ooze out of every single bite!
Recipe For Boston Cream Cupcakes
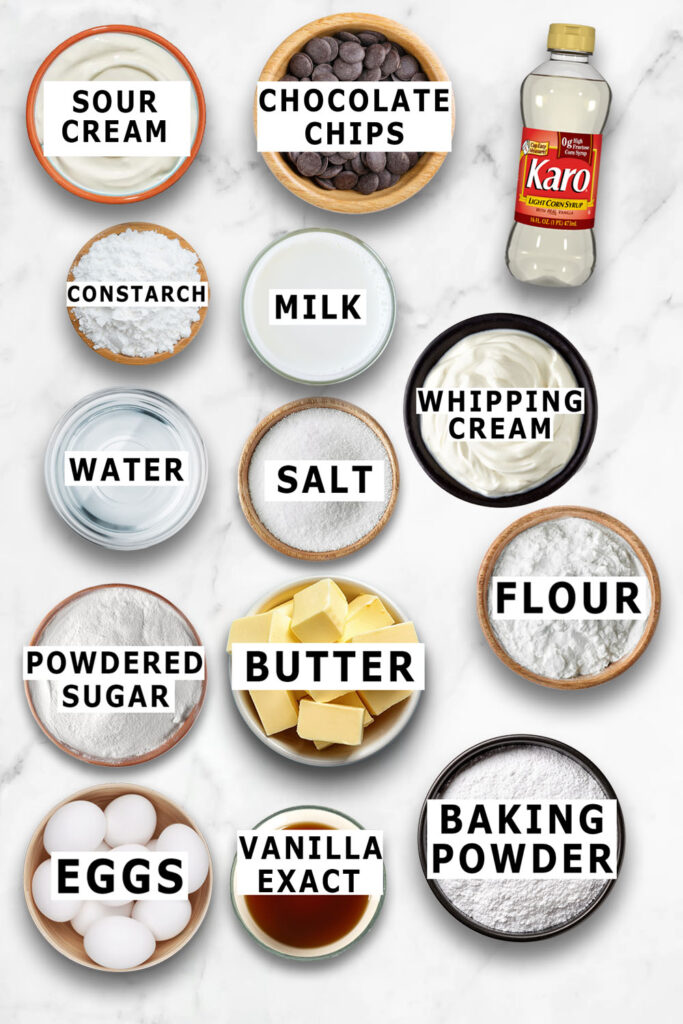
Step 1.
Let’s kick things off and preheat your oven to a cozy 350°F (or 176°C). Do not forget to pop some cupcake liners into your cupcake pan!
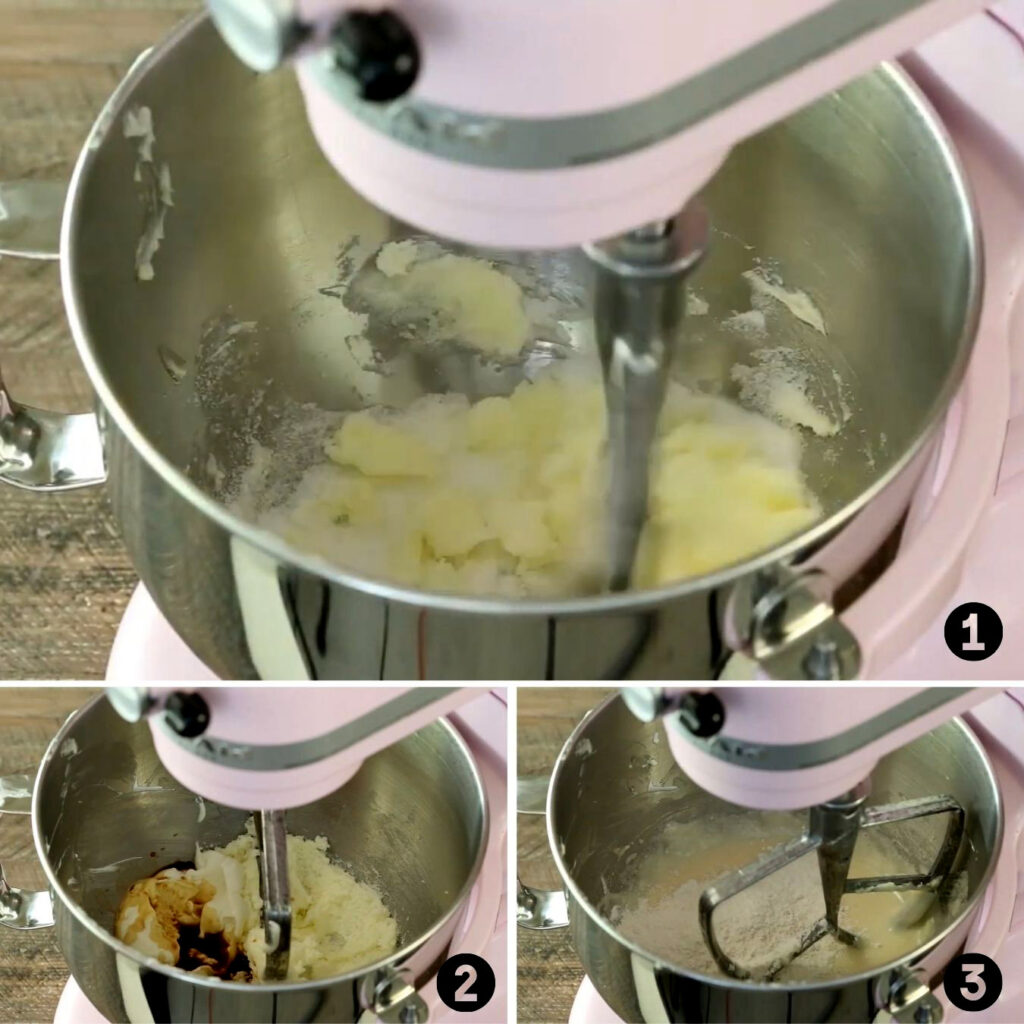
Next, grab a big mixing bowl and throw in the sugar and cream butter. Here’s where the magic begins! Mix them up until it’s all light and fluffy – and no shortcuts here, by the way. We are talking a solid 3 to 4 minutes for that creamy goodness!
Step 2.
Now, let’s keep the party going. Toss in the vanilla extract and sour cream. Again, give them a good mix until they shake hands like old pals.
Time to add those egg whites! Do it in two batches and mix well after each. Oh, and don’t forget to scrape down the sides of your bowl – we want everyone to be in on the fun!
Step 3.
In a separate bowl, mix up the dry ingredients. Then, in a tiny measuring cup, team up the water and milk. That’s right; they’re about to join our flavor parade.
Step 4.
Mix half of your dry ingredients into the batter until they’re all best buddies. Then, pour in the water-milk mixture and give it another whirl.
Now, throw in the rest of the dry ingredients, mix it up again, and don’t forget to treat the sides of the bowl with some good scraping!
Step 5.
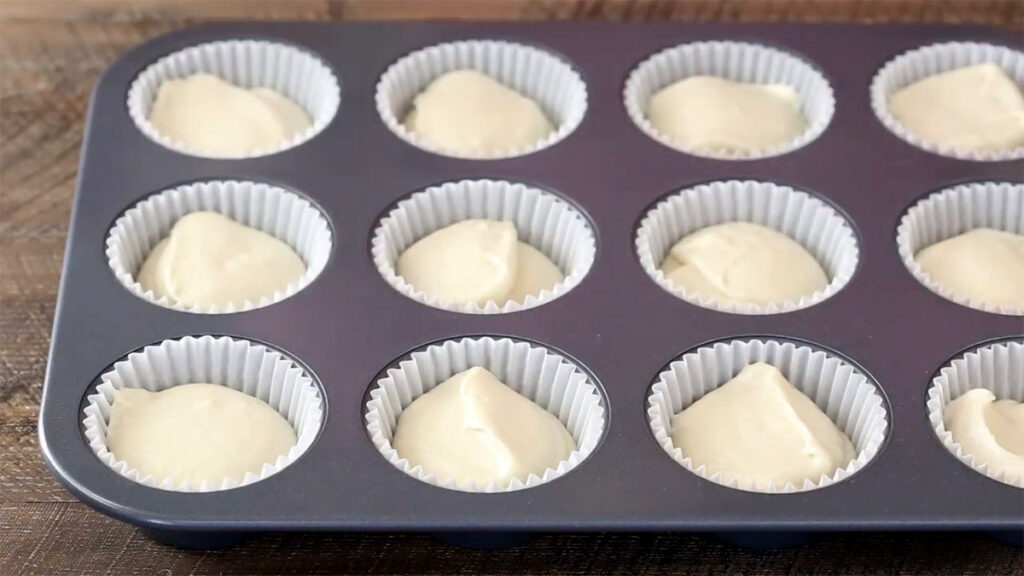
Okay, time to show those cupcake liners some love! Fill them up about halfway (yup, we’re aiming for that sweet spot), then pop them in the oven for 15 to 17 minutes or until the toothpick you put in gets a bit of crumbs on it.
Step 6.
Ding ding! Cupcakes are out of the oven, but hold your horses. Let them chill for a cool 2 to 3 minutes, then transfer them to a cozy cooling rack to wrap up their cool-down session.
Step 7.
While our cupcakes are getting their cool on, let’s whip up some pastry cream! Grab a bowl, toss in those egg yolks, and give them a gentle beat.
Next, find yourself a saucepan – the bigger, the better! Toss in the milk, cornstarch, and sugar, then mix until it’s all smooth and ready for action.
Kick up the stove to medium-high heat and keep stirring until the mixture thickens up with some bubble excitement. Now dial it down to medium, then let it simmer for about 2 minutes before taking it off. We’re not done here yet, by the way.

Step 8.
Introduce a bit of the milk mixture to your egg yolks; whisk them together until they’re like best buds!
Now, bring that egg mixture back to the milk crew. This entire step is to make sure we don’t cook up those egg yolks; you know, we want a creamy treat, not some flat, scrambled eggs!
Step 9.
Back to the stove! Put the pan on the heat again and bring it to a light boil. Let it bubble away for 2 minutes, and don’t forget to keep stirring – we’re almost there.
Step 10.
Let’s give the pastry cream a break. Off the heat, toss in the vanilla extract and butter. Stir it up until it’s all smooth, then let it relax and cool down to room temperature.
Step 11.
While your cupcakes and pastry cream are enjoying their sweet cool-down session, let’s pay more attention to the chocolate ganache.
Grab a big bowl, throw in those chocolate chips, and drizzle in some corn syrup. Heat the heavy cream until it’s just about to boil, then pour it all over the chocolate chip party.
Let these ingredients bond for about 3-5 minutes. After that, give them a good whisk until it’s all smooth and dreamy!
Step 12.
Pop that bowl of chocolate ganache into the fridge. It’s time for it to chill out and firm up – about 1 to 2 hours. We want it nice and cool for the grand finale!
After 2 hours, return to your cupcakes. Time to cut out their centers; I often use my cupcake corer, though a trusty knife works just as well.
Now comes the best part: scoop up the pastry cream we whipped up earlier and fill those cupcake centers with some creamy goodness!

Step 13.
Your cupcakes are dying for that fancy finishing touch: the luscious chocolate ganache.
You can use it to pipe some beautiful roses at the top! To get those roses blooming, start from the center, swirl your way outward, and then do a few rotations until your cupcake is all dolled up. Finally, ease off the pressure and gracefully pull that piping bag away.
Step 14.
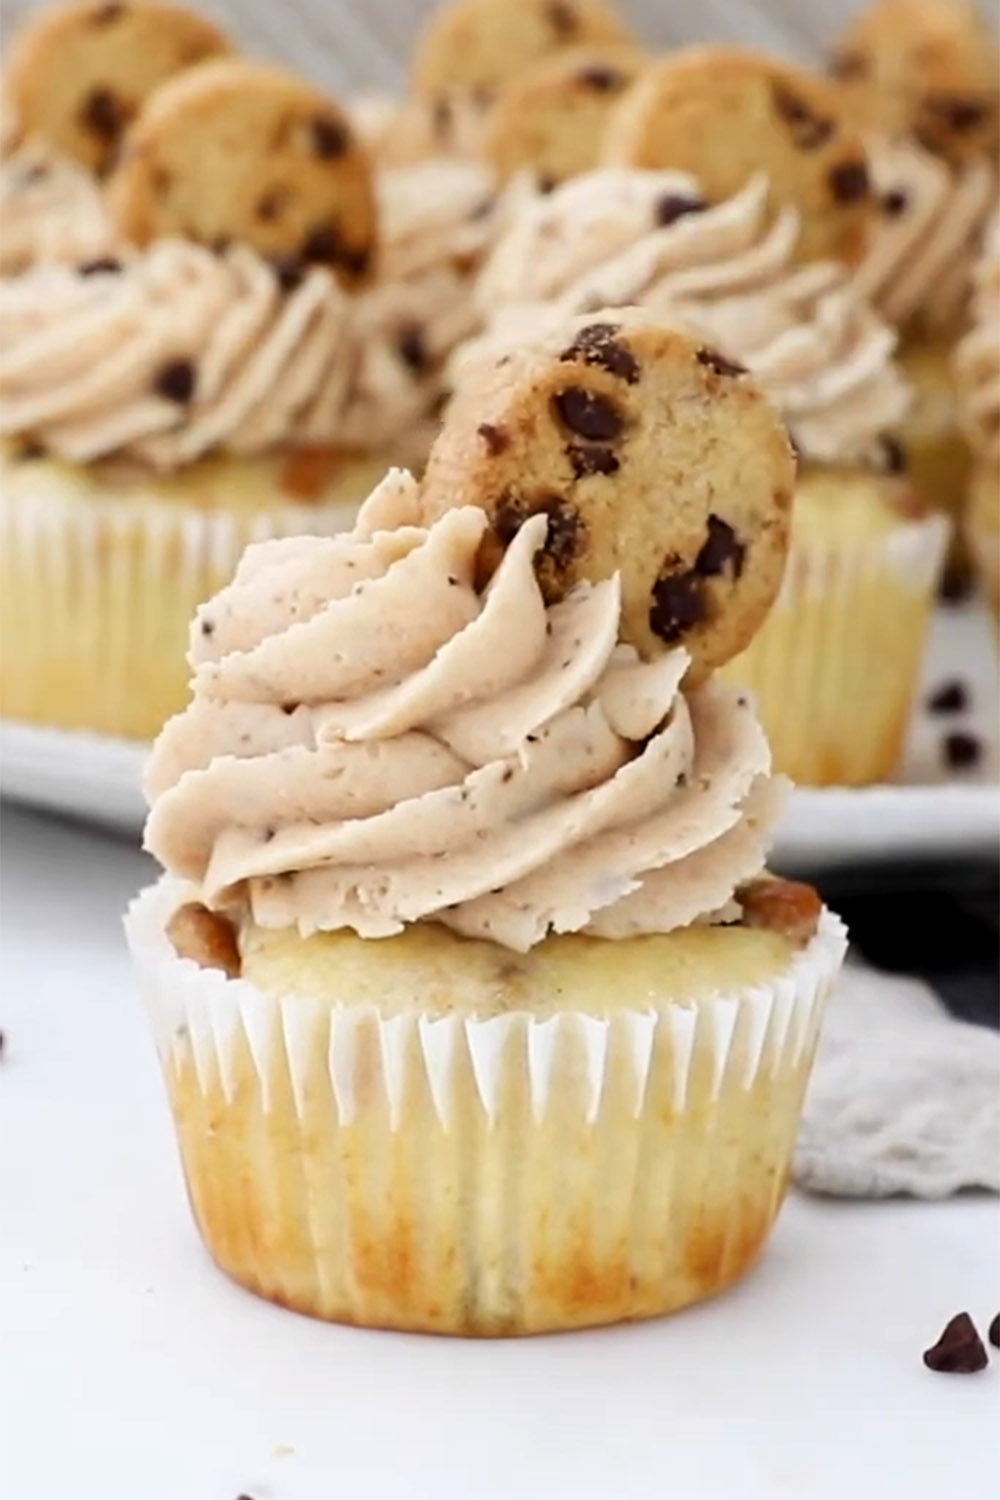
Just like salted caramel or chocolate chip cookie dough cupcakes, stack these sweet treats in the fridge until showtime, and here’s my secret: they shine even brighter when served as close to room temp as possible. Sure, the chocolate ganache might get a bit firm, but trust me, it’s worth the wait!
These cupcakes are at their prime within 3 to 4 days, so no need to hold back. Savor every bite!

Notes
- Are you in a hurry? Swap out self-made pastry cream for a packaged pudding mix instead. Just follow the manufacturer’s instructions, and you’ll be good!
- Again, make sure to let the ganache cool down completely before taking your cupcakes for a dip. Or it might end up a bit too runny!
- Here’s the great news for all you planners out there: you can get a head start by prepping the ganache, filling, and cupcakes separately. Keep them covered in your fridge, then put everything together when the time comes.
FAQs
1. Can I make Boston cream cupcakes without using ganache?
Absolutely! While chocolate ganache is often the go-to topping, there are some fantastic alternatives to jazz things up:
- Vanilla buttercream: You can go for a lighter and sweeter topping like that perfectly balances the rich pastry cream, echoing the original Boston cream pie filling!
- Cream cheese frosting: Why not give your cupcakes a zesty twist with cream cheese frosting to add a refreshing kick?
- Caramel drizzle: A warm caramel sauce drizzle will dance really well with all those vanilla flavors.
2. How can I prevent the pastry cream from leaking from my cupcakes?
Don’t rush it! Make sure your cupcakes cool completely before any of your filling attempts. Warm cupcakes tend to melt the cream and eventually let it escape!
Also, only use a piping bag with a narrow tip. This way, you can inject the cream right into the heart of the cupcake; no more edge mischief.
Have a blast with your baking adventure!
Discover More Unique Cupcake Recipes:

Boston Cream Cake Cupcakes
Ingredients
For vanilla cupcakes:
- 12 tbsp (168g) unsalted butter at room temperature
- 1 ½ cups (310g) sugar
- 12 tbsp (172g) sour cream at room temperature
- 4 tsp (20ml) vanilla extract
- 6 large egg whites at room temperature
- 2 ½ cups (326g) all-purpose flour
- 4 tsp (16g) baking powder
- ½ tsp salt
- 12 tbsp (180ml) milk at room temperature
- 4 tbsp (60ml) water at room temperature
For pastry cream filling:
- 4 egg yolks
- 12 tbsp (156g) sugar
- 3 tbsp cornstarch
- 2 ¼ cups (540ml) milk
- 2 tbsp (28g) salted butter
- 2 tsp vanilla extract
For chocolate ganache:
- 24 oz (676g) chocolate chips, semi-sweet
- 4 tbsp (60ml) light corn syrup
- 1 ¾ cups (420ml) heavy whipping cream
Instructions
Cupcakes:
- Preheat the oven to 350°F, line the cupcake pan, and cream your sugar and butter for 3-4 minutes until light and fluffy.
- Add vanilla extract, sour cream, and egg whites, scraping down the bowl’s sides between additions.
- Combine dry ingredients in a separate bowl and mix water and milk in a measuring cup. Gradually add dry ingredients and water-milk mixture to the batter.
- Fill the cupcake liners halfway with batter and bake for 15-17 minutes. Allow your cupcakes to cool in the pan for 2-3 minutes before transferring to a cooling rack.
Pastry cream filling:
- Beat egg yolks, then heat milk, cornstarch, and sugar until thickened in a saucepan. Simmer for 2 minutes.
- Introduce some milk mixture to egg yolks, then return to the pan and boil for 2 more minutes.
- Off the heat, add vanilla extract and butter to the pastry cream and cool to room temperature.
Chocolate ganache:
- Combine chocolate chips and corn syrup in a bowl and pour hot cream over them. Let the mixture sit for 3-5 minutes, then whisk until smooth and refrigerate for 1-2 hours.
- Cut out cupcake centers to fill them with pastry cream, topped with the now-cool chocolate ganache.
- Refrigerate until serving. For optimal taste, serve your cupcakes close to room temperature and within 3 to 4 days.
Notes
- In a rush? Use a packaged pudding mix instead of homemade pastry cream, following the instructions on the package.
- Ensure the ganache is completely cooled before dipping the cupcakes to avoid it being too runny.
- For those who like to plan ahead, you can prepare ganache, filling, and cupcakes separately. Refrigerate them when covered and assemble everything when ready.
