Who doesn’t love cupcakes, those little bites of joy everyone craves post-party? Sure, they’re a breeze to whip up, so folks often assume storing them is also a walk in the park.

Well, let me tell you, there’s more to it than meets the eye. Been there, done that, and learned my lessons! Let me spill the tea on my own cupcake storage adventures.
How To Store Cupcakes
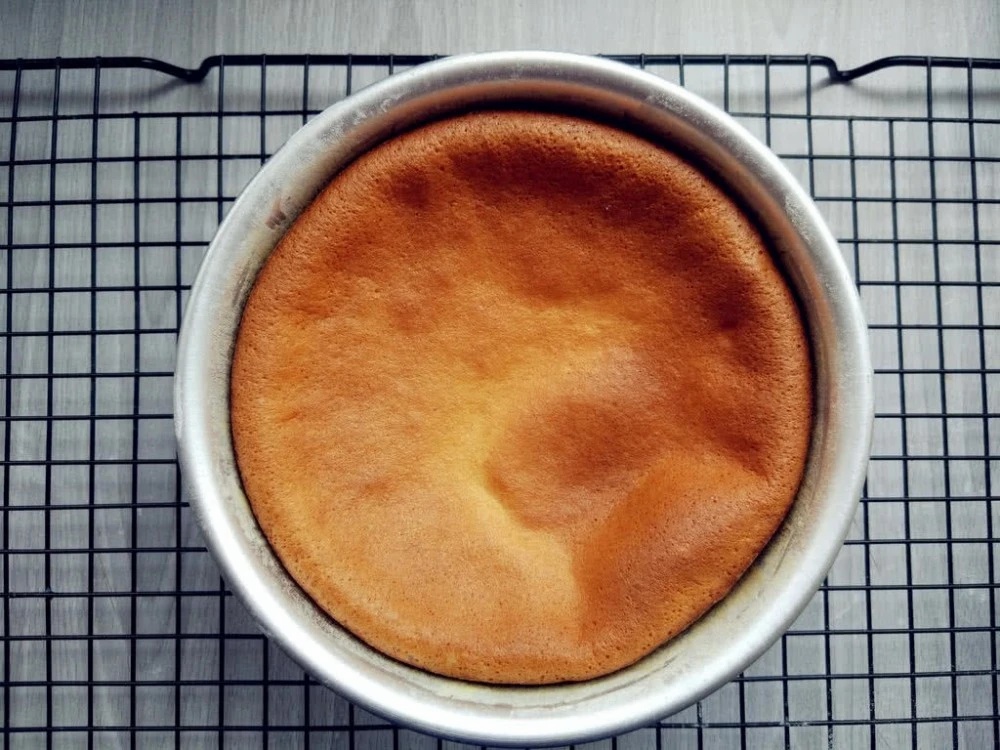
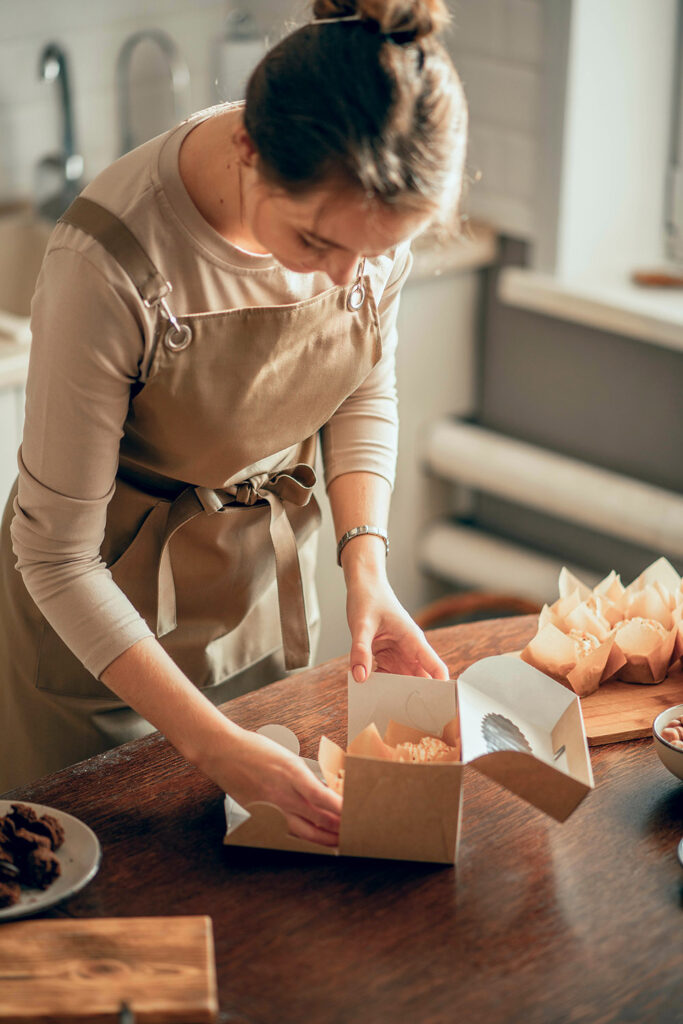
Let your unfrosted cupcakes cool on a wire rack for an hour, then tuck them in a tall container. Skip the plastic wrap (they need some breathing room), and give the fridge a pass; the counter at room temp is their happy place! Remember to frost them within a couple of days for peak awesomeness.
How about frosted ones? A tall, airtight container (at least 3 inches) is their cozy home; no fridge adventures! Although their freshness lasts about a week, they actually hit their prime in the first 3-4 days.
1. Unfrosted Cupcakes
a. Let Them Cool Completely
Shoving warm cupcakes into an airtight container right away is a bit of a cupcake no-no. Why? Well, it will make the tops all sticky and turn your frosting attempts upside down. Worse, your cupcakes might decide to play hide-and-seek with their liners! Not a fun game at all.
So, what should you do for the ultimate cupcake game plan? Here’s what I did. Once my cupcakes were out of the oven, I popped them onto a rack and left them to chill (no covers or lids) for a solid hour. The magic happens when they’re cooled to the touch!
Oh, and forget the cutting board or plate. Just go for a cooling rack; they’re super budget-friendly! And that neat wire setup lets the air swirl around your cupcakes, cooling them down faster and keeping their bottoms from turning into a soggy mess.
Cupcakes, meet your cool-down crew!
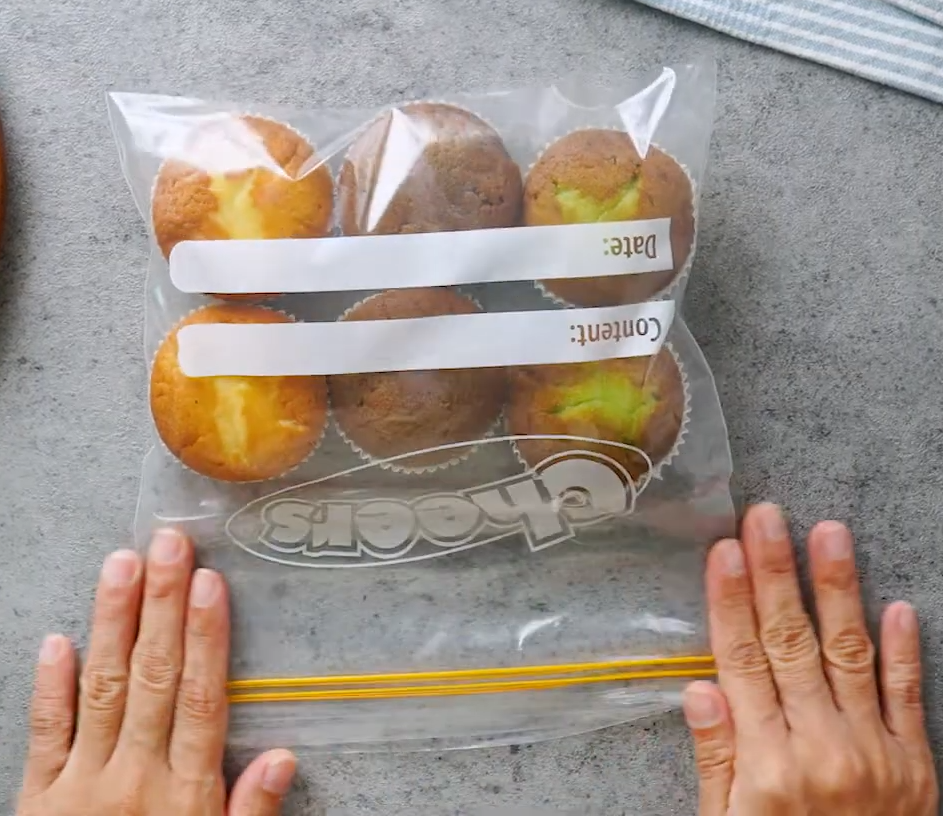
b. Store Your Cool Cupcakes In A Lidded, Tight-Fitting Container
Alright! Now that your cupcakes have completely hit the cool zone, it’s time to find them a cozy home.
I often skip the plastic wrap or the plastic bag altogether. Why? Well, giving those cupcakes a bit more space to breathe is key! Their tops will not turn sticky and can stay as fresh as can be. Plus, when tucked in a deep container or cake box, your cupcakes can enjoy their own little protective fortress – less chance of squishing disasters!
c. Put Them On The Kitchen Counter At Room Temp
To be frank, I’m all about room temperature rather than having my cupcakes refrigerated. Well, from my own cupcake adventures, the refrigerator tends to suck the moisture out of those little delights way faster than when you let them chill on the counter.
But I get it; sometimes, you’re in a sticky situation with humid and hot weather, and your frosting decides to take a nosedive.
In that case, if the fridge is your only option, no judgment. Just promise me this: bring those chilled cupcakes back to normal room temp before you serve them up. Cold cupcakes carry a curse of tasting dense and dry, and that’s not the cupcake dream we’re chasing after!
d. Frost Them Within A Couple Days
The sweet spot for cupcake freshness is within about 48 hours after baking. So, if you’re going for some frosted perfection, make it happen within 1-2 days!
Now, don’t freak out if the tops of your unfrosted cakes get a little sticky. It’s usually no biggie; sticky surfaces won’t mess with the taste. Just frost them up like you usually would, and you won’t even notice a difference!
But what if those cupcakes decide to go full-on sticky mode, and the frosting is playing hard to get? Here’s the plan: let them hang out on the kitchen counter (completely uncovered) for about 30 minutes. It often does the trick, drying out those tops just enough for the frosting to cozy up properly.
Still doesn’t work? Then grab your paring knife, trim at the cake’s top, slice off its sticky part, and then frost away!
Oh, and when frosting, consider ditching the knife for a quality piping bag. Knives can be trouble, especially with sticky tops, but a piping bag can be the cupcake’s best friend!
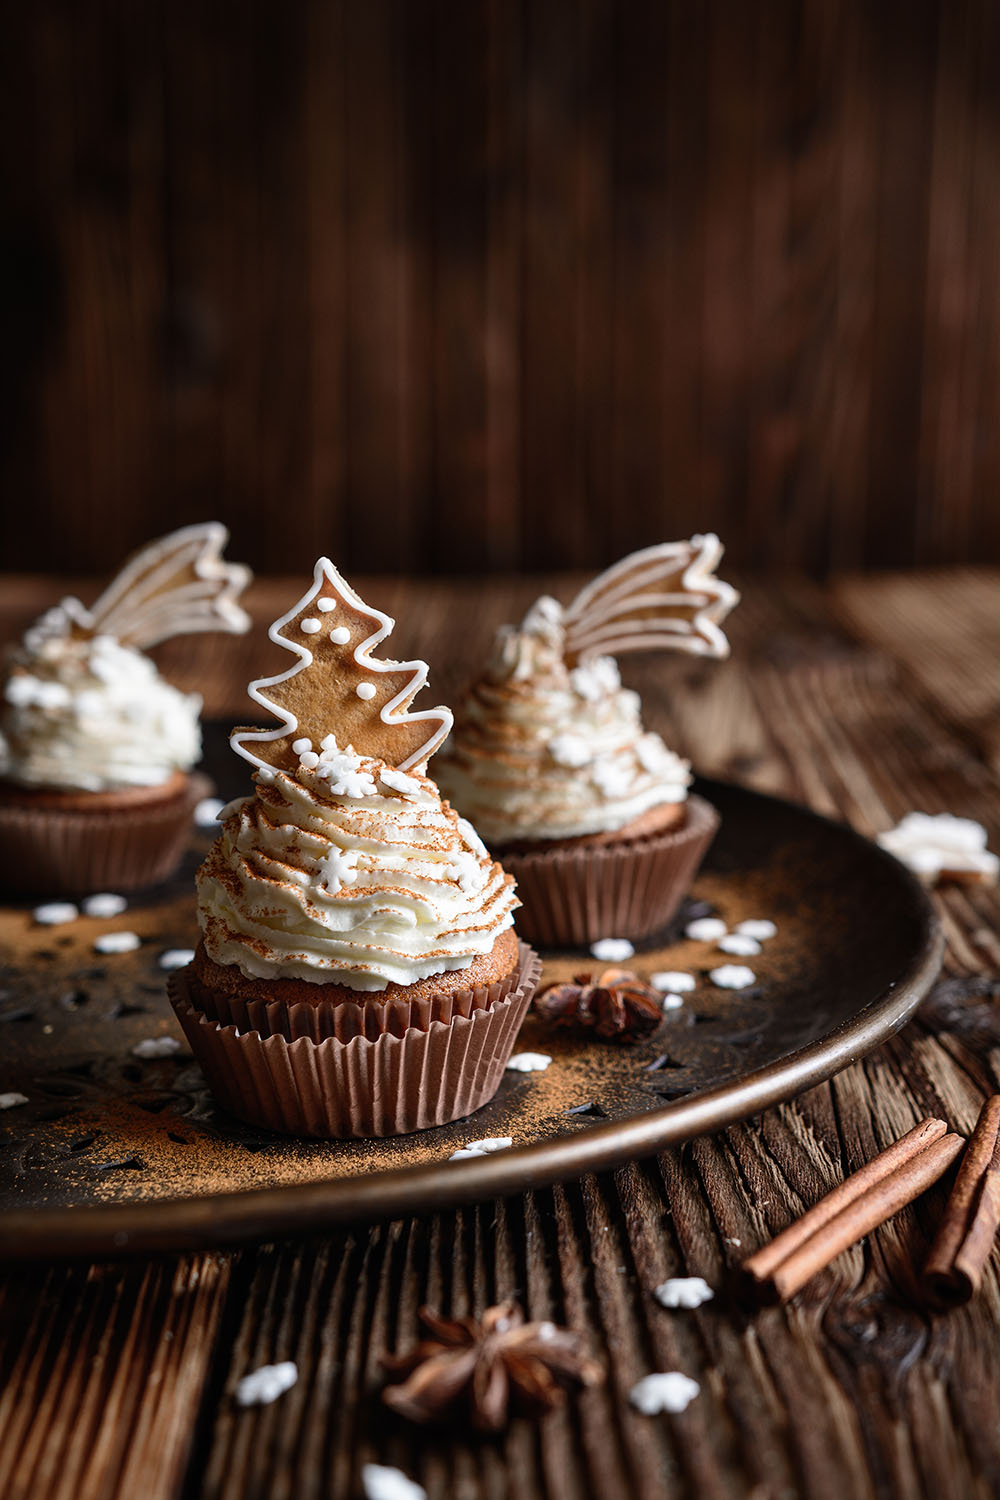
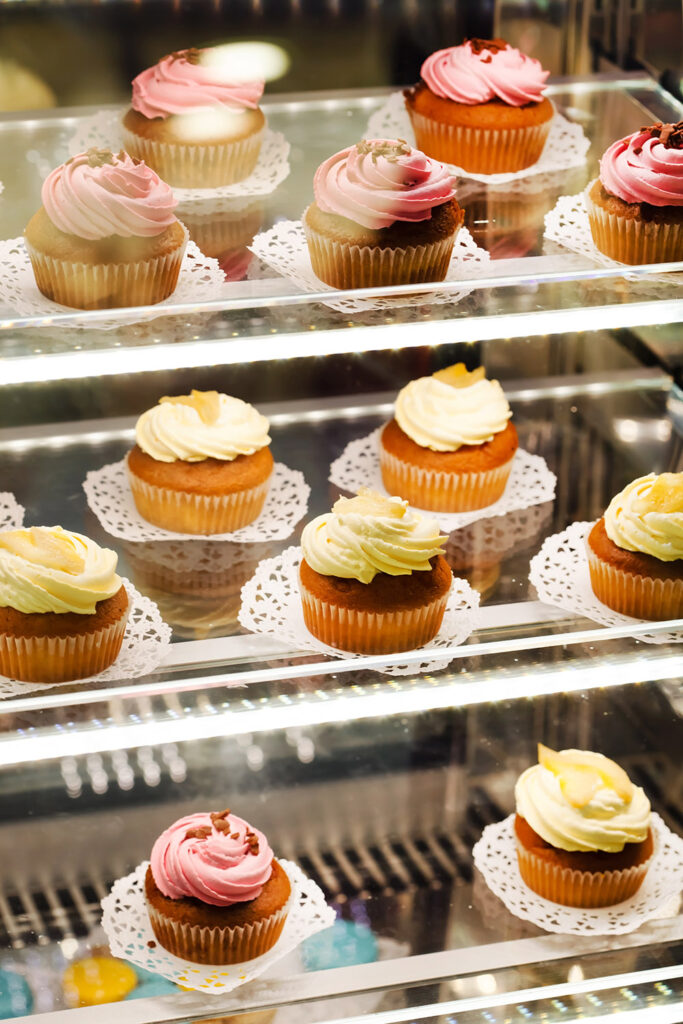
2. Frosted Cupcakes
Stashing frosted cupcakes is, fortunately, not too different from their unfrosted pals. You just have to grab a sturdy, airtight container (no need for fancy cupcake carriers, just a tall, solid box!). Look for something about 3-4 inches tall; it usually gives enough space for a regular cupcake without crushing its frosting.
And what if you’re jazzing up your cupcakes with sprinkles? I suggest tossing those frosted goodies into a sturdy container first, then sprinkling away. The container will catch any runaway sprinkles to save your counter from a confetti mess!
And remember to keep those frosted delights in their airtight abode on the kitchen counter at room temp. Steer clear of the fridge – unless you’re battling a heatwave and must rescue the cupcake frosting from a meltdown. Or else, it tends to dry out cupcakes faster!
Your cupcakes should stay fresh for about a week, but trust me, they usually hit their peak within the first 3 to 4 days. After that, these babies won’t turn into cupcake zombies, of course, but they might get a tad drier and denser than before!
How To Freeze A Cupcake
Got some cupcake game plans that extend beyond a couple weeks? It’s time to give your freezer a shout-out!
For the unfrosted gang: cool them down, then tuck them into an airtight container. Have no container? No problem; freezer bags are our backup crew. Layer those cupcakes with some parchment paper to prevent sticky messes, and into the freezer they go!
Now, for the frosted squad: let those warm cupcakes chill for an hour before unleashing your frosting magic. Pipe the frosting neatly and generously because there will be no second chances once it is frozen! Choose your flavor adventure: cream cheese, strawberry, chocolate, buttercream, or whatever you like.
Freeze them in an open container big enough to avoid squishiness. It takes about 3 to 4 hours for that frosty magic to settle. Finally, snap on the lid tight to ensure the cream frosting stays untouched, then freeze until munch time.
Not a fan of containers? Aluminum foil to the rescue! Freeze the cupcakes uncovered for 3-4 hours to let the frosting firm up, then wrap each cupcake carefully with foil without touching the frosting. Next, either pop them into a big Ziploc bag or lay them on some cookie sheets; easy peasy!
How to Defrost Your Cupcakes
Step 1.
Give your fresh batch of cupcakes their grand entrance! Take them out from your freezer and let them thaw in a cozy, disturbance-free spot, like your countertop or kitchen space.
Step 2.
Keep the cupcakes snuggled up. Whether they’re in a storage container, bag, or wrapped in foil, let your cupcakes stay snug there while defrosting. No need to remove those covers and rush the process!
Step 3.
Time to unveil your cupcakes! After an hour or so, crack open their Ziploc bag or plastic container.
And what if they’re covered in foil? Then free some of it but not all. We’re avoiding cupcake liner peeling, but a little air still helps!
Step 4.
Patience is the rule of thumb: let those cupcakes thaw until they hit room temperature. The defrosting usually takes about 30 to 60 minutes, but if you’re feeling generous, leave them overnight for a full-on defrost party!
Can You Use A Microwave To Defrost Them?
Absolutely! Defrosting cupcakes in a microwave is a quick fix. Let me tell you the play-by-play:
- Find a microwave-friendly plate for your frozen cupcake squad, then dial your microwave to the low power or defrost setting.
- Zap those cupcakes in short bursts of 10 to 15 seconds and check regularly to prevent overheating or frosting meltdowns! Keep at it until your cupcakes thaw out completely.
- Once they’re defrosted, let your creative juices flow and frost or decorate them as you please. Serve them up when they reach room temperature.
A quick tip: Microwaving might change the texture, so I usually reserve this method for urgent cupcake cravings only. For a better outcome, give them some quality time in the fridge or at room temperature if time is on your side!
Again, remember to keep an eye out during frosting to dodge any disaster. And for even defrosting, give those delicious cupcakes a little spin midway through. Enjoy!
How About Using An Oven?
Yes, you can defrost your homemade cupcakes in the oven if you’re feeling adventurous. Just a heads-up: this is not the top-tier choice since it might dry out or overcook your baking creations. Still set on this path? Then here’s the roadmap:
- Preheat the oven to the cozy lowest setting, typically around 150 to 170 degrees Fahrenheit.
- Place those frozen cupcake buddies in a baking dish or baking sheet, then slide the sheet/dish into your oven and crack the door open slightly for some air circulation magic.
- Keep a close eye on your flavorful cupcakes to make sure they don’t overcook. Depending on cupcake size, this can take anywhere from 10 to 30 minutes!
- Once they’re thawed, let your artistic sides shine through. Frost them up and serve at room temperature.
Again, I must stress that oven methods are not always the cupcake’s best friends. So, if time allows, stick with the refrigerator or room temperature thawing methods for cupcake perfection. Happy eating!
View more:
Conclusion
I have spilled all the beans on how to pamper your fresh cupcakes, whether they’re frosted or flying solo.
Need a quick defrost? A microwave or even an oven has your back. But let me tell you, room temperature is where the magic happens for these sweet treats! If you have any more questions, just drop me a line.