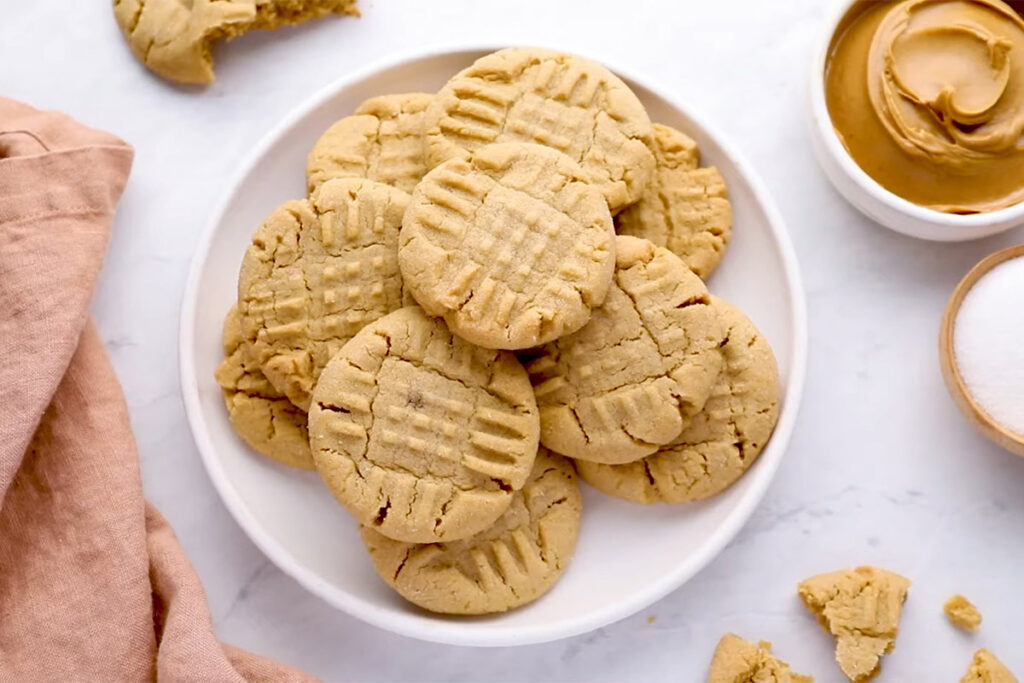
Do you know what’s awesome about peanut butter biscuits?
For one, they SERIOUSLY don’t need much besides the basic ingredients. Second, we can always tweak the recipe to our liking. I prefer using smooth peanut butter for a creamy texture (as you can see in my recipe), but some folks swear by crunchy peanut butter. The sky’s the limit!

Why My Recipe For Peanut Butter Cookie Wins Everyone Over
- Peanut butter is our superstar here! It brings a nutty goodness that blends dreamily with our sweet sugar. Depending on how you play around with the recipe, you can end up with soft, chewy centers or crispy edges that give you that satisfying crunch.
- Of course, you can make them your own beyond just the peanut butter. I mean, why not toss in chocolate kiss candies when you need extra sweetness (like peanut butter blossom cookies)? Or go with homemade croissants for a flaky kick? Get as wild as can be!
- These cookies are perfect for any time of day. It doesn’t matter whether you need a quick boost or a sweet finale to your hearty meal! Plus, since they’re so easy to whip up and store, these babies are the ultimate go-to for bake sales, potlucks, or just treating your friends to a taste of homemade heaven.
The Best Way To Make Peanut Butter Cookie
Ingredients
- Flour: Don’t be shocked by the little amount of flour here! Trust me, I haven’t lost my mind. Peanut butter already binds everything well together, so adding more flour might dry out our cookies. Just stick to the recipe!
- Peanut Butter: We’re going all in! I use peanut butter for this cookie WAY more than other recipes. It gives way to that delightfully nutty flavor, you know?
Now, creamy or crunchy? Creamy peanut butter wins this round. Crunchy is still tempting, but it can make your cookies too crumbly if you are a beginner.
- Sugars: We’re mixing things up with brown and granulated sugar! Brown sugar adds moisture and richness, while white sugar helps with spreading. I go heavier on the brown than white to yield that soft, dreamily thick cookie we’re all after.
- Other Basics: Baking soda, salt, egg, vanilla, butter
Instructions
Step 1.
Alright, let’s get baking!
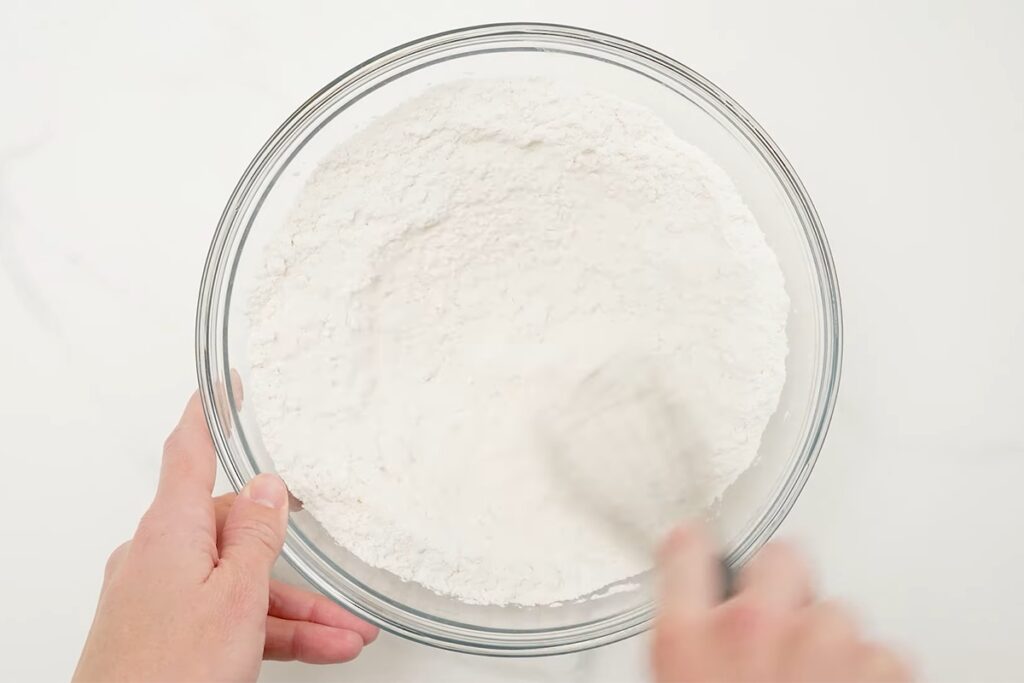
First, grab a medium-sized bowl and whisk together baking soda, flour, and salt. Once that’s done, set it aside for a sec.
Step 2.
Now, let’s tackle the wet ingredients!
Do you have a stand mixer or handheld mixer with a whisk attachment? If so, this part will be a breeze.
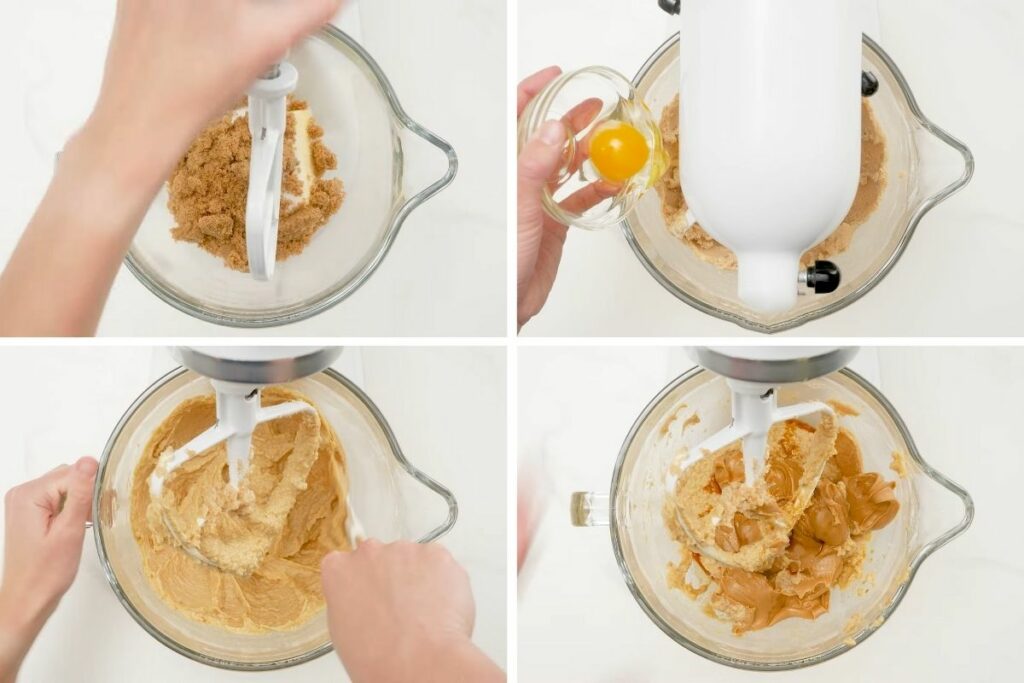
Add the butter and beat it for about a minute at high speed ’til nice and creamy. Then, switch it up to medium-high and mix in brown sugar (plus about ¼ cup of granulated sugar). Keep at it for 2 to 3 minutes until smooth.
Step 3.
Next, crack in the large egg and give it another whirl until well combined. Don’t forget to scrape the bowl to make sure nothing is left out! Toss in the creamy peanut butter and a teaspoon of vanilla extract and mix again.
Step 4.
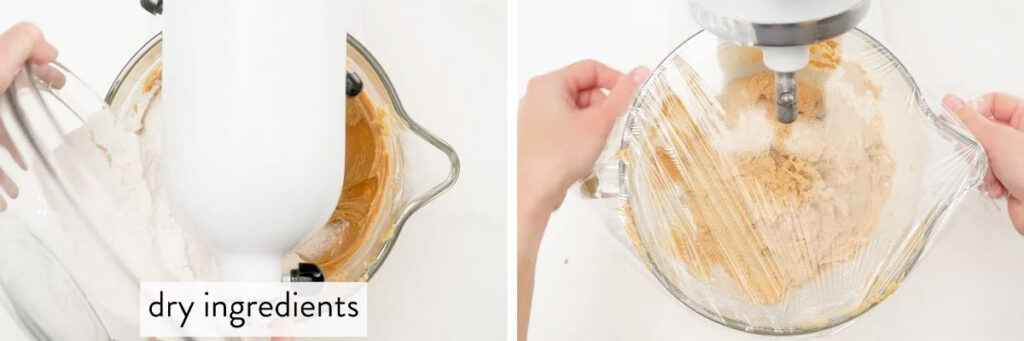
Once your wet ingredients are sorted, it’s time to bring it all together! Slowly add your dry ingredients (from Step 1) to the wet ones (Step 3) and mix at low speed ’til combined. Your dough should be super soft and creamy at this point.
Step 5.
Cover the peanut butter cookie dough and let it chill in the fridge for an hour or two. If you’re planning ahead, you can even leave it in there for up to three days!
Step 6.
When ready to bake, preheat your oven to 350°F and line your baking sheets with silicone baking mats or parchment paper to keep things from sticking.
Step 7.
Let’s get the cookies rolling!
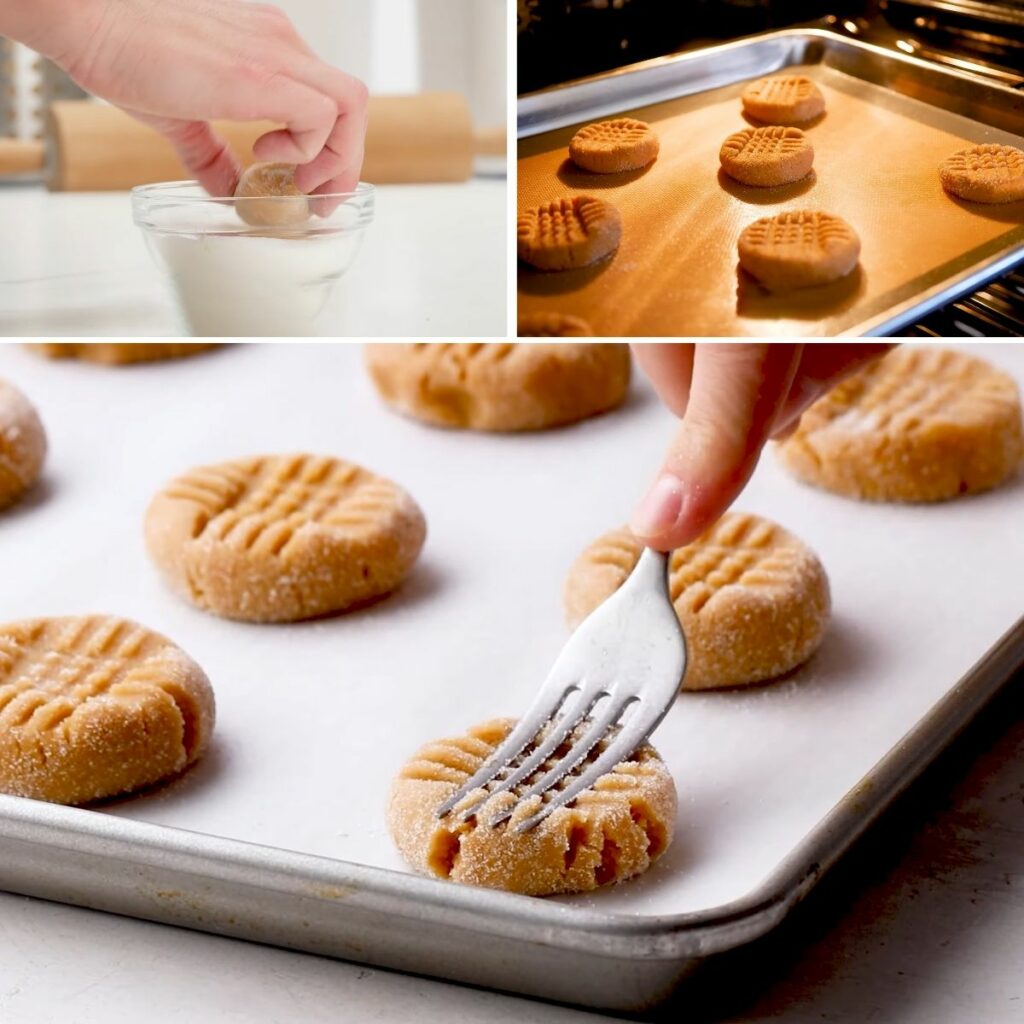
Grab the remaining sugar (½ cup) and pour it into a medium bowl. Take your chilled dough and roll it into balls, each one about a scant tablespoon. Roll these balls of dough in the sugar until nicely coated, then pop them onto your prepared baking sheets, making sure to space them about 2 to 2.5 inches apart.
Grab a fork and make a crisscross pattern atop each cookie. Then, use your fingertips to reshape them into nice, thick discs. This trick will keep them from flattening out too much in the oven!
Step 8.
Pop those cookies in the oven! Bake them for 10 to 15 minutes until the edges look set and lightly browned. Don’t worry if the centers still seem super soft – that’s what we’re going for!
Step 9.
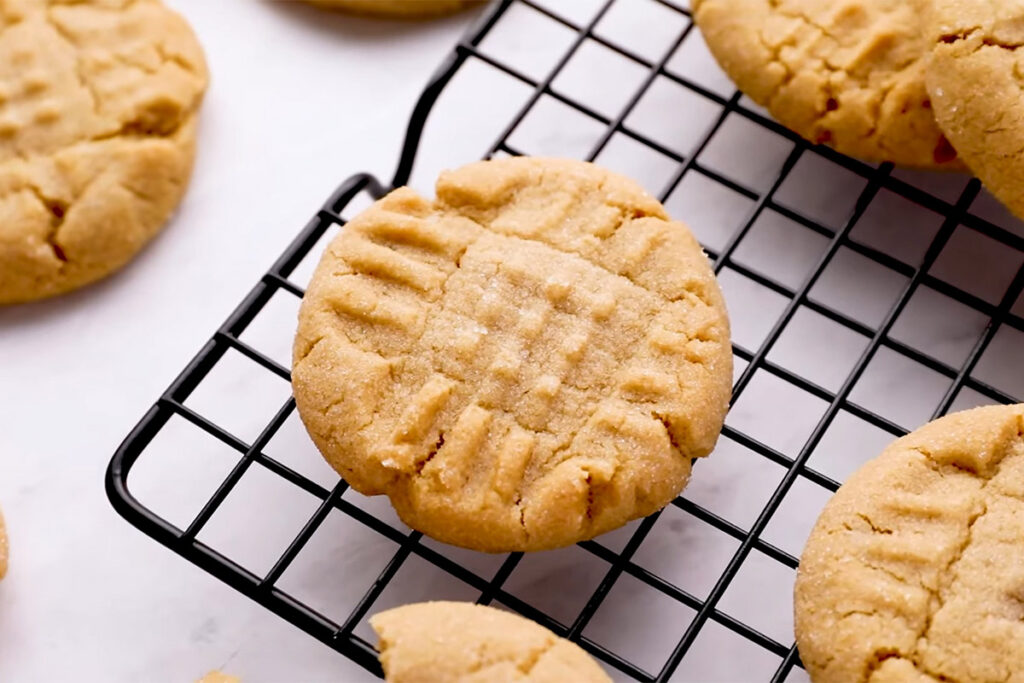
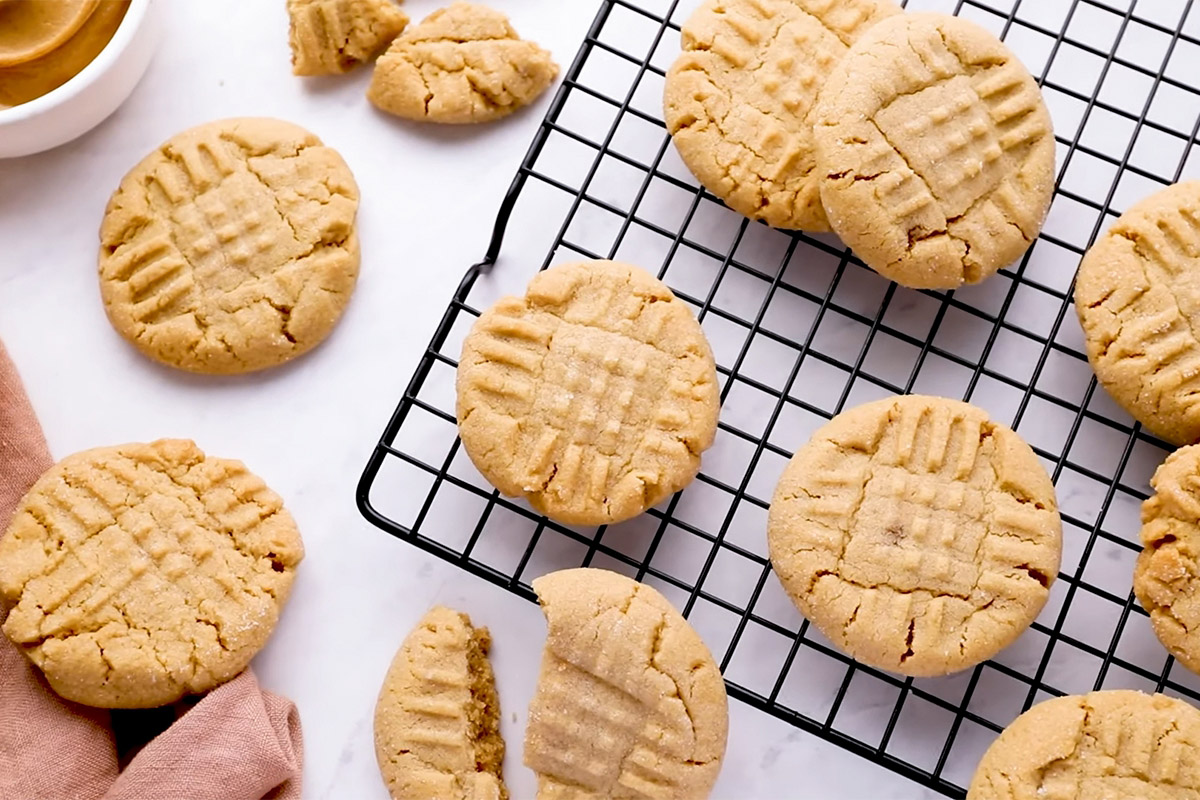
Once out of the oven, let them hang out on their baking sheet (about 5 minutes) to cool down slightly. Then, transfer them to a rack to chill entirely.
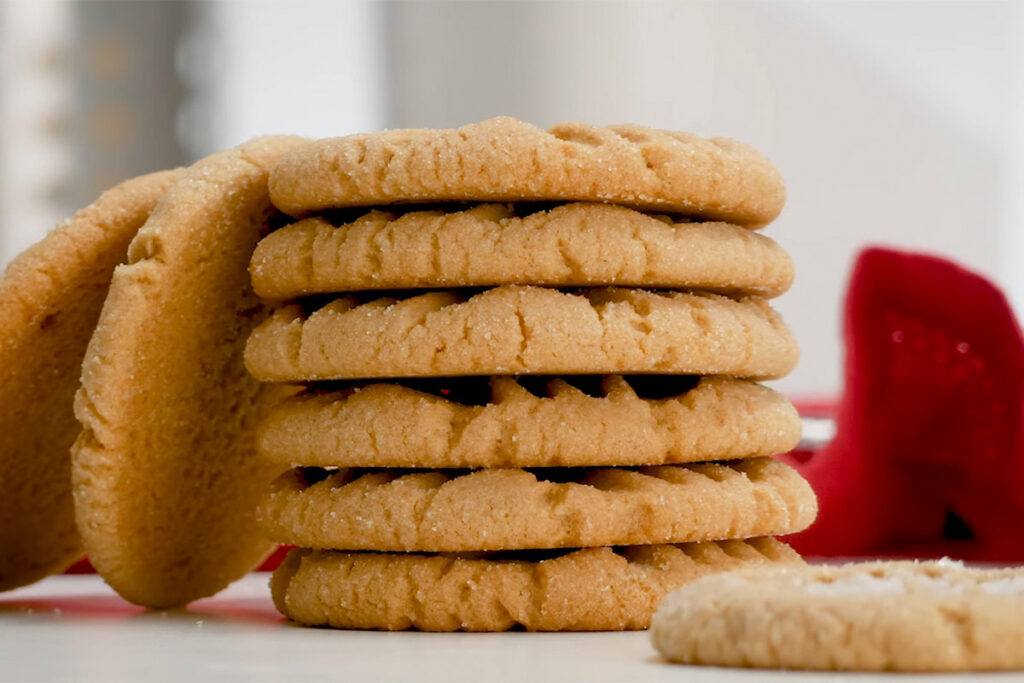
And that’s it. Time to serve these freshly baked cookies to everyone!
Note
Many people ask me if they can use salted butter for this recipe.
I agree that salted butter DOES add a savory note that can balance out the sweetness of the soft peanut butter cookie. But there’s one problem: the amount of salt in salted butter is not the same between brands. That’s why the cookies might turn out drastically different from what you had in mind, even when you have followed all my instructions!
So, unsalted butter is your best bet and gives you much more control over the outcome. You can always drop in a pinch of salt to boost the flavor profile without overpowering the sweetness.
If you still want to go with salted butter, that’s fine. But be sure to taste the dough before adding anything extra!
FAQs
Can I Substitute Other Nut Butter Types For Peanut Butter?
Absolutely! Almond butter, cashew butter, or even a mix of different nut butter will work well here.
Of course, note that the taste and texture might differ slightly depending on the type of nut butter. Almond butter cookies, for example, have a milder nut flavor than my original recipe!
How Do I Make My Peanut Butter Cookies Even Chewier?
Underbake them lightly! Sometimes, I take them out a minute or two before they look completely done.
I recommend this tip if you already have lots of practice with these classic cookies and know exactly when they are done baking. Stick to my original recipe if you are not yet confident.
Have fun!
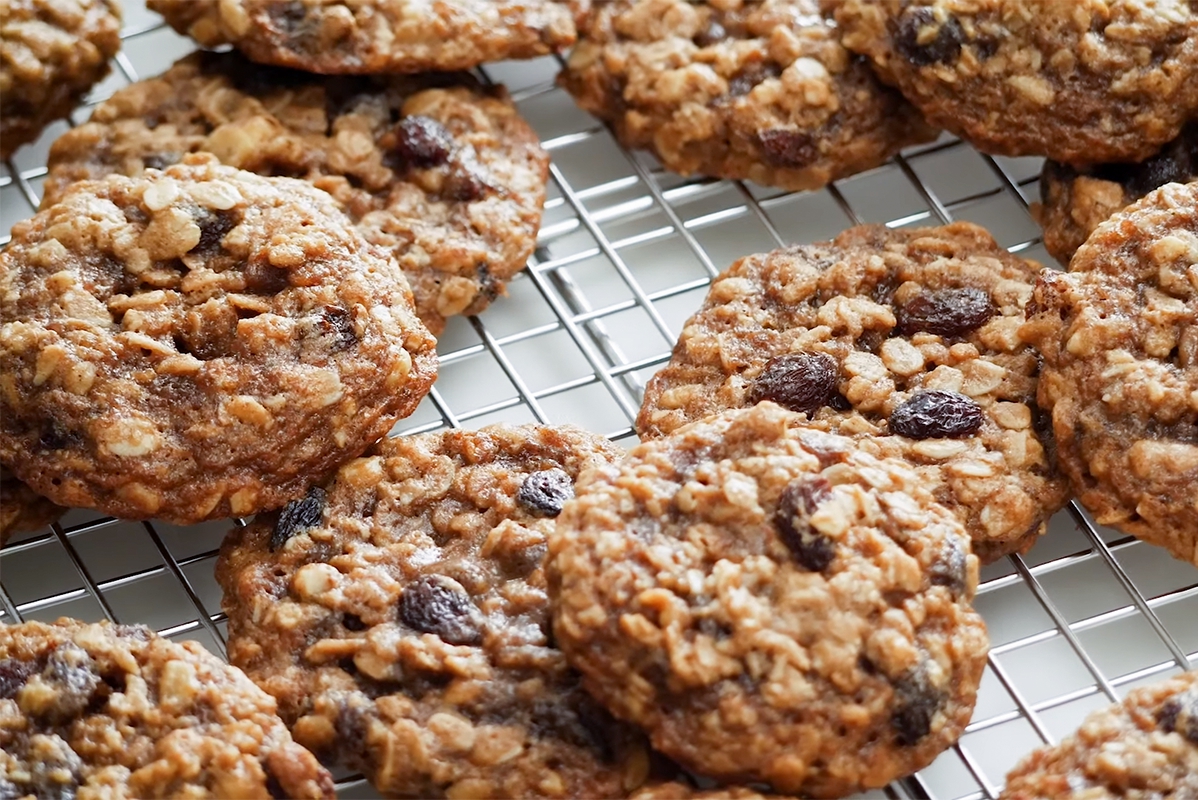
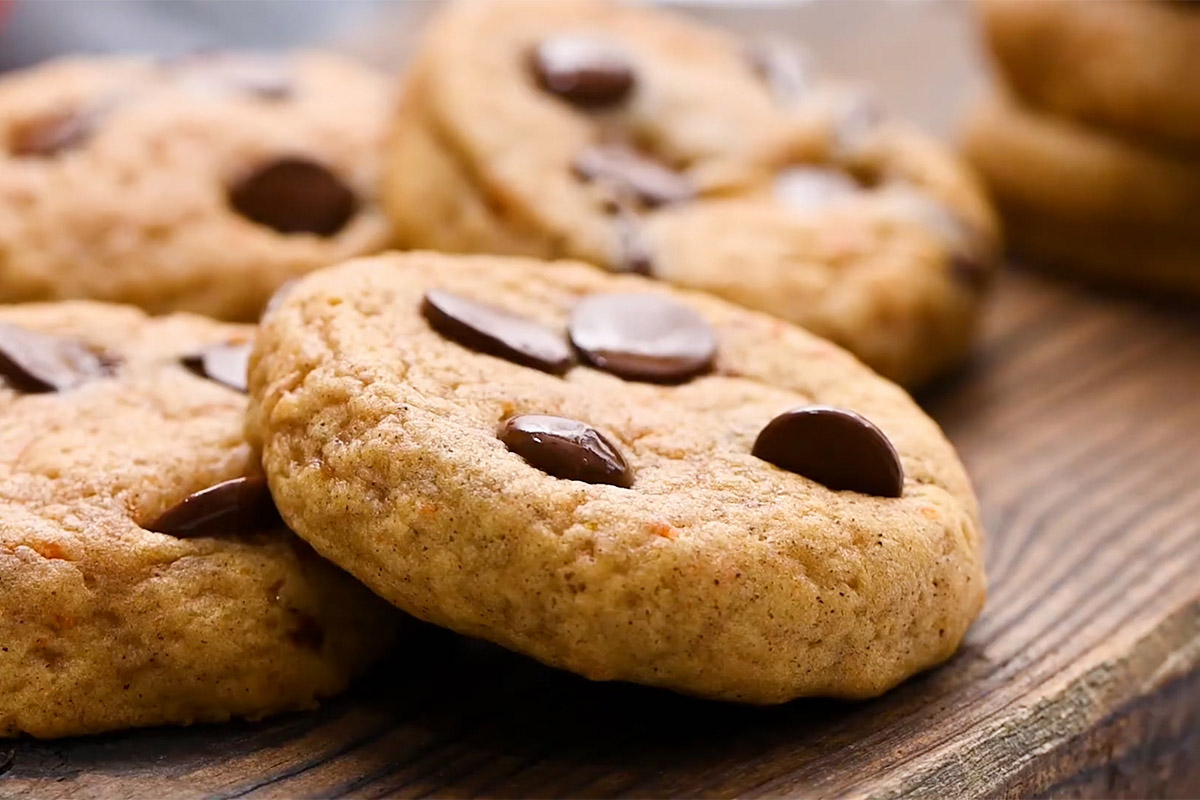
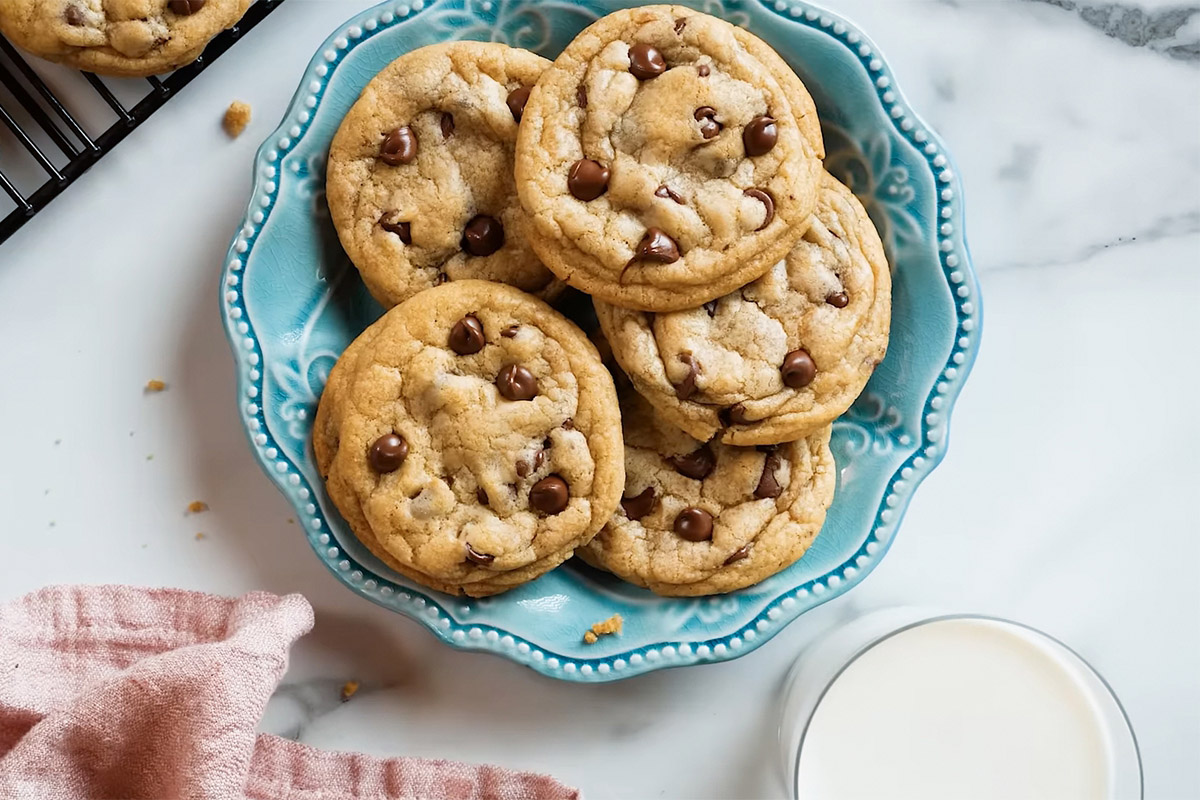
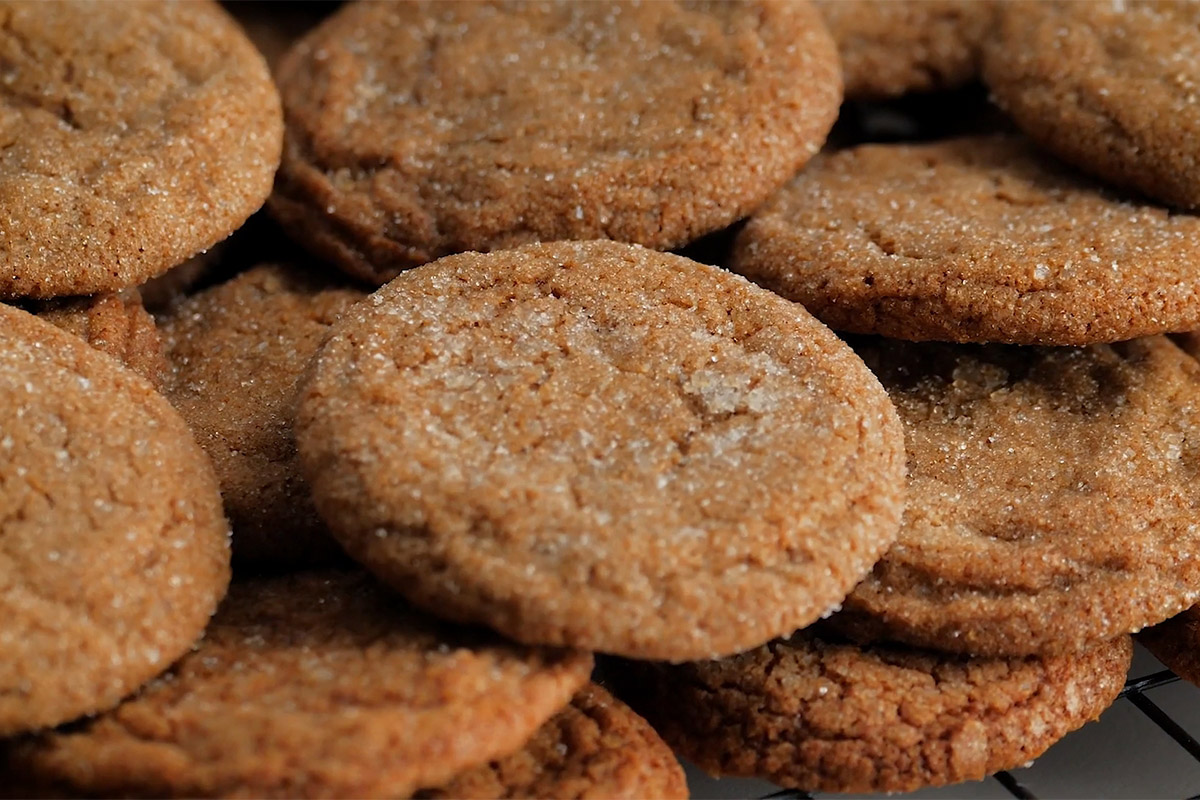
Discover More Unique Cookies Recipes:


Peanut Butter Cookie Recipe
Ingredients
- 1 ⅓ cup spooned and leveled all-purpose flour
- ½ tsp baking soda
- ¼ tsp salt
- ½ cup or 8 tbsp softened unsalted butter, room temperature
- ½ cup packed dark or light brown sugar
- ¼ cup granulated sugar + ½ cup for rolling
- ¾ cup creamy peanut butter
- 1 egg room temperature
- 1 tsp vanilla extract
Instructions
- Whisk together baking soda, flour, and salt. Set the bowl aside.
- Bring out your mixer and add the butter. Beat it for about a minute at high speed till creamy. Switch it up to medium-high and mix in brown sugar + ¼ cup of granulated sugar. Beat for 2 to 3 minutes.
- Crack in the large egg and whip until well combined. Scrape the bowl to make sure nothing is left out. Toss in the creamy peanut butter and a teaspoon of vanilla extract and mix again.
- Slowly add your dry ingredients (from Step 1) to the wet ones (Step 3) and mix at low speed ’til combined.
- Cover the dough and let it chill in the fridge for an hour or two (or 3 days if you plan ahead).
- Preheat your oven to 350°F and line your baking sheets with silicone mats or parchment paper.
- Pour the remaining sugar (½ cup) into a medium bowl. Take your chilled dough and roll it into balls, each one about a scant tablespoon.
- Roll these cookie dough balls in the sugar until nicely coated. Place them on your prepared baking sheets, spacing them about 2 to 2.5 inches apart.
- Using a fork, make a crisscross pattern on top of each cookie. Use your fingertips to reshape them into nice, thick discs.
- Bake them for 10 to 15 minutes until the edges look set and lightly browned. Don’t worry if the centers still seem super soft.
- Let them sit on their baking sheet (out of the oven) for 5 minutes. Transfer them to a rack to chill entirely. Slice and serve!