As someone who’s loved baking since forever, I have had my loaf pan hanging out in the kitchen for as long as I can remember.
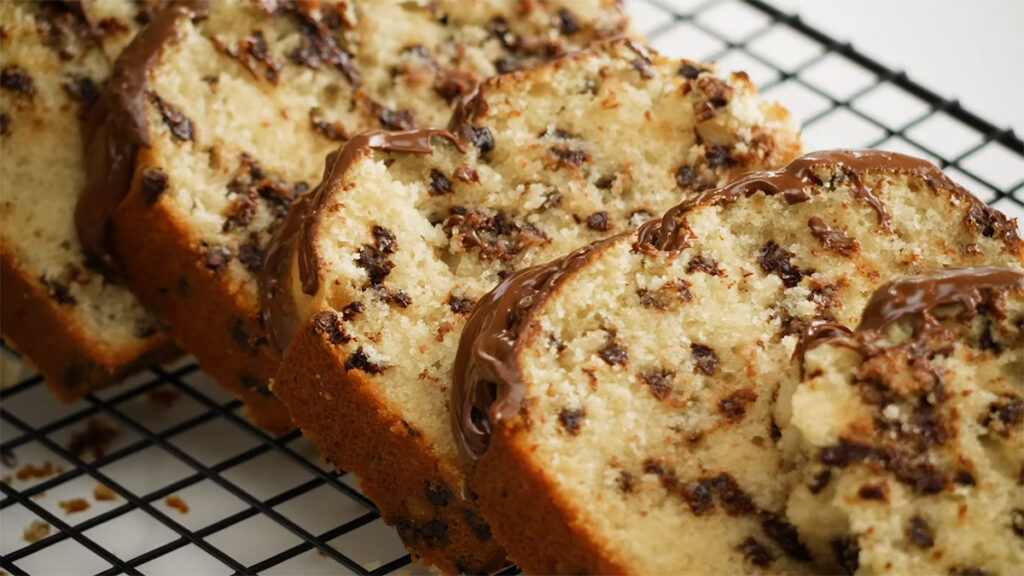
My kids are always crazy about crunchy, sweet chocolate chips, so it was only a matter of time before I came up with the best cake loaf recipes. These baked treats are super easy to make, and let me tell you, they always turn out amazing!
Why Chocolate Chip Bread Loaf Recipe Has Us Obsessed
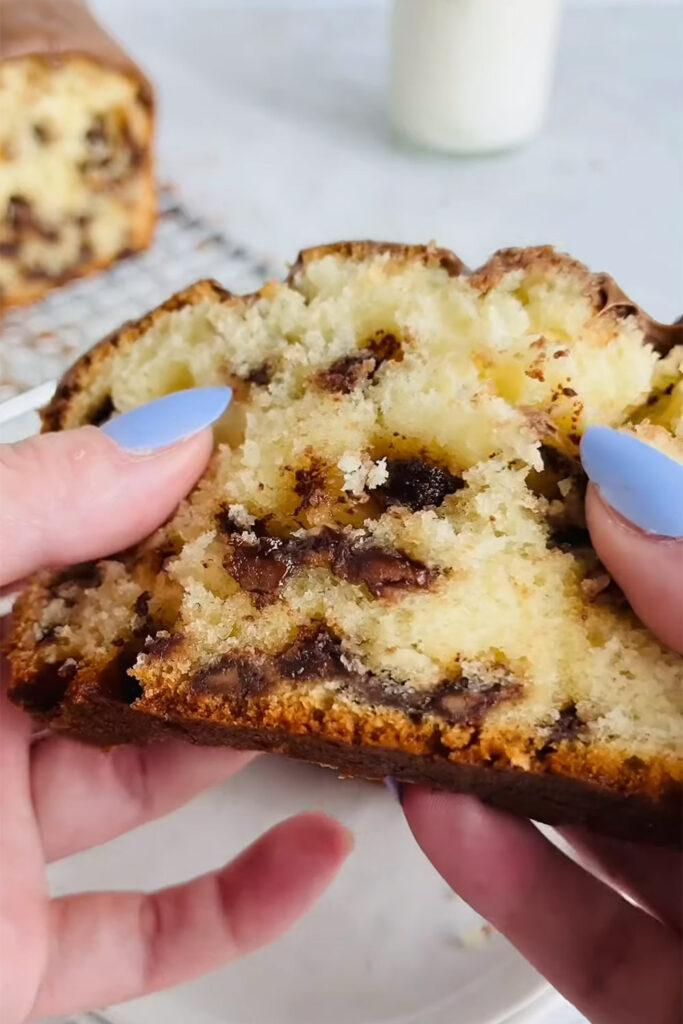
- Just when your teeth are sinking into the soft, fluffy cake, those slightly bitter chocolate chips suddenly burst through in a delightful texture contrast! And let’s not forget that buttery vanilla tinted with chocolate is always the classic crowd-pleaser, no matter what.
- And just like other chocolate cakes (e.g., chocolate strawberry cupcakes or chocolate peanut butter cakes), who says we cannot get to pick our own chocolate vibe? I’m all about semi-sweet chips for that perfect balance of sweetness and chocolate. My hubby prefers the creaminess of milk chocolate, while all my kids fall hard for the intense cocoa hit of dark chocolate chips. The options are endless!
- Don’t even get me started on how easy it is to make these loaf cakes; seriously, just grab all your basic baking ingredients, and you’re golden! They’re perfect for fresh beginners or those busy days when we just want a quick treat.
- Plus, the loaf shape is super convenient for slicing and taking with you wherever you go, be it a picnic, potluck, or a surprise visit to a friend’s house. Truly the ultimate cake-on-the-go if you ask me.
Chocolate Chip Cake Recipes
Here’s what we need:
- First up, butter and sugar, our classic combo! Make sure your butter’s at room temp but not melty, unless you want a cake disaster.
- Next, eggs. You’ll want four of ’em to give your cake structure and a melt-on-the-tongue texture we all love.
- Sour cream does wonders in cakes, keeping every crumb tender and moist. Just a splash (about half a cup) goes a long way.
- Can’t forget the vanilla extract. Adds that yummy flavor! If you’ve got homemade vanilla extract lying around since forever, it’s time to bust it out.
- All-purpose flour is our go-to here. I tried cake flour several times, but it made my cake too light and floppy. All-purpose gives it just the right structure.
- Baking powder is key for a light and airy texture; no more dense cakes! And salt balances out the sweetness, so don’t skip it.
- Milk thins out our batter for a perfect crumb. Whole milk is best, but you can always sub in non-dairy or lower-fat options. And if you’re feeling extra, swap it out for 1 ½ cups of buttermilk (and don’t forget to throw out the sour cream in the original recipe).
- Last but certainly not least, mini chocolate chips. Sure, regular ones work, but mini ones give a much better burst of chocolatey flavor in every little bite! I did mention that I’m a fan of semi-sweet chips, but feel free to mix it up with dark or milk chocolate. Butterscotch or white chocolate could be fun, too!
Cakes
Step 1.
Alright, let’s get our baking party started! First things first, preheat your oven to 350°F (or 177°C), and don’t forget to give your 8 x 4 loaf pan some good greasing. We don’t want any cake sticking to its sides!
Step 2.
Now, on to the business: Grab a bowl and whisk together baking powder, flour, and a pinch of salt until everything’s mixed up nicely. Set the bowl aside for now.
Step 3.
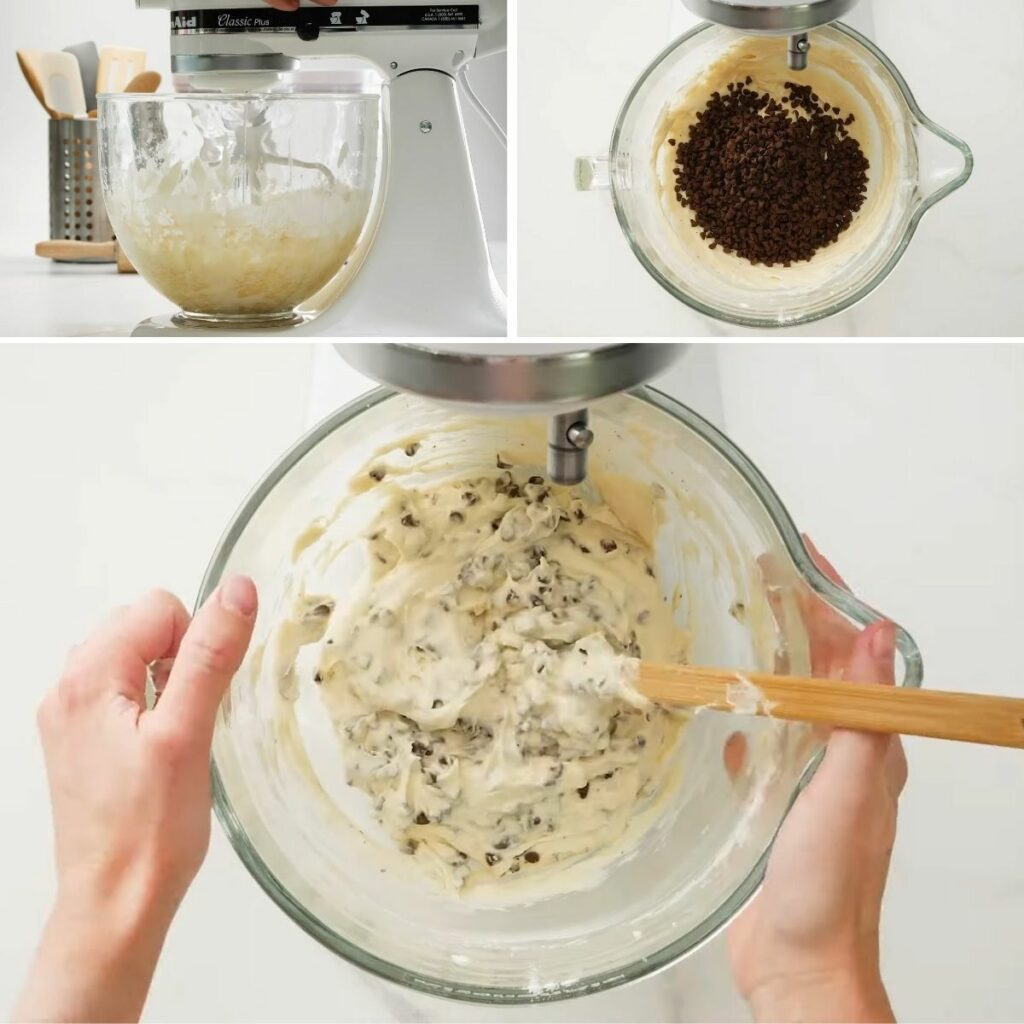
Doesn’t matter if you have a stand or handheld mixer; slap on their paddles and get to work! Toss in the butter together with sugar, then crank up the speed to medium-high and get it going until they’re creamy and smooth (usually takes me 2 minutes). Don’t forget to scrape the bowl’s sides (if necessary, of course) with your rubber spatula.
Step 4.
Drum roll, please… It’s egg time!
Crack the eggs in, one by one, and beat them for about a minute at high speed. Toss in that sour cream, then add the vanilla extract, and keep the mixer going until combined. Things might look a bit curdled or lumpy, but don’t sweat it; that’s totally normal.
Step 5.
Now, here comes the fun part: mixing it all together. Pour those dry ingredients you whisked earlier (Step 2) over the wet, then switch your mixer to lower speed. While it’s beating away, slowly pour the milk in until combined.
Be careful not to overmix; we want our batter just right. Give it a good whisk by hand if you spot any stubborn lumps or chunks at the bowl’s bottom.
Step 6.
Chocolate chips, anyone? Gently fold those little nuggets into the batter, and voila – your cake mix is all set!
Step 7.
Time to get our batter into action! Pour it into your greased loaf pan and spread it out nicely and evenly. Pop the pan into the oven and bake for 60 to 75 minutes.
But hey, remember, every oven has its own rules, so keep your eyes on it after the first 55 minutes. If the top seems to brown too quickly, just throw a bit of aluminum foil over it. Problem solved!

Step 8.
Once your cake is done, let it sit in its pan on a cooling rack for one hour. Patience is key, my friend! After one hour, you can either keep cooling it on the rack (once removed from its pan) or dig right in — it’ll still be a tad warm and oh-so-delicious.
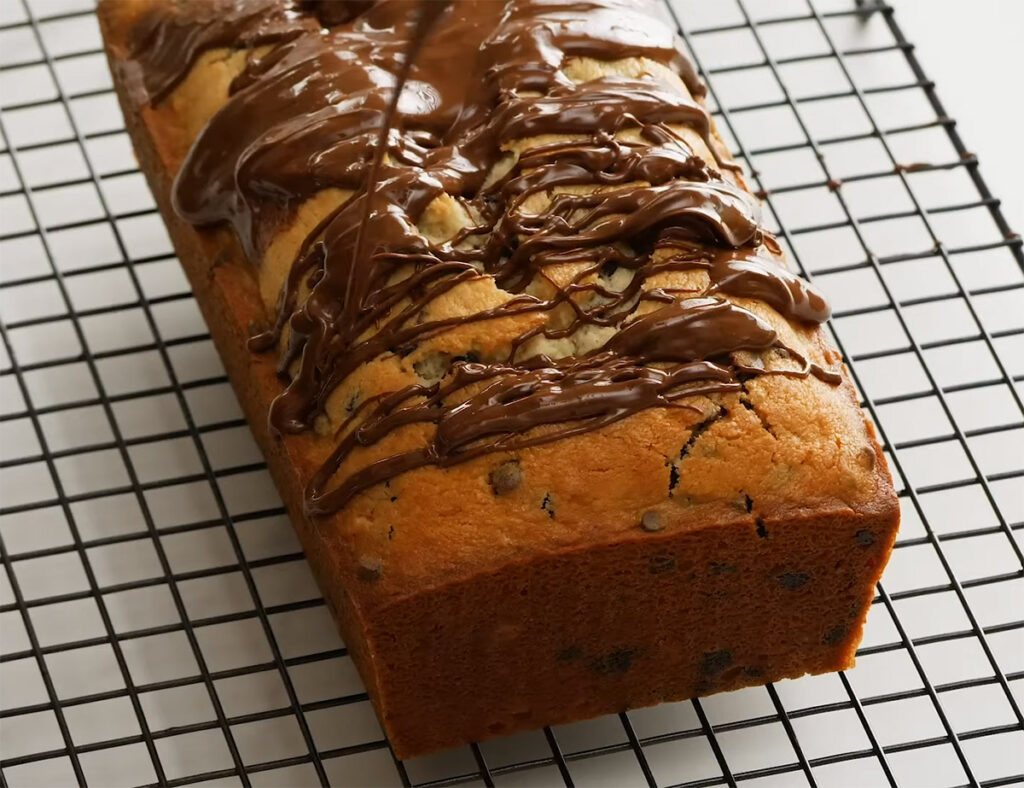
About the topping, I like to drizzle it on when my cake still feels warm after the first cooling hour. But if you’re the patient type, wait until it has chilled completely. Either way, we’re in for a tasty treat.
Topping (Optional)
Step 9.
Melt your chocolate chips with peanut butter. You can either do this on your stove in a saucepan at medium heat or use the microwave-safe bowl. I usually go for the microwave, by the way; just zap them in 30-second bursts, stirring a little after each ’til creamy and smooth!
Step 10.
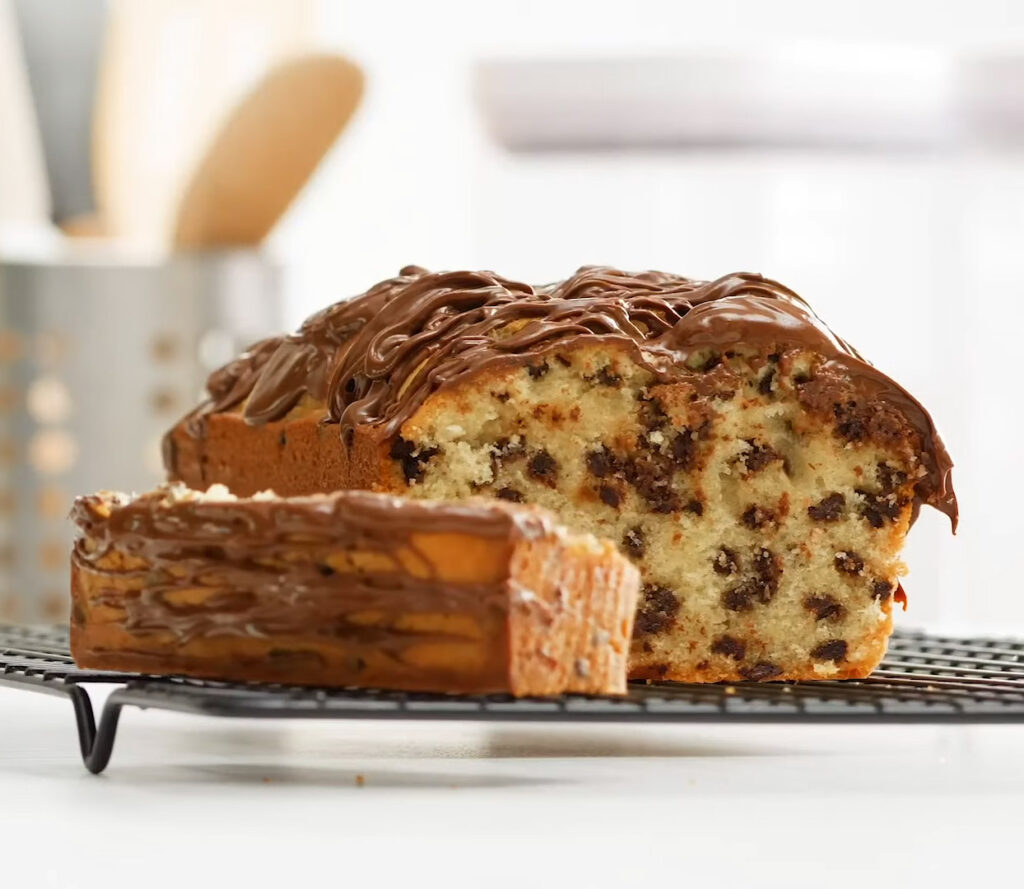
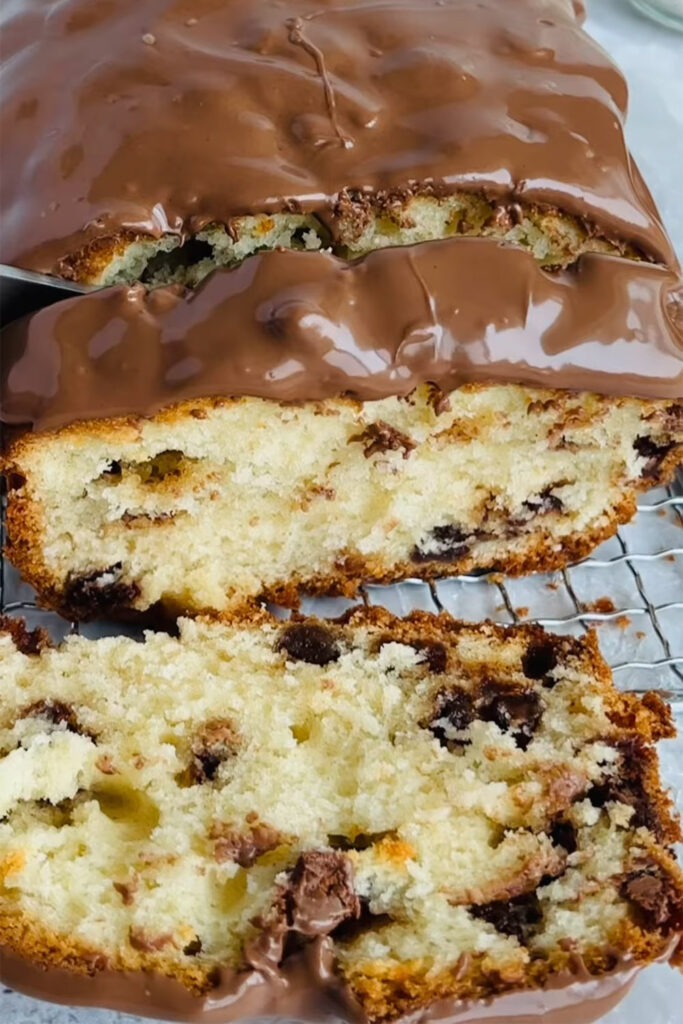
Once our mixture is ready, it’s drizzle time. Pour it over your cake and watch the magic happen. After a few hours, the topping will settle into an amazing fudge-like texture that makes your mouth water. Talk about yum!
Notes
1. It’s best to weigh your ingredients with a food scale. It gives you wayyy more accurate measurements, especially for flour, which might vary A LOT depending on how you scoop it into the measuring cup.
2. Nobody wants those chocolate chips to sink to the bottom of the cake. My trick is to have a batter thick enough to hold them in place. This recipe nails that perfectly, so no worries — I can assure you the chips will spread nicely through every flavorful bite!
3. And yeah, I know some people worry about their chips melting into a gooey mess, but don’t sweat!
Chocolate chips hold their form like a pro, just like they do in regular cookies. Sure, they’ll soften a bit in the oven, but the surrounding batter will keep them in check anyway. So trust me, it’s gonna be alright; you won’t end up with any melty chocolate disaster.
FAQs
My Cake Isn’t Moist, Even Though I Followed The Recipe Exactly. What Happened?
Use a thermometer to double-check your oven temperature. An inaccurate oven means uneven baking and, well, dry cakes!
Can I Freeze The Leftovers?
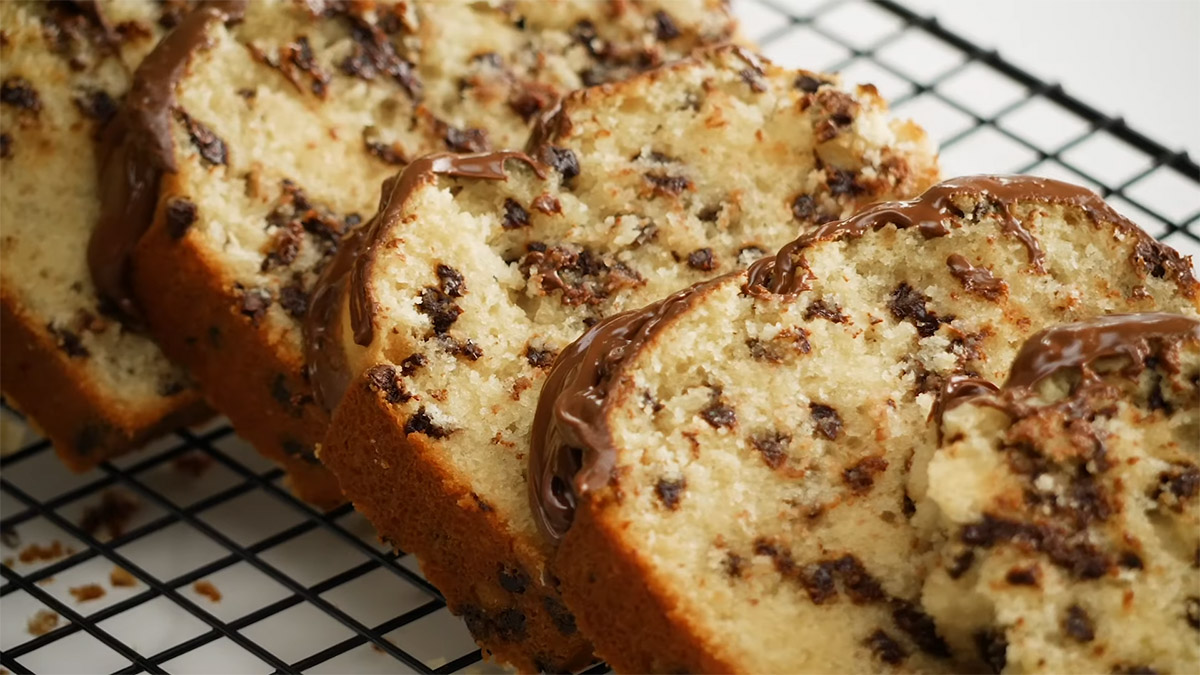
Absolutely! Wrap the slices tightly in plastic wrap and place them in a freezer-safe container. They will stay fresh for up to 3 months.
Have fun!
Discover More Unique Cake Recipes:
Chocolate Chip Loaf Cake
Ingredients
- 1 ⅛ cups all-purpose flour (leveled & spooned)
- 1 teaspoon baking powder
- ⅛ teaspoon salt
- ½ cup softened, unsalted butter
- ½ cup granulated sugar
- 1 large egg, room temperature
- ⅛ cup sour cream, room temperature
- 1 teaspoon pure vanilla extract
- ⅓ cup whole milk, room temperature
- ⅔ cup mini chocolate chips
Topping (Optional)
- ⅓ cup mini chocolate chips
- 1 ⅓ tablespoons creamy peanut butter
Instructions
Cake
- Preheat the oven to 350°F (177°C) and grease a 8 x 4 loaf pan.
- Whisk together baking powder, flour, and salt in a medium bowl.
- Mix butter and sugar until creamy, then add eggs, sour cream, and vanilla extract.
- Combine dry ingredients (Step 2) with wet ingredients, adding milk slowly. Mix until just combined.
- Gently fold in chocolate chips.
- Pour batter into the greased loaf pan and bake for 60 to 75 minutes.
- Cool your cake in the pan on a rack for one hour before removing.
Topping (Optional)
- Melt chocolate chips with peanut butter and drizzle over the cake.
- Allow your topping to set for a few hours before serving.
Notes
- Use a food scale for accurate measurements, especially for flour.
- Ensure the batter is thick enough to prevent chocolate chips from sinking to the bottom of the cake.
- Chocolate chips maintain their shape well during baking, so there’s no need to worry about them melting into a mess.
