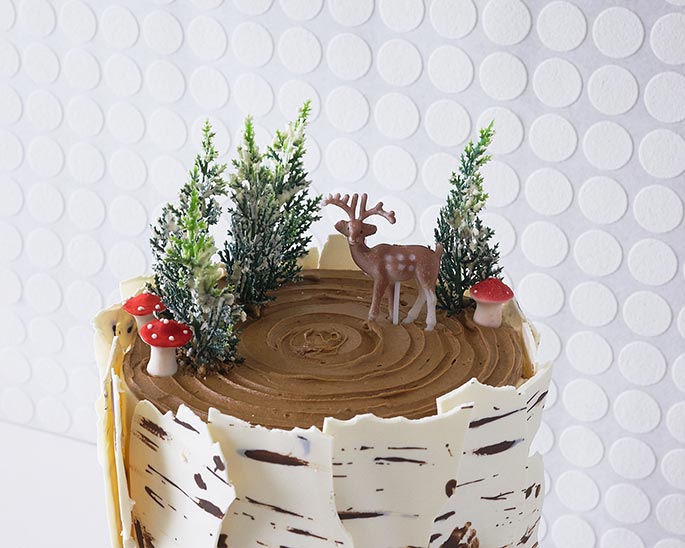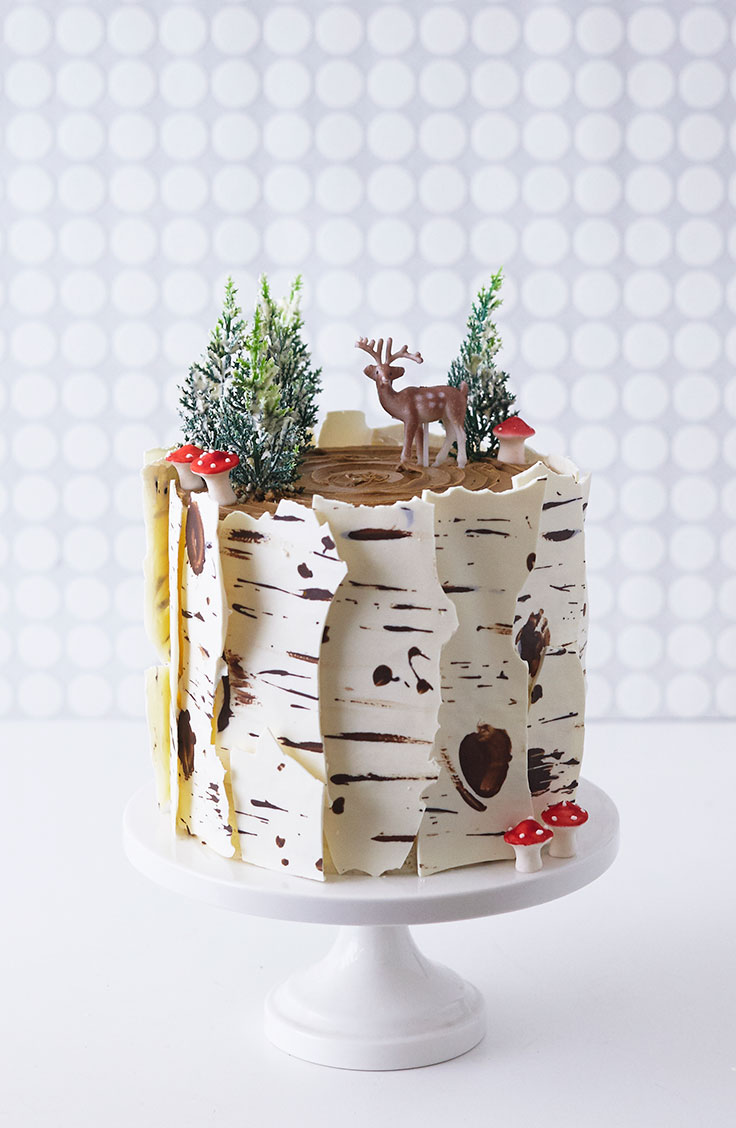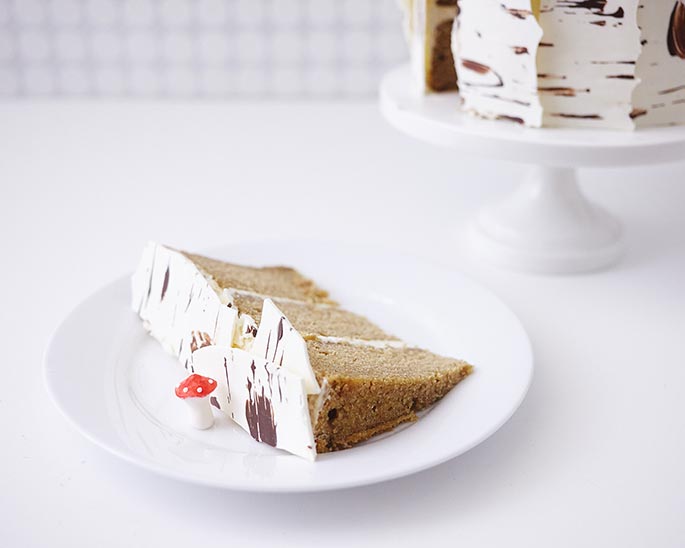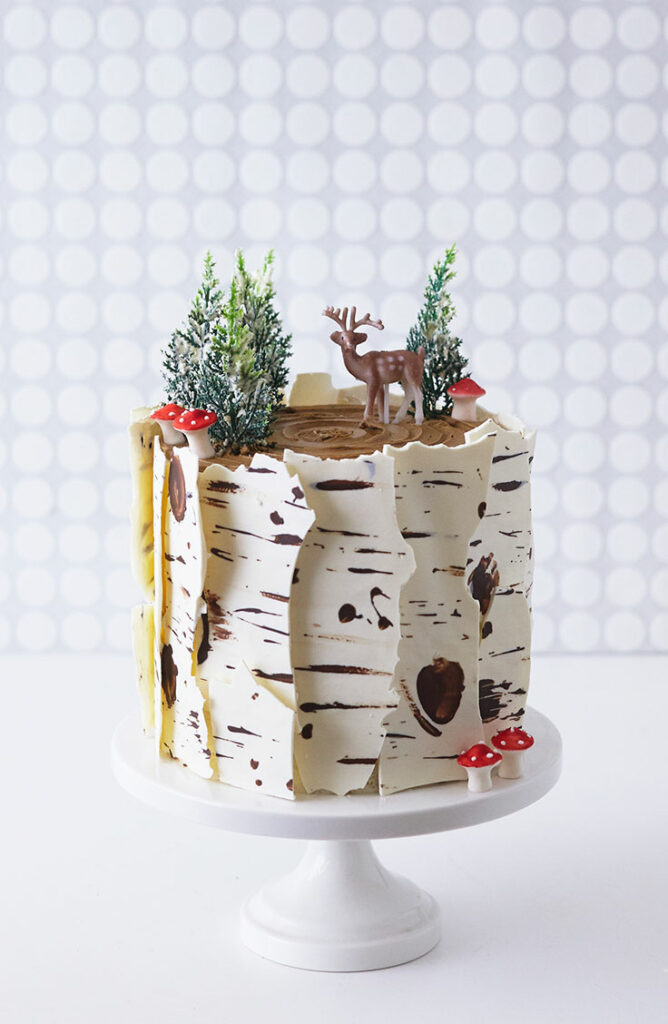
This winter inspired birch tree cake is centered around a really easy technique that’s a huge bang for the buck. Paint some melted dark chocolate candy coating on a parchment covered tray and then smear a coating of melted white coating. Break your bark into shards and BOOM!…there you have an edible birch finish for your lovely little cake. This recipe makes enough bark to cover the sides of a 3 layer 6″ diameter cake. For a bigger cake, you’ll need a second tray of bark. Three layers created a nice tall cake to show off your side pattern, so no matter the cake diameter, a three layer cake is recommended.
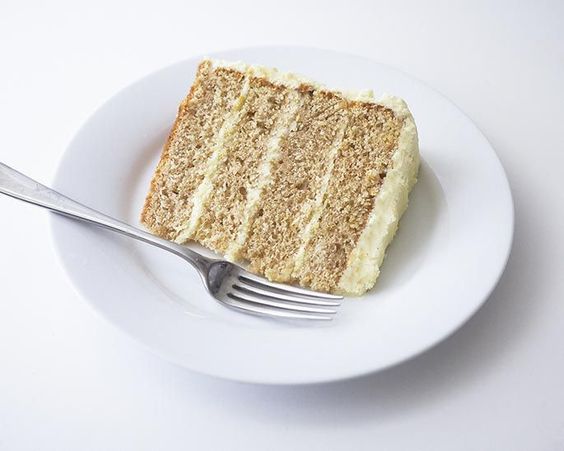
Because this is winter themed cake, we opted for our Moist Spice Cake Recipe iced in Brenda’s Bakery Buttercream but this would work great with our Classic Chocolate Cake filled with Peppermint Icing or our Vanilla Cake layered with Gingerbread Ganache. You do you.
Looking for some other winter inspired cake ideas? Check out our Holly Covered Gift Box Cake or our Knitted Winter Hat Cake!
Make A Winter Birch Tree Cake
STEP 1: ICE CAKE
Bake 3, 6″ diameter cake layers. We decided to bake up our Moist Spice Cake Recipe, but choose your favorite recipe. Prepare a single batch of Brenda’s Bakery Buttercream.
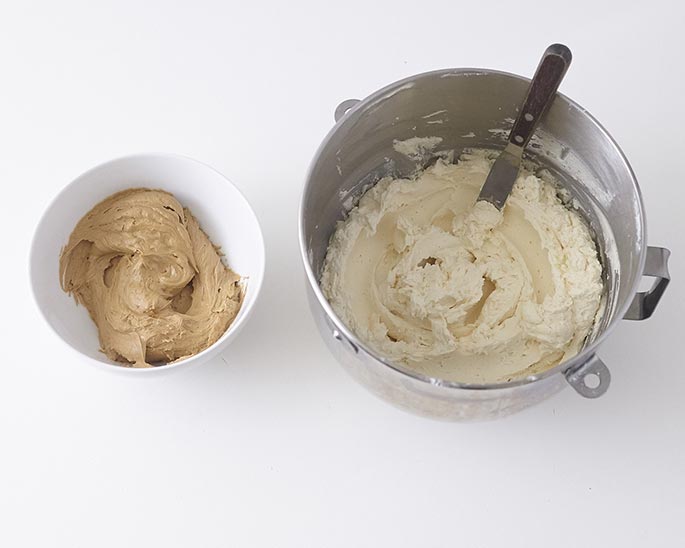
Tint one cup of icing light brown, leaving the rest white.
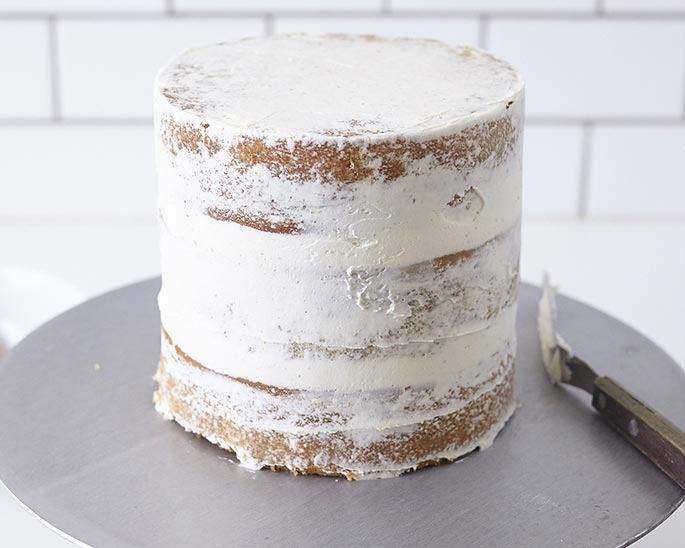
Fill and crumbcoat your triple layer 6″ cake and place it in the fridge for 30 minutes or so, until firm.
Remove from the fridge and ice just the sides of the cake in white buttercream, leaving the top empty. This doesn’t have to be perfectly smooth because you’ll be covering it with birch bark soon.
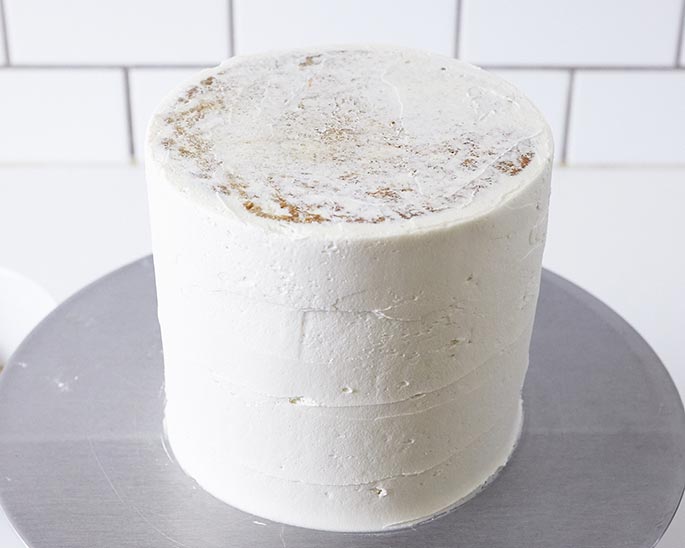
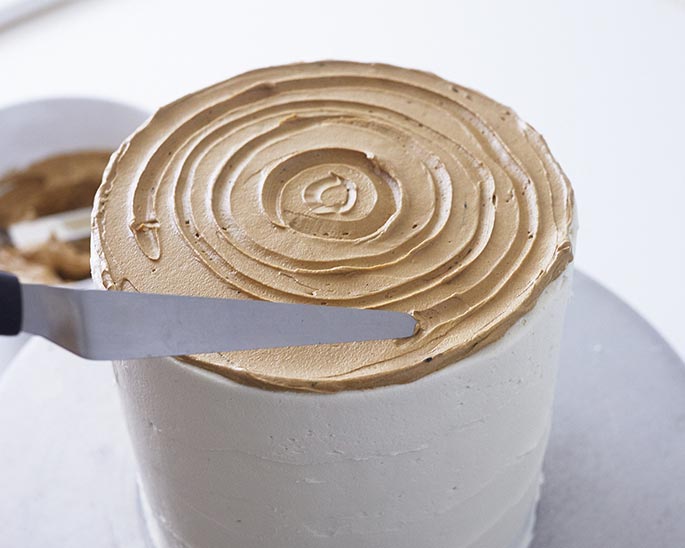
Ice the top of the cake with the light brown buttercream then take a tapered spatula or butter knife and create grooves in the top to mimic tree rings.
STEP 2: CREATE THE BIRCH BARK
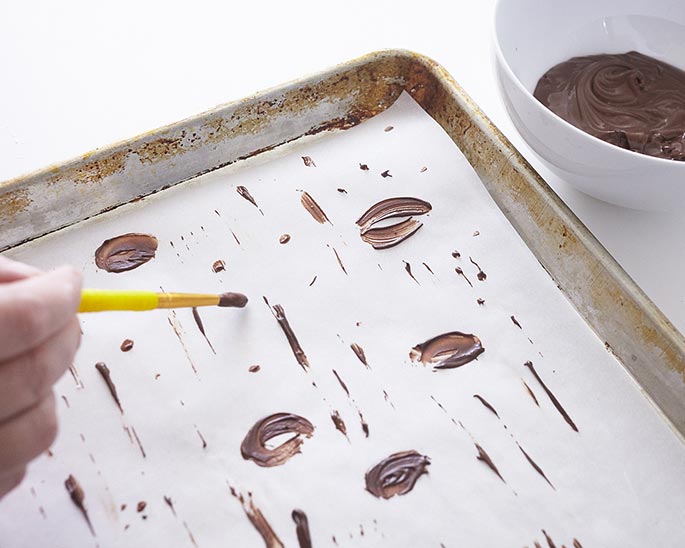
Cover a half sheet tray in parchment paper. Melt 4 oz. of Dark Chocolate Candy Coating on half power in the microwave, stirring every 30 seconds until melted. (Do not overheat the coating or it could burn).
Using a paintbrush, paint knots of a tree, striations, stripes and add little dots to the paper to mimic a birch tree. Fill the entire tray with pattern because you’ll need the entire tray. If your brush starts to harden, wipe the brush clean before continuing.
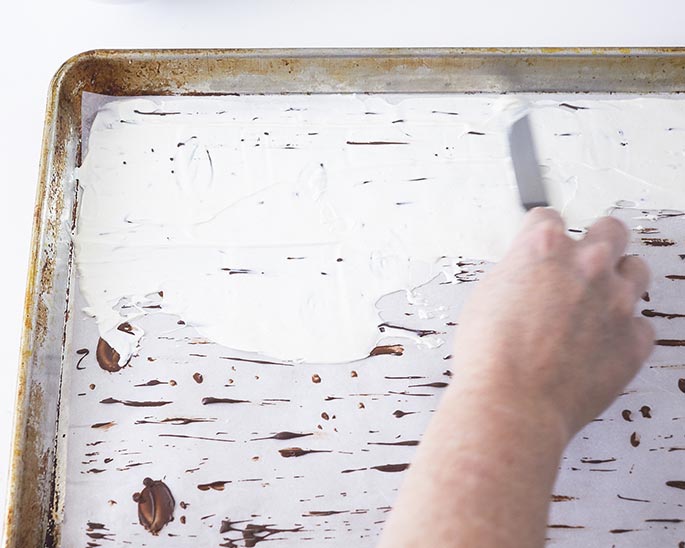
Melt the 12 oz. bag of white candy coating. Then, let the white coating cool until it’s not at all warm to the touch, but still melted. 10 minutes or so.
Place your painted tray in the fridge for 2 minutes, just to chill the chocolate pattern. Remove and spread all the white coating across the pan, working left to right, filling the tray entirely. The layer will look fairly thin, which is okay. Place the tray back in the fridge for 10 minutes to firm up.
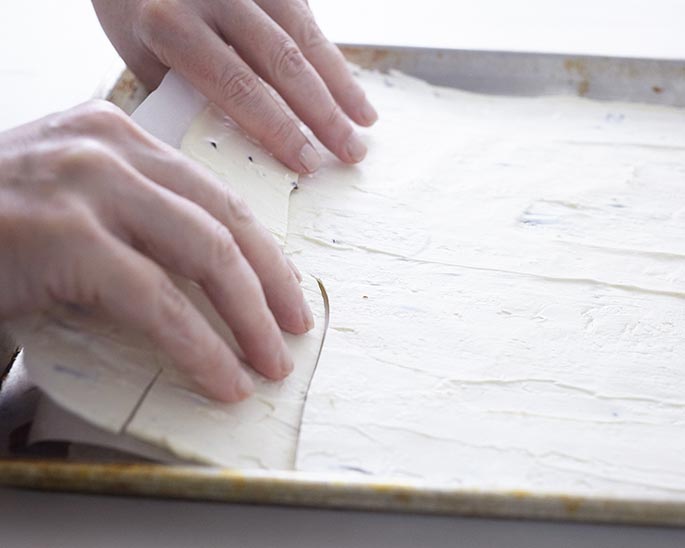
Remove the chilled bark. Place the short end of the tray toward you. Lift the parchment paper and simultaneosly use both hands to break the sheet into large strips of bark. Don’t fret if it breaks into shards instead of strips. They’ll still work on the side of the cake.
STEP 3: DECORATE CAKE
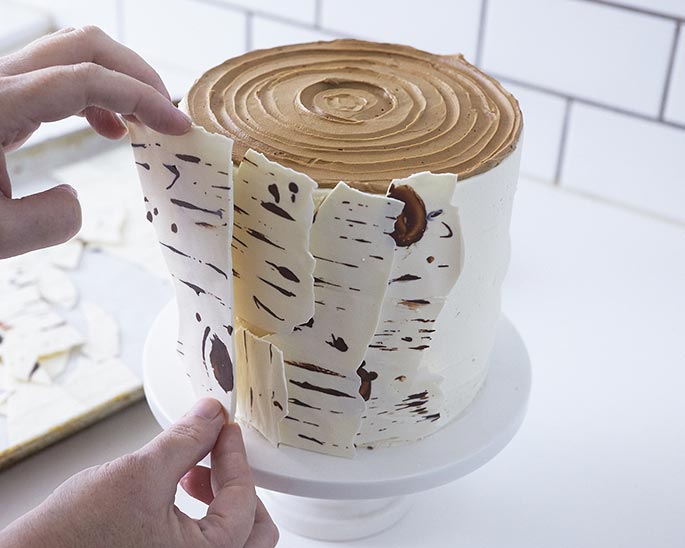
Place the strips of bark on the sides of the cake, using some extra buttercream to adhere them if necessary. We overlapped them to get them to fit but place them on the cake however you think looks best!
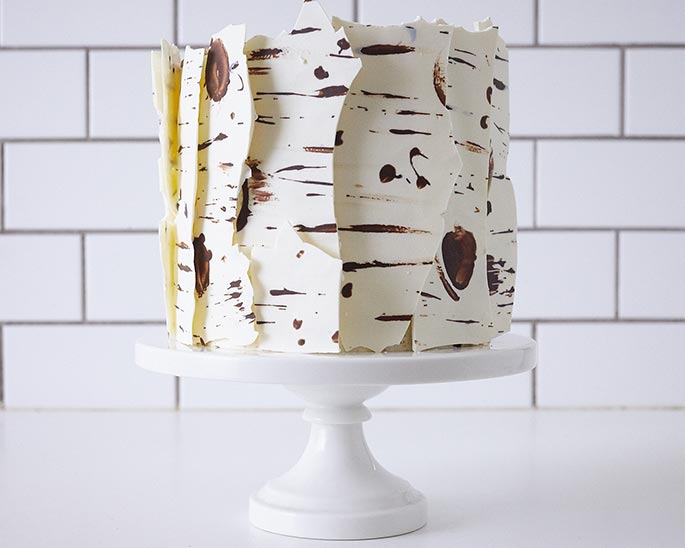
Spread a little buttercream on the pine trees so they look snowy. Place trees, deer and mushroom to finish.
